
As an Amazon Associate, I earn from qualifying purchases at no extra cost to you.
Can You Sand a Cutting Board? Expert Guide and Easy Tips
I honestly thought my favorite wooden board was a goner after a decade of heavy chopping. Most of us just throw these away when they get deep grooves or ugly stains. However, you can sand a cutting board to bring back that smooth, factory finish without spending a dime on a replacement.
You need to grab some sandpaper ranging from coarse to fine grits and start scrubbing away the old scars. After the surface feels soft, wipe away the dust with a damp cloth and let it dry completely. The last step involves rubbing in a generous amount of food-safe mineral oil to protect the wood from future moisture.
Can You Sand a Cutting Board to Remove Deep Knife Scratches?
Yes, you absolutely can fix those ugly marks with a little bit of elbow grease. Most people assume that once the wood looks fuzzy or dark, it is time for the trash bin. That is actually a huge waste because wood is incredibly resilient and easy to fix at home. You are basically just peeling back a tired layer to reveal the fresh material underneath.
Start by checking how deep the gouges really go in the wood. If you can fit your fingernail into the crack, you will need to spend more time on the heavy sanding phase. This process does not require any fancy power tools if you have some patience. Just remember that skipping the coarse paper will make the job take much longer than it should.
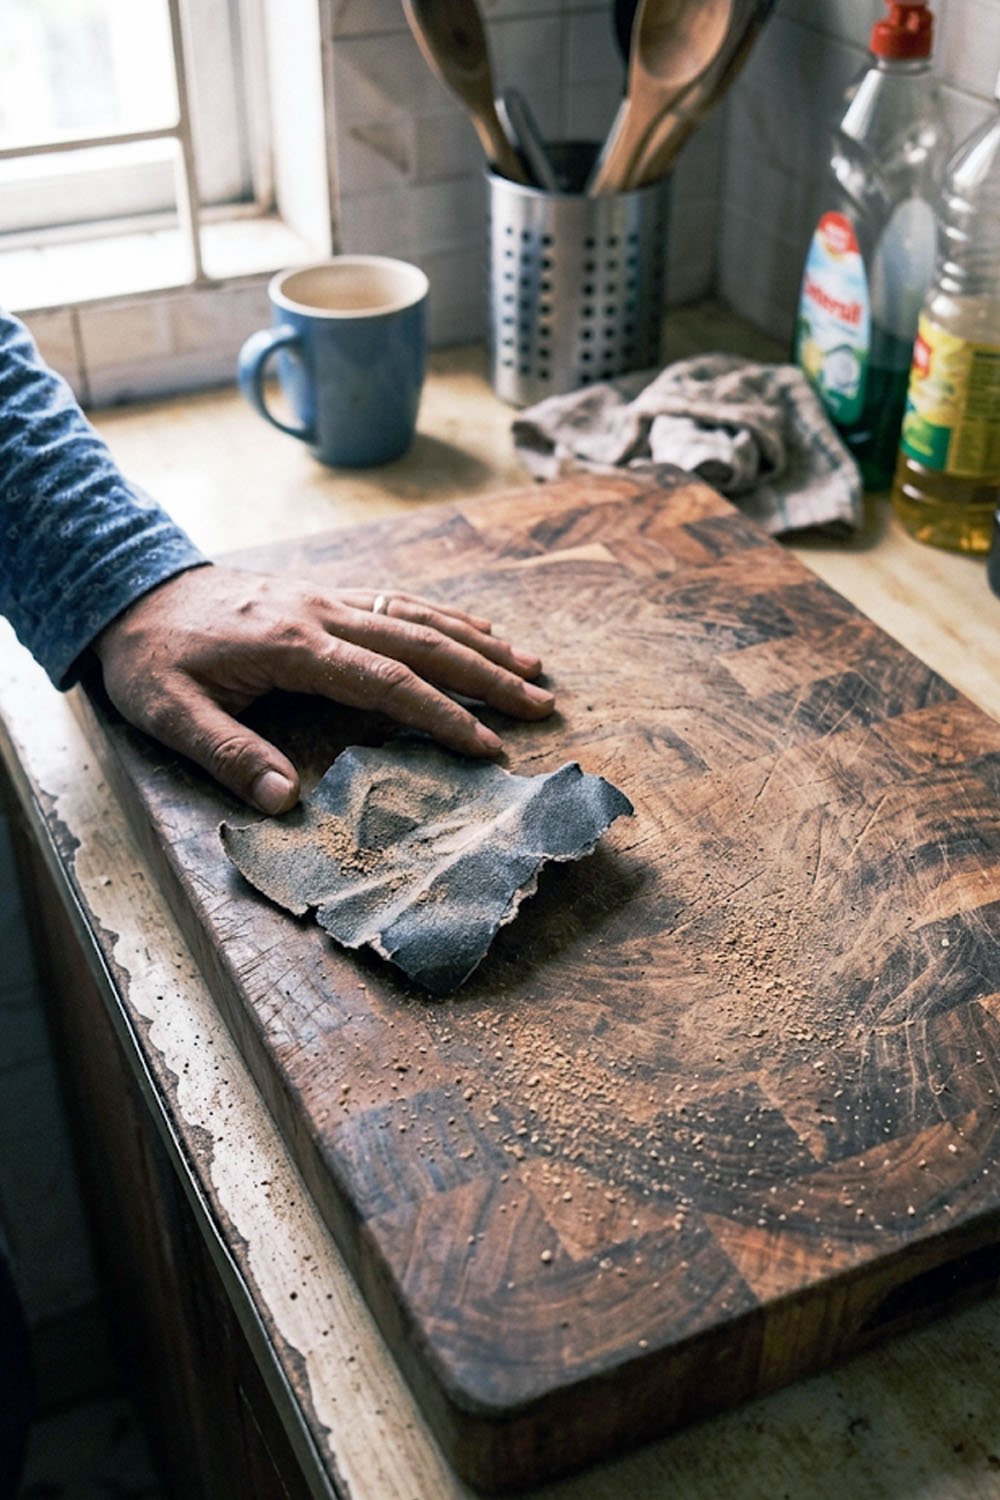
Once you start, the wood might look a bit dull or dusty. Do not panic because that is a perfectly normal part of the refreshing process. The beauty of timber is that it holds its character even after a heavy scrubbing. After about twenty minutes of work, you will see the grain start to pop again.
Finishing the job requires a smooth touch and the right oil. You never want to leave the wood bare after you finish the heavy lifting. Raw wood absorbs water like a sponge, which leads to warping or even cracking. Applying a coat of oil keeps the board safe and looking beautiful for your next meal.
- Pick a well-ventilated area to avoid breathing in the fine dust.
- Use a sanding block to keep the pressure even across the surface.
- Always move your hand in the direction of the wood grain.
- Clean the surface with a tacky cloth between each different grit.
- Don’t forget to sand the edges and the bottom side too.
- Apply mineral oil until the wood stops soaking it up.
How to Refresh Your Board with These Simple Steps
Start with a Coarse Grit Sandpaper
You want to begin with something rough like 80 grit paper. This heavy texture is designed to eat through the deep cuts and stains that have built up over the years. If you start with something too smooth, you will just be polishing the dirt instead of removing it.
Keep your pressure steady as you move across the wood. It might feel like you are scratching the board even more at first. Do not worry because these initial scratches are necessary to level out the entire surface. You are creating a flat foundation for the next steps.
Watch the deep marks slowly disappear as you work. You should stop once the surface looks uniform and the old knife tracks are gone. This is the hardest part of the job, so take a break if your arm gets tired. Once the board is flat, you are ready to move on.
- Buy a pack of assorted sandpaper sheets from the store.
- Focus extra attention on the center where most chopping happens.
- Keep the board on a non-slip mat so it stays still.
- Wear a simple mask to keep the dust out of your nose.
Clean the Dust Away Frequently
As you work, a lot of fine powder will start to pile up on the wood. This dust can actually get in the way and stop the sandpaper from doing its job correctly. If you leave the grit on the surface, you might end up with swirl marks that are hard to remove later.
Use a vacuum or a dry brush to clear the area every few minutes. It helps you see exactly how much progress you have made on the deep scratches. You can also use a slightly damp rag to pick up the smallest bits of debris. Just make sure the wood is dry before you start sanding again.
Keeping a clean workspace makes the whole project feel much easier. You will be able to feel the texture of the wood with your bare fingers. This helps you decide if you need to keep going with the rough paper or move to the next stage. A clean board is a happy board.
- Use an old paintbrush to flick dust out of the corners.
- Avoid using a soaking wet cloth during this middle stage.
- Blow on the surface to check for any hidden deep pits.
- Keep your sandpaper sheets clean by tapping them on the table.
Move to a Medium Grit for Smoothness
After the 80 grit has done its work, switch over to a 120 or 150 grit paper. This medium texture is perfect for removing the rough marks left behind by the first round of sanding. It starts to make the wood feel much softer to the touch.
You will notice the wood grain looking much clearer now. The gray or dark patches should be completely gone by this point. Transitioning between these levels is the secret to a professional looking finish. If you skip this, the final result might feel a bit prickly.
Take your time during this phase to ensure every inch of the board is covered. The edges often get neglected, so give them a little love too. You want the entire piece to feel consistent from corner to corner. By the end of this step, the board will look almost new.
- Sand in long and flowing strokes for the best results.
- Check the wood under a bright light to find uneven spots.
- Use a light touch since the heavy lifting is already done.
- Replace your sandpaper as soon as it feels smooth or clogged.
Finish with a Very Fine Polish
The final sanding should happen with 220 grit or even higher. This is where the magic happens and the wood starts to feel like silk. You are not trying to remove material anymore, but rather polishing the fibers down. It feels very satisfying to run your hand across the surface now.
Give the board one last thorough pass to make sure everything is perfect. If you feel any tiny bumps, just give them a quick rub with the fine paper. This step ensures that food won’t get stuck in tiny microscopic grooves. It also makes the final oiling look much more vibrant.
Wipe the board down one last time with a completely clean cloth. You want every single speck of dust gone before you even think about the oil. If you leave dust behind, the finish will feel gritty and unpleasant. Now you have a perfectly smooth canvas ready for protection.
- Use 320 grit if you want an extra buttery smooth feel.
- Rub the paper in circular motions for this final polish.
- Make sure your hands are clean and free of oils.
- Inspect the board from a side angle to check for flat spots.
Apply a Food Safe Mineral Oil
Now comes the most rewarding part of the whole process. Pour a good amount of food-safe mineral oil onto the center of the board. You will see the wood drink it up instantly, turning a deep and rich color. Use a clean rag to spread the liquid around evenly.
Make sure you cover the front, back, and all the skinny sides. Wood needs to be sealed on all sides to prevent it from soaking up water and bending. If the wood looks dry after ten minutes, go ahead and add another coat. You really cannot overdo this part of the maintenance.
Let the oil sit for a few hours or even overnight if you can. This gives it plenty of time to penetrate deep into the fibers. Once it is done soaking, wipe off any extra oil that is still sitting on top. Your board is now officially revived and ready for action.
- Only use oils that are labeled as food safe or butcher block.
- Avoid olive oil or vegetable oil as they can go rancid.
- Use a lint-free cloth so you don’t leave fibers behind.
- Apply the oil in a warm room so it flows better.
Maintain Your Board for the Long Haul
You don’t need to sand your board every week to keep it nice. A quick oiling once a month is usually enough to keep it in top shape. However, if you see the wood looking dry or fuzzy, that is your sign to act. Prevention is always easier than a full repair.
Avoid putting your wooden boards in the dishwasher at all costs. The high heat and intense water will ruin all your hard work in one cycle. Hand wash them with mild soap and dry them off immediately with a towel. This simple habit will save you hours of sanding in the future.
Store your boards upright if possible to allow air to circulate. This keeps them dry and prevents any mold from growing on the bottom. With just a little bit of care, a good wooden board can literally last a lifetime. You now have the skills to keep yours forever.
- Buy a large bottle of mineral oil to keep under the sink.
- Re-oil the board whenever it starts to look light in color.
- Use a lemon and salt scrub for a quick natural clean.
- Never let your board sit in a puddle of water in the sink.
Can You Sand a Bamboo Cutting Board the Same Way?
Sanding bamboo is a little different than working with traditional hardwoods like maple or walnut. Bamboo is technically a grass, so its fibers are much more stringy and tough. If you try to sand it too aggressively, you might end up with splinters. However, you can still give it a light refresh if it starts looking rough.
Use a very fine grit sandpaper right from the start to avoid tearing the fibers. You really only want to take off the very top layer to remove stains. If the bamboo is badly cracked or splitting, sanding might not be enough to save it. Usually, a light touch is all that is required for these types of boards.
Be extra careful about the glue layers used to hold the bamboo strips together. Sometimes heavy sanding can expose the adhesive which isn’t always pretty to look at. Just stick to the surface and avoid digging deep into the material. It is more about a quick polish than a full reconstruction.
Once you are done, make sure to oil it just like a regular wooden board. Bamboo is very porous and will soak up protection quite fast. Keeping it hydrated will prevent those annoying little splinters from popping up later. Treat it gently and it will serve you well for a long time.
- Use 220 grit sandpaper for the entire bamboo project.
- Check for loose strands before you start rubbing the surface.
- Always sand along the length of the bamboo strips.
- Wipe with a dry cloth only to avoid swelling the fibers.
- Apply a beeswax cream for an extra layer of protection.
- Toss the board if you see deep black mold inside the cracks.
Final Thoughts
I hope this guide helps you realize that your old kitchen tools still have plenty of life left in them. It is so satisfying to see a gray and beaten piece of wood turn into a glowing masterpiece again. When you sand a cutting board, you are not just cleaning it, you are preserving a tool that helps feed your family. Go grab some sandpaper and give it a try this weekend.
| Step Number | Tool Needed | Action Type | Time Required | Difficulty | Result |
| Step 1 | 80 Grit Paper | Rough Sanding | 10 Minutes | Medium | Removes Scratches |
| Step 2 | Microfiber Cloth | Dust Cleaning | 2 Minutes | Very Easy | Clear Surface |
| Step 3 | 150 Grit Paper | Medium Sanding | 8 Minutes | Easy | Smooth Texture |
| Step 4 | 220 Grit Paper | Fine Polishing | 5 Minutes | Easy | Silky Feel |
| Step 5 | Mineral Oil | Deep Sealing | 10 Minutes | Very Easy | Rich Color |
| Step 6 | Dry Rag | Final Buffing | 2 Minutes | Very Easy | Protective Glow |
Frequently Asked Questions (FAQs)
Is it safe to sand a board with a power sander?
Yes, you can use an orbital sander to save time. Just make sure you do not press down too hard, or you might create uneven divots in the wood surface.
Can I use regular cooking oil to finish my board?
No, you should avoid using oils like olive or canola. These types of fats will eventually turn sour and make your kitchen smell bad while ruining your food.
Do I need to sand both sides of the board?
Yes, it is best to treat both sides equally. Even if you only use one side, sanding and oiling the bottom prevents the wood from warping over time.
Is it okay to sand a plastic cutting board?
No, sanding plastic is not a good idea. It creates tiny furry bits of plastic that can get into your food, so it is better to just replace them.
Can I use a hair dryer to dry the oil faster?
No, you should let the oil soak in naturally. Using high heat can cause the wood to dry out too quickly and lead to cracks or splitting.
Do I have to use a mask while sanding?
Yes, it is a very smart idea to wear a simple dust mask. Fine wood dust can irritate your lungs and make you sneeze quite a bit.
Is it possible to fix a warped board by sanding?
No, sanding only fixes the surface texture of the wood. If your board is badly bent, you might need to steam it or use weight to flatten it.
Do I need to wash the board after sanding?
Yes, give it a very quick wipe with a damp cloth to remove any leftover grit. Just ensure it is totally dry before you start the oiling process.
