
As an Amazon Associate, I earn from qualifying purchases at no extra cost to you.
How to Defrost Whirlpool Refrigerator (Expert Tips)
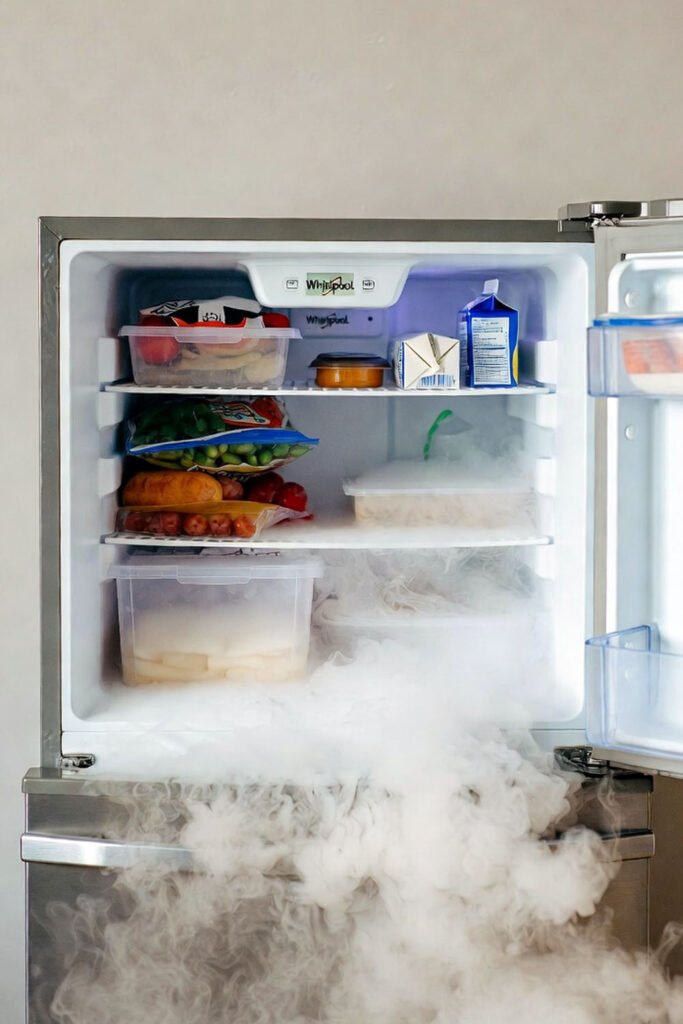
Someone opened their Whirlpool fridge one morning and found frost everywhere in the freezer, like a mini snowstorm had hit overnight. Food was getting squished, the door felt hard to close, and the whole thing just wasn’t cooling right anymore. It’s a super common hassle with many Whirlpool models, especially if the auto-defrost isn’t kicking in properly. Don’t worry though, you can fix this safely at home without calling anyone right away.
Why Does My Whirlpool Refrigerator Need Defrosting?
You know how frost sneaks up in your freezer? It happens because every time you open the door, warm air rushes in and moisture freezes on the cold coils. Over time, that builds up into thick ice that blocks airflow. Your Whirlpool fridge might have an auto-defrost system with a heater and timer, but sometimes parts wear out or get stuck. When that happens, manual help is needed to clear the ice and get things back to normal.
Most Whirlpool refrigerators are frost-free these days, meaning they should handle defrost automatically. But heavy use, like leaving the door open a lot or high humidity in your kitchen, can overwhelm the system. Ice buildup makes the compressor work harder, uses more energy, and can even cause uneven cooling in the fridge section. Catching it early saves you headaches and keeps food fresh longer.
If you ignore it, the problem gets worse fast. Frozen coils mean less cold air circulates, so your ice cream melts a bit and veggies go bad quicker. Plus, that ice can damage seals or make doors hard to shut tight. The good news is defrosting isn’t hard, and doing it yourself feels pretty satisfying when everything runs smooth again.
Taking care of this every few months if needed keeps your fridge lasting longer. It’s like giving it a little spa day. You’ll notice better cooling and lower electric bills too. So yeah, it’s worth the effort.
- Frost builds from door openings and moisture.
- Auto-defrost can fail due to faulty parts.
- Ice blocks airflow and raises energy use.
- Regular defrost prevents bigger issues.
How to Defrost Your Whirlpool Refrigerator Safely
Step 1: Prepare Everything Before You Start
First things first, get your kitchen ready so things go smooth without any mess or spoiled food. Start by turning the temperature controls to the coldest setting about 4-6 hours ahead if possible. This chills your frozen stuff extra so it stays safe longer when you take it out. Grab coolers, big bowls, or even newspaper and blankets to wrap food in. Empty the fridge and freezer completely, putting perishables in a cooler with ice packs. Don’t forget to unplug the fridge from the wall to stay safe.
Next, clear space around it for towels and buckets because water will drip. Place old towels on the floor and maybe a shallow pan under the freezer section to catch meltwater. Remove any shelves or drawers that come out easily so you can reach everywhere. If your model has an ice bin, dump that too. This prep step makes the whole job less stressful and protects your food from thawing too much. Take your time here, it’s the foundation for everything else.
Once everything’s out, check for big ice chunks you can gently knock off with a plastic scraper. Don’t use sharp tools though, you don’t want to poke holes in coils. This quick check saves time later. You’ll feel more in control when you see how much ice there is and plan accordingly. It’s a small thing, but it helps so much.
Keep the doors closed until you’re ready to begin the actual defrost. That way food stays cold as long as possible. You’re doing great just by planning ahead.
- Chill food extra before emptying.
- Use coolers and towels for protection.
- Remove shelves for easy access.
- Unplug for safety right away.
Step 2: Unplug and Let the Ice Melt Naturally
Now comes the main part, unplugging the fridge and opening the doors wide. This is the safest, easiest way for most Whirlpool models since it avoids any risk of damaging parts. Leave both fridge and freezer doors open so warm room air can flow in and melt the ice slowly. Place fans pointing inside if you want to speed it up a bit, but natural melting works fine too. Expect this to take anywhere from 4 to 8 hours depending on how bad the buildup is.
While it melts, keep checking every hour or so and wipe up water with towels. You can gently scrape loose ice with a plastic putty knife if it helps, but never chip at stuck pieces hard. The goal is to let heat do the work without forcing anything. This method is gentle on your fridge and keeps everything intact. Many folks find this relaxing, like watching paint dry but more useful.
If water pools too much, sop it up quick to avoid floor damage. Some models have a drain hole at the back of the freezer, so prop the front feet a little with shims for better drainage. It’s simple but effective. You’ll see the ice shrink and hear drips, which feels rewarding after a while.
Be patient here because rushing can lead to mistakes. This natural way is what Whirlpool often recommends for basic defrosting. Your fridge will thank you later with better performance.
- Unplug and open doors fully.
- Use fans for faster melting if needed.
- Wipe water often to stay clean.
- Scrape loose ice gently only.
Step 3: Speed Up the Process with Safe Tricks
Sometimes you need it done quicker, especially if you have a house full of people waiting for food. One great trick is placing bowls of hot water inside the freezer with the door closed for short bursts. The steam helps melt ice faster without direct heat on parts. Change the water every 15-20 minutes as it cools. This can cut time in half compared to natural melting alone.
Another helper is a hairdryer on low heat, held at least 6 inches away and moving constantly. Never point it straight at one spot or use high heat, as that can damage plastic or coils. Focus on thick ice areas but keep it gentle. Combine this with towels to catch drips. It’s like giving your freezer a warm hug without overdoing it.
You can also use a fan blowing room-temperature air directly in while doors stay open. This circulates warm air better and speeds things along safely. Just make sure no cords are in water. These methods work well together for most Whirlpool fridges. You’ll notice progress much faster, which feels good when you’re in a hurry.
Always stay nearby to monitor so nothing gets too warm or wet. This step is about balancing speed and care. Your fridge will be back in action sooner, and you’ll feel accomplished.
- Hot water bowls for steam melting.
- Hairdryer on low, keep distance.
- Fan for air circulation.
- Watch closely to avoid issues.
Step 4: Clean Up and Restart Your Fridge
Once all ice is gone and no more water drips, it’s time to clean everything nicely. Wipe down walls, shelves, and drawers with warm water mixed with a little mild soap or baking soda. This removes any leftover smells or sticky spots from old spills. Rinse well and dry with a clean cloth so no moisture stays behind. Don’t forget the drain hole if your model has one, use a turkey baster with warm water to flush it.
Check the coils at the back or bottom for dust while you’re at it, vacuum gently if needed. This helps your fridge run efficient. Put shelves and drawers back in, then reload food starting with frozen stuff first. Plug the fridge back in, set temperatures to normal (around 37°F fridge, 0°F freezer), and give it a few hours to cool down fully before adding more.
Test the doors to make sure they seal tight, and listen for the compressor starting up normally. You might hear some gurgling as it settles, that’s okay. This final cleanup makes everything fresh and ready. It’s the best feeling when your Whirlpool is humming happily again.
Take a moment to enjoy the clean smell and organized space. You’ve done a solid job.
- Wipe with mild soap solution.
- Clean drain hole if present.
- Vacuum coils for better efficiency.
- Reload and let cool properly.
What If My Whirlpool Still Has Frost After Defrosting?
If frost comes back quick even after a good defrost, something might be off with the auto system. Common culprits are a faulty defrost timer, heater, or thermostat. These parts control when the heater kicks on to melt ice automatically. When they fail, manual defrost becomes your temporary fix until you replace them.
Door seals could be worn too, letting warm air in constantly and causing extra frost. Check by closing a dollar bill in the door, if it pulls out easy, seals need replacing. High humidity or frequent door openings make it worse. In some cases, a quick forced defrost mode (if your model has it) can help diagnose by running the heater manually.
Don’t ignore recurring issues though, as they strain the compressor and raise bills. You can look up your model number online for specific troubleshooting. Many Whirlpool owners fix this with a cheap part swap. It’s frustrating at first, but solving it saves money long term.
Keep an eye on it for a week after defrosting. Better cooling means success. You’ve got this.
- Check for faulty defrost parts.
- Inspect door seals for leaks.
- Avoid frequent door openings.
- Consider professional help if needed.
Final Thoughts
Defrosting your Whirlpool refrigerator doesn’t have to be a big chore. With these simple steps, you keep your food safe, your fridge efficient, and your wallet happy. Do it regularly if frost builds up, and you’ll avoid bigger problems down the road. You’re taking good care of your kitchen helper, and that’s something to feel good about. Give it a try next time you notice ice, you’ll be glad you did.
| Rank | Model Example | Defrost Type | Key Features | Energy Efficiency | Approx. Price Range |
|---|---|---|---|---|---|
| 1 | Whirlpool WRF535SWHZ | Frost-Free | French doors, adjustable shelves, humidity drawers | High (Energy Star) | $1,500 – $1,800 |
| 2 | Whirlpool WRX735SDHZ | Frost-Free | External dispenser, fingerprint resistant, deli drawer | Very High | $1,800 – $2,200 |
| 3 | Whirlpool WRT311FZDW | Frost-Free | Top freezer, flexible storage, LED lighting | Good | $800 – $1,000 |
| 4 | Whirlpool WRS325SDHZ | Frost-Free | Side-by-side, spill-proof shelves, Accu-Chill | High | $1,200 – $1,500 |
| 5 | Whirlpool WZF34X16DW | Frost-Free Upright Freezer | Garage ready, fast freeze, interior light | Solid | $700 – $900 |
| 6 | Whirlpool WRT541SZDM | Frost-Free | Bottom freezer, frameless glass shelves, easy clean | High | $1,400 – $1,700 |
Frequently Asked Questions (FAQs)
Is it safe to use a hairdryer to defrost my Whirlpool refrigerator?
Yes, but only on low heat and from a safe distance, like 6 inches away. Move it around constantly so no spot gets too hot. This can speed things up without hurting plastic parts or coils. Avoid high heat or sharp tools that could damage something. Many people do this successfully when they’re short on time. Just stay nearby to watch for any issues, and wipe water as it melts. It’s a handy trick but natural melting is still the gentlest option overall.
Can I defrost my Whirlpool fridge without unplugging it?
No, you really should unplug it for safety and to stop the cooling cycle. Leaving it plugged in means the heater might fight against the compressor, or you risk electric issues with water. Unplugging lets ice melt fully without interference. It’s the recommended way in most guides. If you’re in a rush, at least turn controls off, but unplug is best. This keeps you and your fridge safe from any accidents.
Do I need to remove all food before defrosting?
Yes, definitely take everything out to protect your food and make cleaning easier. Wrap frozen items in newspaper or blankets, or use coolers with ice packs. Perishables go in another fridge if possible. Leaving food in risks spoilage or extra mess from melting. Plus, you can clean shelves better when empty. It’s a bit of work upfront, but it saves headaches later. Your food stays safe this way.
Is frost buildup normal in a Whirlpool frost-free refrigerator?
A little is normal from door openings, but thick ice means a problem. Frost-free models use auto cycles to melt it away. If buildup happens often, check seals, vents, or defrost parts. Don’t let it get too bad, as it affects cooling. Regular checks help catch issues early. Most Whirlpool fridges handle this well when everything works right.
Can hot water bowls really speed up defrosting?
Absolutely, they create steam that melts ice faster when placed inside with doors closed briefly. Change water as it cools every 15 minutes or so. This is safe and effective for most models. Combine with towels for drips. It’s a popular home trick that works without fancy tools. Just don’t leave hot bowls too long to avoid extreme temp changes.
Do I have to clean the coils after defrosting?
It’s a good idea while everything’s out and unplugged. Dust on coils makes your fridge work harder. Vacuum gently with a brush attachment. Do this every few months anyway. Clean coils mean better efficiency and longer life. It’s quick and makes a big difference in performance.
Is forced defrost mode available on all Whirlpool models?
No, it depends on your specific model and year. Newer ones with digital controls often have it through button sequences. Older ones might use a timer knob. Check your manual or model number online for exact steps. It runs the heater manually to clear ice fast. Useful for troubleshooting too. Not every fridge has it though.
Can defrosting fix cooling problems in my Whirlpool fridge?
Often yes, if ice blocks airflow to the fridge section. Clearing it lets cold air flow properly again. But if problems continue, it could be a faulty part like thermostat or heater. Defrost first, then monitor. Many folks see big improvements after one good defrost. It’s a simple first step before calling help.
Do I need special tools to defrost my Whirlpool refrigerator?
Not really, basic stuff like towels, buckets, plastic scraper, and maybe a fan or hairdryer works fine. No need for expensive gadgets. Gentle tools prevent damage. Follow safe steps and you’re set. Most people use what’s already in their kitchen.
Is it okay to chip ice off manually?
Only loose pieces with a plastic tool, never force or use metal. Chipping hard can puncture coils or lines, leading to big repairs. Let heat melt most of it naturally. Patience avoids costly mistakes. Gentle is always better for your fridge’s health.
