
As an Amazon Associate, I earn from qualifying purchases at no extra cost to you.
How to Use Lansky Knife Sharpener: Simple Steps to Follow
If you want to make your knives sharp and shiny, a Lansky Knife Sharpener can be your best buddy! This handy tool helps you keep your blades in top-notch condition without a lot of fuss. But wait, how do you use it? Don’t worry, I’ve got you covered!
In this blog post, we’ll walk through the simple steps to get your knives slicing and dicing like new. Whether you’re a kitchen whiz or an outdoor enthusiast, learning to use a Lansky Knife Sharpener is a valuable skill. So, grab your knives and let’s dive into the world of sharpening with ease!
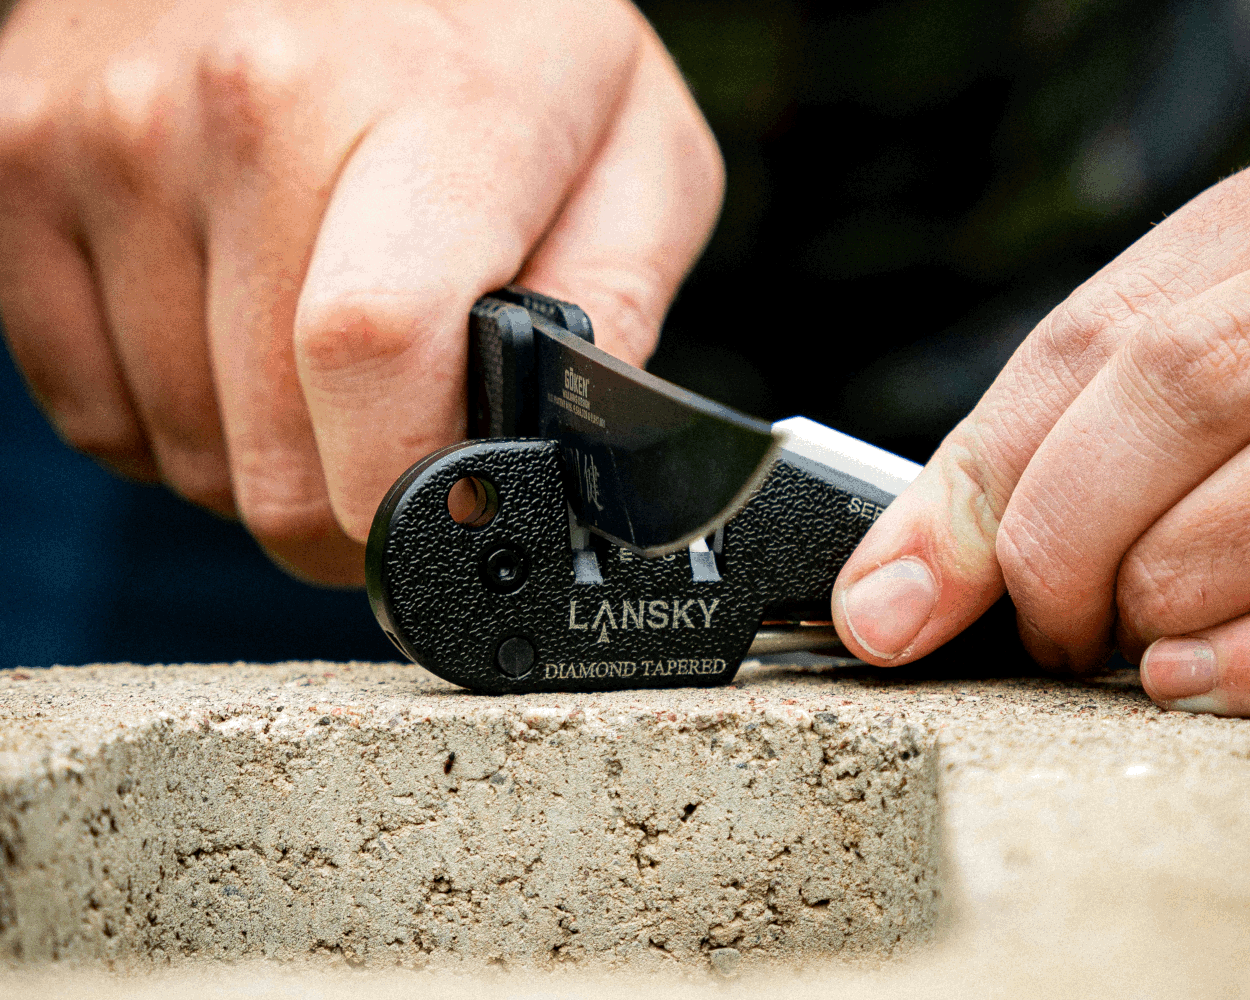
Credit: www.lansky.com
Getting Started
Learn how to effectively use the Lansky Knife Sharpener with these simple steps. Achieve razor-sharp knives effortlessly and bring new life to your blades. Level up your sharpening skills today!
Choosing The Right Lansky Knife Sharpener
When selecting a Lansky knife sharpener, consider the type of blade you’ll be sharpening. The Lansky system offers various options, including the easy-to-use Controlled-Angle Sharpening System for kitchen knives and the Tactical Sharpening Rod for outdoor and survival knives.
Setting Up The Sharpener
To set up the Lansky knife sharpener, carefully unpack the contents of the kit, ensuring that all necessary components are included. Familiarize yourself with the sharpening stones, angle guide, and clamp system. Then, follow the manufacturer’s instructions to assemble the sharpener securely onto a stable surface for optimal safety and efficiency.
Understanding The Sharpening Angles
When it comes to sharpening your knives using the Lansky Knife Sharpener, understanding the proper angles is crucial for achieving optimal results. Different knives require different sharpening angles, as the angle determines the sharpness and durability of the blade. In this section, we will explore how to identify the proper angle for your knife and adjust it on the Lansky Sharpener.
Identifying The Proper Angle For Your Knife
To begin, you need to identify the proper angle for sharpening your specific knife. This angle is typically determined by the manufacturer or specific knife model. You have two options to find this information:
- Manufacturer’s Recommendation: Check the knife manufacturer’s website or packaging for the recommended sharpening angle. This information is often provided to ensure you achieve the best cutting performance and longevity for your knife.
- Testing Different Angles: If you are unable to find the manufacturer’s recommendation, you can experiment with different sharpening angles to determine the one that works best for your knife. Start with a larger angle and gradually reduce it until you achieve the desired sharpness.
Remember, finding the proper angle is crucial for successful knife sharpening, so take your time to gather the necessary information or perform testing to achieve the best results.
Adjusting The Angle On The Lansky Sharpener
Now that you have identified the proper angle for your knife, you need to adjust it on the Lansky Sharpener. Follow these simple steps:
- Secure the Blade: Place the blade securely into the knife clamp of the Lansky Sharpener. Ensure it is tight and stable to prevent accidents during the sharpening process.
- Select the Angle: Referencing the manufacturer’s recommendation or your testing results, select the appropriate sharpening angle on the Lansky Sharpener. The angles are clearly marked on the sharpener, allowing for easy selection.
- Mount the Guide Rod: Attach the guide rod to the designated hole on the Lansky Sharpener. The guide rod keeps the knife at the consistent angle throughout the sharpening process.
- Start Sharpening: Holding the guide rod firmly, start passing the knife’s edge across the sharpening stone. Maintain a consistent angle and apply moderate pressure. Repeat this process several times, alternating the sides of the knife, until you achieve the desired sharpness.
By adjusting the angle on the Lansky Sharpener, you can ensure that your knife receives the proper sharpening treatment, resulting in a razor-sharp edge that is both efficient and safe.
Step-by-Step Sharpening Process
If you have a Lansky knife sharpener, you have a handy tool for keeping your knives sharp and ready for use. Keeping your knives sharp is important for making cooking easier and safer. With a Lansky sharpener, you can sharpen your knives at home without needing to send them to a professional. Here’s how you can use a Lansky knife sharpener:

Prepare Your Work Area
Find a flat surface to work on, like a table or countertop. Make sure the area is clean and well-lit so you can see what you’re doing. It’s also a good idea to lay down a cloth or newspaper to catch any metal shavings that might fall during sharpening.
Choose the Sharpening Angle
One of the great things about the Lansky sharpener is that it allows you to choose the sharpening angle that’s best for your knife. Different knives may require different angles, so check the manufacturer’s recommendations or experiment to find the angle that works best for you.
Attach the Knife to the Clamp
The Lansky sharpener comes with a clamp that holds the knife steady while you sharpen it. Open the clamp and place the knife securely inside, making sure it’s held firmly in place.
Attach the Sharpening Hone
The Lansky sharpener uses sharpening hones, which are small, rectangular stones that come in different grits for coarse, medium, and fine sharpening. Start with the coarsest hone and attach it to the sharpening rod.
Start Sharpening
Hold the sharpening rod in one hand and the handle of the Lansky sharpener in the other. Position the sharpening rod against the blade of the knife at the chosen angle. Using gentle pressure, draw the sharpening rod along the length of the blade, moving from the base to the tip. Repeat this motion several times, making sure to sharpen both sides of the blade evenly.
Switch to Finer Hones
Once you’ve sharpened the knife with the coarse hone, you can switch to finer hones to achieve a sharper edge. Repeat the sharpening process with the medium and fine hones, using the same technique as before.
Test the Sharpness
After sharpening with the fine hone, it’s a good idea to test the sharpness of the knife. Carefully run your finger along the edge of the blade to see if it feels sharp. Be very careful not to cut yourself! If the blade still feels dull, you may need to repeat the sharpening process with the fine hone or even the medium hone again.
Clean Up
Once you’re satisfied with the sharpness of the knife, remove it from the clamp and clean off any metal shavings that may have accumulated during sharpening. You can use a damp cloth or paper towel to wipe down the blade and the sharpening rod.
Store Your Sharpener
When you’re finished sharpening your knife, be sure to clean and store your Lansky sharpener properly. Rinse off any metal particles and let it dry completely before putting it away. Store it in a safe place where it won’t get damaged or lost.
By following these steps, you can keep your knives sharp and ready for whatever tasks come your way. With a Lansky knife sharpener, you can sharpen your knives quickly and easily at home, so you’ll always have a sharp edge when you need it.
Maintaining And Cleaning The Lansky Sharpener
Maintaining and cleaning your Lansky knife sharpener is important to ensure it continues to work effectively and efficiently. Here are some simple steps to keep your sharpener in top condition:
Regular Inspection
Regularly inspect your Lansky sharpener for any signs of wear and tear, such as worn-out hones or loose screws. Replace any worn or damaged parts to maintain the sharpener’s performance.
Keep it Clean
After each use, clean your Lansky sharpener to remove metal shavings and debris that may have accumulated during sharpening. Use a brush or cloth to wipe down the sharpening rods and hones, as well as the clamp and base.
Use a Lubricant
Apply a small amount of lubricant, such as mineral oil or honing oil, to the sharpening rods and hones to prevent rust and ensure smooth sharpening. Be sure to wipe off any excess oil before sharpening your knives.
Store Properly
Store your Lansky sharpener in a dry, clean place away from moisture and humidity. Keep it in its original box or a dedicated storage case to protect it from dust and damage.
Tighten Screws
Periodically check and tighten any screws or bolts on your Lansky sharpener to ensure everything stays securely in place during use.
Replace Hones as Needed
Over time, the sharpening hones on your Lansky sharpener may become worn or clogged with metal particles. Replace them as needed to maintain optimal sharpening performance.
Follow the Manufacturer’s Instructions
Always follow the manufacturer’s instructions for maintaining and cleaning your Lansky sharpener. This will help ensure proper care and prolong the lifespan of your sharpener.
By following these simple maintenance and cleaning tips, you can keep your Lansky sharpener in excellent condition for years to come. Regular maintenance not only prolongs the life of your sharpener but also ensures that your knives stay sharp and ready for use whenever you need them.
Conclusion
The Lansky knife sharpener is a convenient and effective tool for keeping your blades in top condition. With its user-friendly design and precise sharpening capabilities, this tool is a must-have for any kitchen or outdoor enthusiast. By following the steps outlined in this guide, you can easily master the art of knife sharpening and enjoy the benefits of a razor-sharp edge.
Keep your knives performing at their best with the Lansky knife sharpener.
