
As an Amazon Associate, I earn from qualifying purchases at no extra cost to you.
Remove a Bathroom Faucet Drain: 5 Steps Without Damage

Some drains get sluggish and gross, or maybe you’re just tired of the old finish on your sink. Whatever the reason, pulling that drain out feels like a big job. It’s fiddly work in a tight space, but you can manage it. Stick to these steps, and you’ll clear the way for a fresh install without any mishaps.
You can remove your drain assembly in about 30 to 60 minutes, provided you have a few basic tools. Clear the space under your sink, and place a bucket to catch any leftover water. Use an adjustable wrench to loosen the nuts, but keep a steady hand to pull the pieces apart carefully.
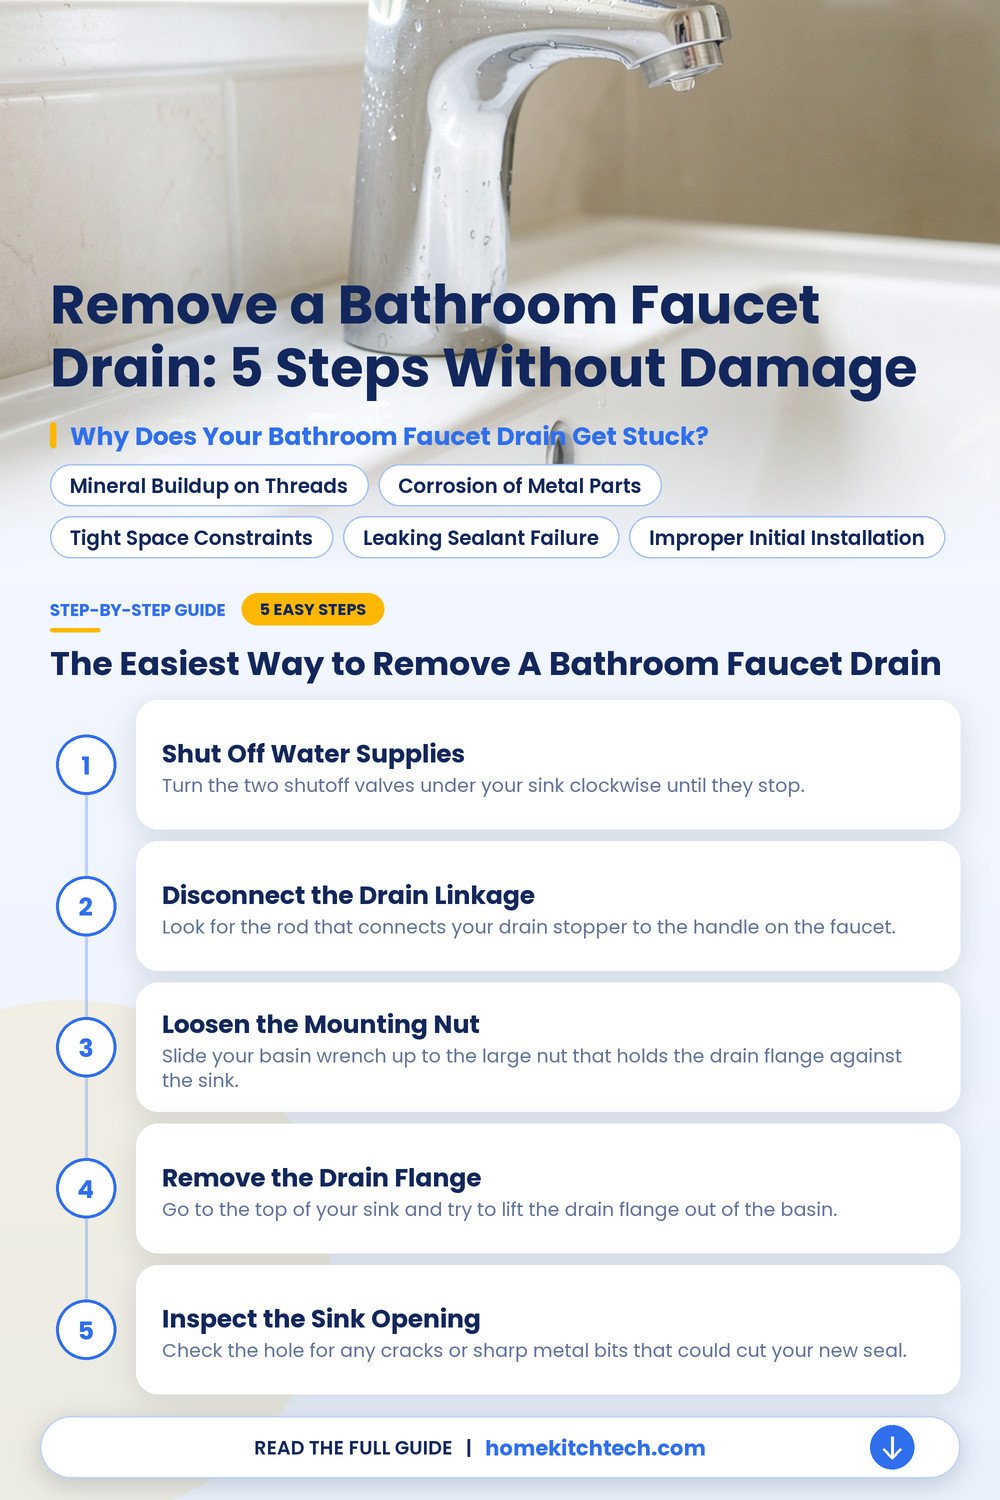
Why Does Your Bathroom Faucet Drain Get Stuck?
Your drain is a collection of parts that sit in a damp, dark spot under your basin. Over time, the metal nuts fuse together because of constant moisture or hard water crust, which makes them difficult to turn.
Mineral Buildup on Threads
Minerals from your water supply slowly turn into a hard, crusty barrier on the threads, so the nut feels like it’s welded to the pipe. You’ll need to work slowly, so you don’t crack the porcelain. Watch for heavy mineral buildup near the connection, and apply some oil if it won’t budge.
Corrosion of Metal Parts
Damp air under your vanity causes the metal to oxidize and weaken. If you see green or white fuzz on the nuts, it’s a sign of heavy corrosion of metal parts. Don’t force them, or you might damage the basin.
Tight Space Constraints
Working under a vanity is a cramped experience, and it limits your leverage. You’ll likely struggle to get your wrench into the right spot to turn the nut. Grab a basin wrench, because it’s a total lifesaver in that tight corner.
Leaking Sealant Failure
The putty or gasket that keeps your drain watertight eventually dries out and cracks. Once the seal breaks, water drips down, and it ruins the metal parts underneath. You’ll notice a damp smell, so check your cabinet floor for water stains.
Improper Initial Installation
Some drains get installed with too much fresh plumber’s putty or the wrong size gaskets. When the parts get squeezed too hard, they become impossible to remove later without a real struggle. You’ll know this is the case if the nut won’t budge, even after you apply some force.
The Easiest Way to Remove a Bathroom Faucet Drain
You’ll spend most of your time reaching into the dark corners under your vanity. Make sure you have a good light and plenty of room to move your arms, because it’s easy to get stuck.
- Keep a bucket ready to catch the water in your pipes.
- Use a basin wrench to reach the nut behind your sink.
- Wear gloves to protect your hands from sharp metal and grime.
- Shut off your water supply valves before you loosen any nuts.
Shut Off Water Supplies
Turn the two shutoff valves under your sink clockwise until they stop. Open your faucet handles to let any pressure bleed out of the lines, so you don’t get sprayed. You should see the water flow stop completely in your sink. Keep your bucket positioned right under the p-trap drain pipe to catch any liquid that spills when you break the seal.
Double check that the water is really off before you touch the pipes. If you don’t hear any water hissing, you’re ready to proceed.
Disconnect the Drain Linkage
Look for the rod that connects your drain stopper to the handle on the faucet. Unscrew the small nut that holds this rod in place, and pull the rod out of the drain pipe so the stopper can move freely. If it’s stuck, a little wiggle usually does the trick. You’ll find that taking your time here prevents broken parts.
Remove the stopper entirely, and set it aside in a safe spot. It’s a small piece that disappears easily if you aren’t careful.
Loosen the Mounting Nut
Slide your basin wrench up to the large nut that holds the drain flange against the sink. Turn the wrench counter-clockwise to break the seal, but take it slow. You might need to use a bit of muscle if the nut hasn’t moved in years. Once it’s loose, you can finish spinning it off by hand.
Remove the Drain Flange
Go to the top of your sink and try to lift the drain flange out of the basin. You might need to use a flat tool to pry it up if it’s held down by old, dried-on plumber’s putty. Watch your hands as you pull, since the edges can be sharp. Clean off any leftover gunk from the sink hole once the pipe is out.
Wipe the area with a damp cloth to make sure it’s smooth and clean. You’re now ready to drop in your new drain assembly.
Inspect the Sink Opening
Check the hole for any cracks or sharp metal bits that could cut your new seal. Wipe the area thoroughly, and ensure the surface is dry before you start the next project.
Take a moment to look at the rim of the hole, because a smooth surface is the key to a leak-free drain. If you see old residue, use a plastic scraper to remove it carefully.
Why is My Drain Stuck So Hard?
Years of hot water and soap scum turn your drain parts into a single, solid piece of gunk. You’ll find that minerals in your water form a hard crust around the threads, which locks the nut in place. This heavy mineral crust prevents you from turning the metal parts by hand.
Another common culprit is the corrosion of metal parts inside the drain assembly. Your pipes might look fine on the outside, but moisture hiding in the threads eats away at the finish over time. This makes the metal expand and seize up against your sink basin, so it won’t budge.
Sometimes, the original installer used too much old plumber’s putty or a strong glue that hardened over the years. You’ll feel like the nut is welded to the pipe, because that sealant has bonded the two surfaces. It takes a lot of steady pressure to break that bond without cracking your porcelain sink.
- Old pipes often fuse together after ten years of use.
- Hard water deposits act like glue inside your drain threads.
- High heat from your faucet causes metal parts to expand.
- Thick layers of soap scum make it hard to grip.
How Does Your Specific Sink Material Change the Removal?
If you have a thin metal sink, you need to be extra careful while you’re wrenching on the nut. You can easily bend the metal, or you might pop the drain out of its hole if you pull too hard. Keep a steady hand and support the drain flange base from above while you work underneath.
Porcelain or ceramic sinks are much sturdier, but they can crack if you hit them with a heavy wrench. Pad your tools with a rag, and avoid scratching your finish. If you’re working on an older pedestal sink base, you’ll find the space is tight and you might need a basin wrench to reach everything.
- Thin stainless steel sinks flex under too much pressure.
- Porcelain basins crack if you bang a metal wrench.
- Pedestal sinks leave you almost no room to move.
- Plastic drain parts break much easier than solid brass.
What Are the Costs and Time Involved in This Job?
You’ll likely spend about $15 to $30 on a basin wrench tool or some penetrating oil, provided you don’t already have them in your toolbox. You can finish this task in 30 to 60 minutes once you clear out the vanity cabinet. It’s a very doable project, and it’s perfect for anyone who’s comfortable working in tight, dark spaces.
If you run into parts that just won’t budge, you might need to buy a new drain kit for about $40. A pro will charge $150 to $300 to handle this, so call them if you get stuck or find a leak. You’ll save yourself that cost by taking your time and using the right plumbing tools from the start.
Are There Any Major Dangers When You Remove the Drain?
Forget to close your shutoff valves, and you’ll end up with a puddle on your floor. You should drain the line first, or you’ll have a mess. Keep a small bucket and some old towels right under the pipe, and you’ll catch any stray water.
Don’t force a wrench if you feel the sink flexing or cracking under your hands. Stop and reconsider your grip, because the metal might start to bend. This excessive force usage can damage your vanity or break the seal on your sink overflow.
You should avoid mixing different drain cleaners at all costs. You might think a chemical will loosen the rust, but it can create dangerous fumes in your small bathroom. Wear gloves and keep your work area well ventilated while you’re using any harsh chemical cleaner.
- Turn off the water valves before you touch the pipe.
- Keep a bucket ready for the water in the trap.
- Never mix different cleaners in your bathroom sink drain.
- Wear rubber gloves to protect your skin from old gunk.
When Should You Give Up and Call a Pro?
Call for help if you see water leaking inside the wall, or if it’s dripping through the ceiling below. These signs mean the problem is bigger than your drain flange seal, so it involves your home’s main water lines. A pro has the right tools to reach those pipes, and they won’t need to rip out your vanity.
Try soaking the threads in oil, but if the nut still won’t turn, don’t keep forcing it. You might snap the pipe or crack your sink, which turns a small chore into a huge plumbing repair cost. Sometimes, a part is just too far gone to save, and a pro can cut it out safely.
Think about calling in a plumber if you’re not sure about the state of your pipes. It’s better to pay for a quick visit than to deal with a flooded floor or a broken sink. They can usually get the job done in minutes with their professional plumbing gear.
- Water leaking inside walls requires a licensed plumber immediately.
- Stubborn parts that won’t move after oiling need professional tools.
- Broken sink basins are expensive to fix after a mistake.
- If you feel unsure about the plumbing, ask for help.
Final Thoughts
The secret to a smooth removal is patience, and you need the right grip. Don’t rush the process, especially when you’re working with old metal that’s prone to snapping. Keep your tools clean, and use a light touch to avoid damaging your sink finish. If you find yourself struggling, take a break and try some penetrating oil. A little extra time spent now saves you a lot of headache later.
| Symptom | Likely Cause | Easy Fix |
|---|---|---|
| Stuck nut | Mineral buildup | Penetrating oil |
| Leaking pipe | Worn gasket | Tighten connection |
| Slow drain | Hair clog | Remove stopper |
| Wobbly faucet | Loose mounting | Tighten nut |
| Rust spots | Old metal | Replace part |
| Water leak | Bad seal | Plumbers putty |
Frequently Asked Questions
Is It Safe to Use a Pipe Wrench?
It’s better not to, because a pipe wrench has teeth that will chew up your drain finish. Use a basin wrench or a pair of large channel-lock pliers instead. These tools grip the nut without ruining the metal.
Is It Safe to Use a Hammer to Loosen the Nut?
No, don’t do that, because you’ll likely crack your sink basin. Use steady, even pressure with a wrench to nudge the nut loose. A hammer will only cause damage that you can’t fix, so keep it away.
Do I Need to Remove the Faucet First?
No, you don’t need to take the faucet off to remove the drain. Reach the drain nut from underneath the sink while the faucet stays on the counter. It’s much faster to leave it in place.
Should I Replace the Plumbers Putty?
Yes, always scrape away the old putty and add a fresh bead. It creates a watertight seal that keeps your sink from leaking under the rim. You’ll find it at any hardware store for a few dollars.
How Do I Clean the Threads After Removing the Drain?
Use a wire brush and some soapy water to scrub the old gunk off, and it will look much better. Soak the parts in white vinegar, if they’re still crusty. You’ll want them clean so the new drain goes on easily.
Will My Sink Leak If I Don’t Use a Gasket?
Yes, you’ll almost certainly have a leak if you skip the rubber gasket or the putty. The gasket sits between the drain flange and your sink to stop water from dripping into your cabinet. Replace the old one with a new rubber ring every time.
