
As an Amazon Associate, I earn from qualifying purchases at no extra cost to you.
Remove a Bathroom Sink Aerator: 4 Ways Even When It’s Stuck

No water flow, or a spray that shoots in every direction, usually means your sink is due for a little maintenance. That tiny screen at the end of the spout acts as a magnet for grit and minerals, which can harden over time. You might feel like you need a mechanic to loosen it, but you can likely handle this job yourself. Grab a few simple tools, and let's get that flow back to normal.
The quickest way to remove your faucet aerator is to grip the housing with a pair of pliers and turn it counterclockwise. Wrap a thick rag around the metal first to protect the finish from scratches. If it feels stuck, try a little vinegar to break down the crusty buildup holding it in place, and you'll have the screen off in no time.
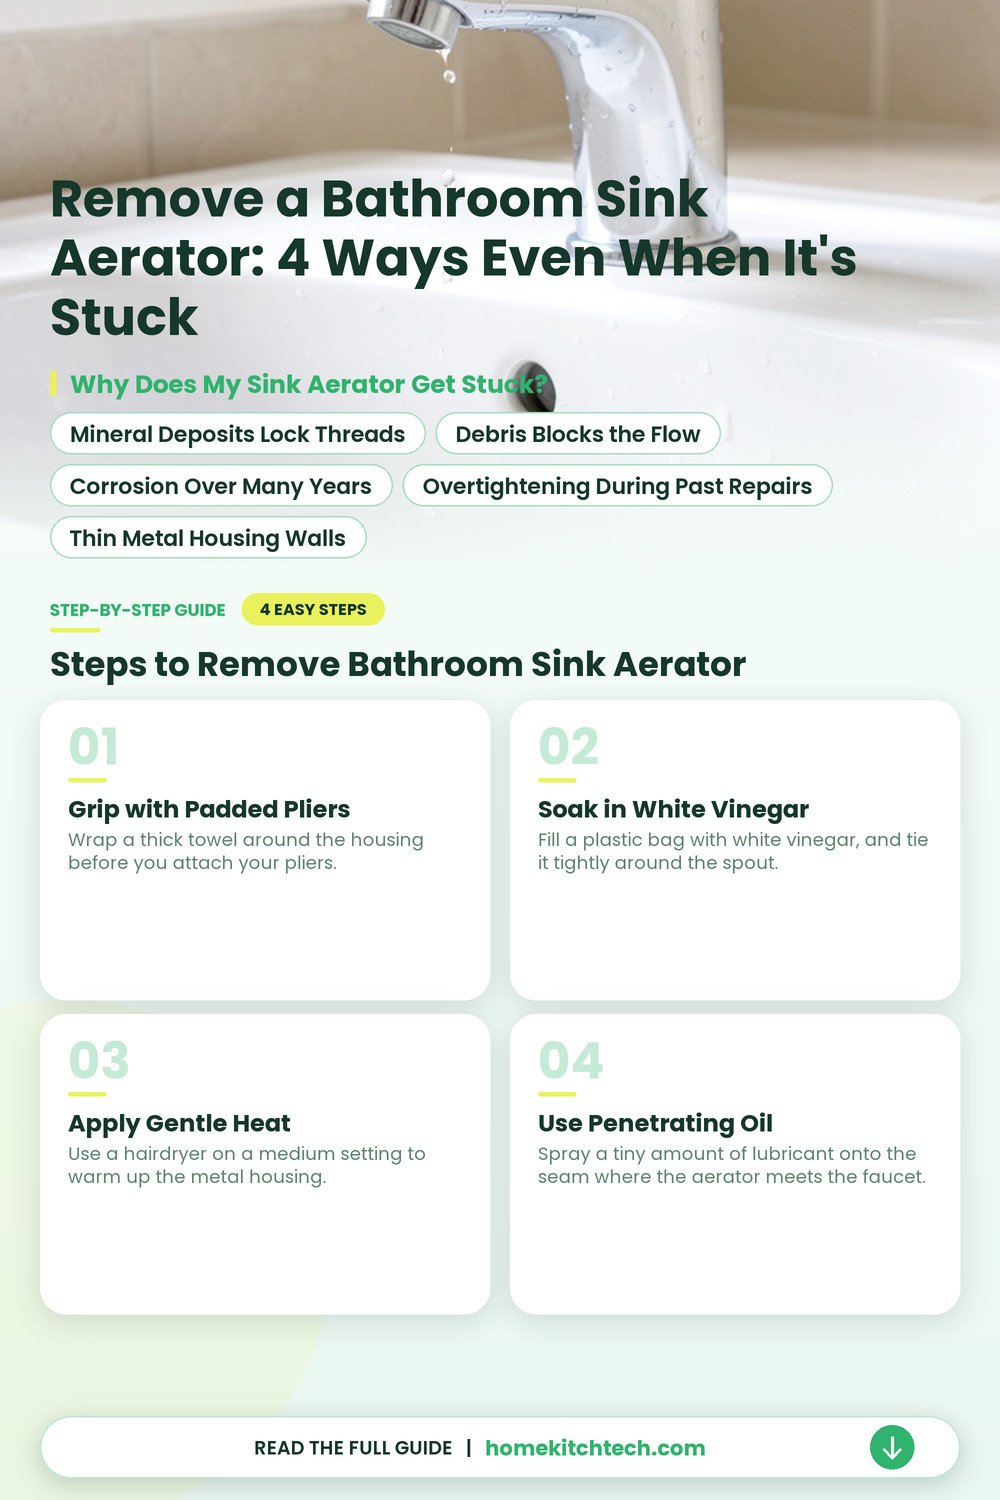
Why Does My Sink Aerator Get Stuck?
Your faucet works hard, but it also traps tiny bits of junk along the way. You'll notice the pressure dropping when those particles block the fine mesh screen inside.
Mineral Deposits Lock Threads
Tiny bits of calcium and lime settle into the threads. This crust makes the connection very tight. It feels like the part is fused to your faucet.
Debris Blocks the Flow
Bits of sand or pipe scale travel through your plumbing, and they get stuck in the screen. You'll hear a sputtering sound, or see the water spray in odd directions. This trapped gunk creates pressure that pushes the screen against the housing.
Corrosion Over Many Years
Old metal parts can rust or corrode if they sit in damp conditions. You might find the threads have fused together from oxidation, which is a chemical reaction between the metal and moisture. It's a slow process that makes removal quite difficult.
Overtightening During Past Repairs
Sometimes, a previous repair job left the part screwed on way too tight. You'll find that even without mineral buildup, the metal is held with too much force. It's a simple case of human error.
Thin Metal Housing Walls
Some cheap parts have very thin walls that deform when you apply pressure with a tool. You'll see the metal squash or bend, which makes the threads bind even harder. It's a frustrating situation that makes the job take longer than you planned.
Steps to Remove Bathroom Sink Aerator
You'll find that most stuck parts come loose with a little patience and the right grip. Expect to spend about 15 to 30 minutes on this, and keep a small bucket handy to catch any drips from the open pipe.
- Wear rubber gloves to protect your skin from strong cleaning solutions.
- Keep a bucket under the spout to catch any loose falling debris.
- Avoid using metal tools directly on the finish to prevent deep scratches.
- Call a plumber if you see water leaking inside your wall cavity.
Grip with Padded Pliers
Wrap a thick towel around the housing before you attach your pliers. This protects the chrome faucet finish from ugly marks. Slowly turn the pliers to the left. If it doesn’t move, don’t force it.
Use steady, even pressure to avoid stripping the soft metal. If the pliers slip, adjust your grip. You should feel the part give just a little bit before it spins freely. Once it moves, finish by hand.
Soak in White Vinegar
Fill a plastic bag with white vinegar, and tie it tightly around the spout. You need the submerged area to cover the entire threaded connection for at least one hour. The acid in the vinegar eats away at the mineral crust that locks the threaded metal parts together. Check the progress by giving it a gentle tug after the soak is done. If it still feels stubborn, leave it for another hour to ensure the solution penetrates deep into the threads.
Vinegar is safe for most finishes, but skip this step if your faucet is made of unplated brass or a delicate material. Give the area a quick wipe with a damp cloth afterward to remove any lingering acid.
Apply Gentle Heat
Use a hairdryer on a medium setting to warm up the metal housing. The heat causes the metal to expand slightly, which can break the seal created by dried mineral deposits. Keep the dryer moving back and forth, so you don’t overheat one spot for too long. After heating it for a minute or two, try to turn the part with your padded pliers again. The warmth often makes the difference between a stuck piece and one that comes off smoothly. Be careful, as the metal will be hot to the touch. Wear a cloth or a glove to protect your fingers while you work.
Use Penetrating Oil
Spray a tiny amount of lubricant onto the seam where the aerator meets the faucet. Let it sit for about 10 minutes, so it can seep down into the threads. This oil helps loosen the grip of the rust, which is holding everything together. It works wonders on old, stubborn metal plumbing fixtures.
Wipe away any extra oil before you grab your pliers to ensure you have a clean, solid grip. Turn the housing left and right in small, controlled motions to work the lubricant into the tight spaces. Once it breaks loose, remove the part and rinse the screen thoroughly to clear out the remaining oil and debris.
Can You Remove an Aerator From Different Sink Models?
Different brands use unique designs for your bathroom faucet fixture. Some feature a small notch for a tool, while others rely on a flat edge for a wrench to grab. You'll find that older chrome models often have a simple screw-on design, but modern plastic ones might require a special key that came in your original box.
Check the underside of your spout for a hidden slot or a recessed edge. If you see a tiny plastic screen, you'll know it's a modern insert that pops out with a specific tool. If your setup is older, it might just need a firm twist by hand to break the seal.
Metal parts often fuse together after years of sitting in damp conditions. Plastic parts, on the other hand, can become brittle and snap if you force them too hard. You'll have better luck if you wipe away any surface grime before starting, as a clean grip helps you avoid slipping.
- Use a soft cloth to protect your finish from scratches.
- Plastic keys fit specific brands and usually cost under five dollars.
- Check your manual for the exact tool shape you need now.
- Keep your drain covered so small parts don’t fall inside.
When Should You Stop and Call a Plumber?
Stop immediately if you try to turn the piece and feel the whole faucet assembly moving inside your vanity. You don’t want to twist your water supply lines, or crack the base of your sink. A plumber can reach what your tools can’t, and they prevent a costly leak behind the wall.
Listen for any crunching or grinding sounds as you work on your faucet aerator assembly. That noise usually means the threads are stripping, or the metal is too far gone to save. Call a pro if you hear that sound, because force only makes the damage worse. It’s a sign that you should stop before you ruin your expensive bathroom sink.
How Much Does This Simple Task Cost?
Fix your own flow issues for almost nothing, if you already have basic tools at home. You might spend about five to ten dollars on a new insert if the old one is too gunked up to clean. Your time is the biggest investment here, as you can finish this in about 20 to 30 minutes.
Grab a rag, a bucket, and your pliers before you head to the sink. Keep your workspace clean, take your time, and you'll avoid the frustration of a stuck part. You won’t need to buy expensive chemicals if you just stay patient with the thorough cleaning process for a while.
What Safety Mistakes Often Make Things Worse?
Avoid using heavy-duty pipe wrenches on the delicate finish of your faucet spout end. These tools apply too much pressure, and they will leave permanent gouges in your metal. Always use a layer of thick rubber or a folded cloth to bridge the gap between your tool and the fixture.
Never force a part if it won’t budge after a few tries. You might accidentally snap the internal threads, which turns a quick cleaning job into a full faucet replacement. If the piece doesn’t turn, walk away and let the penetrating oil do its work for an hour.
Close your water shutoff valves before you start, just in case you accidentally loosen a connection. You'll want a bucket ready to catch any stray drips that come out once the seal breaks. Wipe your area dry after you finish, because moisture can damage your vanity cabinet wood.
- Wear gloves to protect your hands from sharp metal edges.
- Unplug any electrical items sitting on your vanity before opening pipes.
- Close the sink drain to keep small screws from disappearing forever.
- Test your repair by running water at a very low pressure.
Why Does This Problem Happen Over Time?
Minerals in your water supply slowly build up inside the tiny screen mesh. Over several years, this crust turns into a hard rock that locks the parts together. You'll notice the spray pattern changing, or the water flow slowing down as these layers grow thicker.
Heat from your hot water line speeds up this process in many homes. The constant expansion and contraction of the metal can also cause the threads to bind tightly. That's why you might struggle more with the hot side, which is often full of hard water deposits, than the cold side of your faucet.
Age is another factor that makes parts harder to remove. Seals can dry out and stick, while metal components might develop light rust that acts like glue. Use regular, gentle cleaning, because it keeps these parts moving much longer than if you leave them alone.
- Hard water creates white crust that acts like natural cement.
- Frequent use of hot water accelerates the mineral buildup process.
- Old rubber washers often harden and fuse to the metal threads.
- Small debris gets trapped and blocks the flow of your water.
Final Thoughts
Take your time with this chore, because rushing often leads to damaged parts. Use the right tools, and don’t be afraid to walk away if the part refuses to turn. Your sink will thank you with a steady, clean flow once you finish the job.
| Symptom | Likely Cause | Easy Fix |
|---|---|---|
| Uneven water spray | Mineral buildup | Soak in vinegar |
| Stuck aerator housing | Overtightening | Use padded pliers |
| Slow water flow | Debris blockage | Rinse screen mesh |
| Dripping faucet spout | Worn washer | Replace internal seal |
| Corroded metal threads | Age and moisture | Apply penetrating oil |
| Loose faucet base | Damaged mounting | Tighten under sink |
Frequently Asked Questions
Can I Use Pliers on My Chrome Faucet?
Yes, you can, but you must protect the metal first. Wrap a thick rubber band or a soft cloth around the chrome before you grip it with your pliers. This prevents ugly scratches that ruin the look of your sink.
Should I Use Chemical Cleaners to Loosen the Aerator?
Better not, because harsh chemicals can damage your finish or ruin the internal rubber seals. Stick to white vinegar for mineral deposits and use gentle mechanical force instead. You'll keep your faucet safe from long-term harm.
Do I Need to Turn Off the Water Before Starting?
It’s a good idea if you're worried about leaks, though it isn’t strictly necessary for just removing the aerator. If you notice your faucet leaking from the base, shut the valves under your sink to keep your floor dry. You'll appreciate the extra safety if a seal breaks.
Can I Clean the Screen with a Needle?
Yes, you can, but go slowly so you don’t tear the fine mesh. It’s easy to poke out large bits of sand or grit that won’t rinse away, and you’ll clear the path. You’ll see a big difference in your water flow once the holes are clear.
Will a New Aerator Fit Any Faucet?
It depends, as different brands use different thread sizes and housing shapes. Check the size of your old part or bring it to the hardware store to match the threads exactly. You'll save yourself a return trip by checking this first.
What If the Aerator Won’t Budge at All?
If you’ve tried heat and oil without luck, you should stop before you break the faucet. Call a plumber to remove the stubborn part without damaging your plumbing system. You'll save time and money by avoiding a bigger repair.
