
As an Amazon Associate, I earn from qualifying purchases at no extra cost to you.
Remove Pipes Under a Bathroom Sink Without Leaks: 6 Steps

All you see is a tangle of metal and plastic under your vanity, and now a drip is starting to turn into a puddle. You might feel a little nervous about taking apart your plumbing, but you don’t need to call a pro for a simple swap. Grab a bucket, clear out the cleaning supplies, and get ready to work in a tight space. You’ll have this finished in no time.
The fastest way to remove these pipes is to unscrew the slip nuts by hand or with a pair of pliers. Place your bucket under the drain to catch any water that spills out, but keep a dry towel nearby just in case. Once you loosen the nuts on the ends of the pipes, the pieces will slide right off.
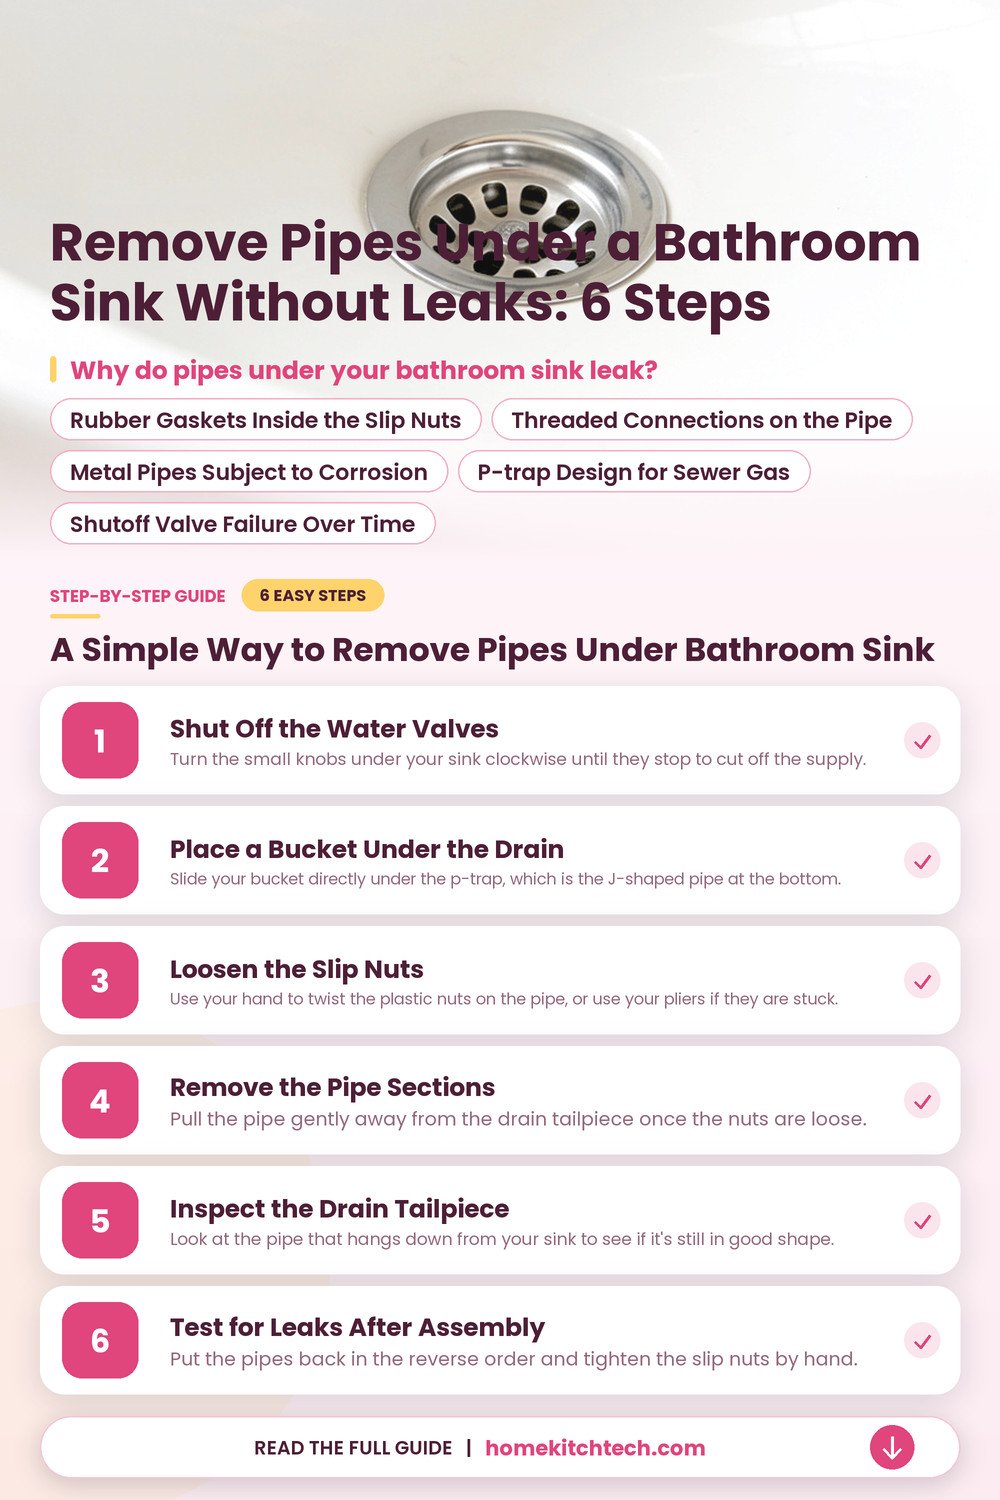
Why Do Pipes Under Your Bathroom Sink Leak?
Pipes under your sink often leak because the seals have dried out, or the metal has corroded over many years. A slow drip points to a loose connection, but you can fix it.
Rubber Gaskets Inside the Slip Nuts
The rubber gasket seals, which sit inside the slip nuts, keep water from spraying out of your joints. These rings harden and crack as they age, so they don’t hold a tight seal anymore. A damp spot on the floor tells you one of these failed, so check them first. You’ll likely find a replacement at your local hardware store.
Threaded Connections on the Pipe
The threads on your pipes allow the nuts to grip tight, but they pull the joints together only when aligned. You’ll find that these threads get worn down if you twist them too hard. Once the threads strip, the nut won’t stay put. You should replace the section if the plastic is damaged, as a loose nut won’t hold.
Metal Pipes Subject to Corrosion
Old metal pipes rust through. Thin brass or chrome flakes away. You see tiny pinholes, so water seeps through the metal. Harsh water eats away at the finish. This happens fast, so replace them with plastic.
P-Trap Design for Sewer Gas
The curved pipe, which is your p-trap drain, holds a small pool of water to stop sewer gas from coming up. You hear a gurgle if this trap dries out, or if a crack lets air inside. Keep this section in good shape, so your bathroom stays smelling fresh. Check for any small leaks, as that water barrier is important.
Shutoff Valve Failure Over Time
The valves that control the water flow under your vanity get stuck if you don’t turn them once in a while. You realize they are failing if you try to stop the flow, but find the handle spins or leaks. The valves that control the water flow under your vanity get stuck, so you might need a pro to replace them.
A Simple Way to Remove Pipes Under Bathroom Sink
You’ll need a bucket, a pair of tongue-and-groove pliers, and a few old towels to keep your floor dry. Set aside about 30 to 45 minutes for this job, and make sure you have enough light to see behind the cabinet.
Shut Off the Water Valves
Turn the small knobs under your sink clockwise until they stop to cut off the supply. You should test the faucet to make sure no water comes out before you loosen any parts. If the knobs feel stuck, don’t force them because you could snap the pipe. Call a pro if your valves won’t turn, as you don’t want a major water leak inside your vanity.
Place a Bucket Under the Drain
Slide your bucket directly under the p-trap, which is the J-shaped pipe at the bottom. This catches the water that stays trapped in the curve even after you turn the valves off. Keep a few old towels nearby to soak up any stray drops. It’s a small mess, but having your gear ready makes it much easier to manage.
Loosen the Slip Nuts
Use your hand to twist the plastic nuts on the pipe, or use your pliers if they are stuck. You’ll want to turn them counter-clockwise to loosen the grip on the pipe ends. If the nuts are metal, be gentle so you don’t scratch or dent the finish. Work on the nut closest to the wall first, then move to the one under the sink.
Remove the Pipe Sections
Pull the pipe gently away from the drain tailpiece once the nuts are loose. The pieces will slide out of the drain assembly one by one. If they feel stuck, give them a tiny wiggle to break the seal of old gunk or plumber’s putty.
- Keep the bucket steady to catch all the leftover water.
- Use a rag to wipe down the threads on the pipes.
- Check the rubber gaskets for any signs of dry rot.
- Set the old parts aside so they don’t roll away.
Inspect the Drain Tailpiece
Look at the pipe that hangs down from your sink to see if it’s still in good shape. You might find a buildup of hair or soap scum that needs a quick scrub with a brush. If you see deep cracks in the metal, you should replace this part before you put the system back together. Use a soft cloth to clean the threads so your new nuts seat properly.
Test for Leaks After Assembly
Put the pipes back in the reverse order and tighten the slip nuts by hand. Turn your water valves back on slowly and check each joint with a dry paper towel. If you see any moisture, give the nut a tiny turn with your pliers to snug it up. You’ll know it’s fixed if the connections stay dry for five full minutes.
Can You Damage the Sink Drain While Removing Pipes?
Forcing a stuck pipe is the fastest way to crack your porcelain sink basin, or to loosen the drain flange. You might think a little extra muscle will help, but that pressure often travels straight to the delicate connection at the bottom of your sink. If that seal breaks, water will leak into your cabinet.
Use a firm, steady grip on your wrench instead of jerking it suddenly. If the nut doesn’t budge after a gentle turn, add a small amount of penetrating oil spray to the threads and let it sit for ten minutes. Patience keeps you from a much larger and more expensive repair job later.
Keep your movements slow, and avoid putting stress on the pipes behind the wall. A sudden slip can twist the supply line, or damage the thin metal of the drain tailpiece. Stop immediately if you feel the fixture start to wobble, and check your angle before adding more force.
What Does It Cost to Replace Bathroom Sink Plumbing?
Buy new parts for $20 to $60, depending on the material you choose. Finish the job in about 60 to 90 minutes if you have your tools ready. Most local hardware stores carry the standard sizes you need to get your bathroom vanity sink draining properly again.
Save money by doing it yourself, provided you have a clear view of the connections and enough space to work. Keep a bucket ready for the water that stays inside the trap. It’s a simple project, but it’s important to have a new rubber washer for every joint you disconnect.
- Use plastic slip nuts to prevent future rust issues.
- Wear rubber gloves when handling old, dirty drain pipes.
- Measure your pipe diameter before you head to the store.
- Keep your old parts to compare with the new ones.
Does the Age of Your Sink Affect Pipe Removal?
Older sinks often feature heavy brass pipes, which have fused together over decades of use. You’ll find that these older connections don’t turn as easily as the modern plastic ones, which are found in newer homes. If yours is from the 1970s or earlier, prepare for a long and slow process of cleaning the threaded pipe ends before they will finally release.
Modern sinks use lightweight materials, which are much easier to disconnect with basic hand tools. Check for signs of dry rot on the rubber seals, because they can crumble into dust when you move the pipe. Regardless of age, always support the weight of the drain pipe assembly as you loosen the last nut to keep it from falling.
Why Do Pipes Under the Sink Get Clogged So Easily?
Soap scum and hair build up inside the curves of your trap every single day, so the flow slows down. You’ll notice the water draining slower than it did last month, which is the first sign that a thick sludge is forming. This mess narrows the path for water, and it catches even more debris as it passes through the narrow pipe sections.
Heat from your hot water helps keep the grease moving, but it won’t clear out the solid objects that get trapped. Once a small item gets caught, it acts like a net for every bit of lint that goes down the drain. Prevent this by using a fine mesh screen to catch hair before it ever enters your pipes.
- Clean your drain trap every few years for better flow.
- Avoid pouring cooking grease into any bathroom sink drain.
- Remove debris from the trap by hand with a rag.
- Check the stopper for hair buildup at least monthly.
When Should You Call a Plumber for Sink Pipes?
Stop immediately if you see water dripping from inside the wall, or from the underside of the vanity floor. This indicates a leak that your simple tools can’t reach, and you need a professional to open up the structure safely. Pay for a quick visit, but avoid the risk of damage to your floorboards or subfloor.
Find the main shutoff valve, and test if it is stuck or leaking when you turn it. Stop and call for help if it doesn’t move. You don’t want to risk snapping that valve, which would cause water to spray everywhere until the main house supply is cut off. A pro has the right gear to replace that valve without damaging your plumbing system.
Sometimes, the drain pipe is so corroded that it crumbles when you touch it. If you suspect your pipes are too weak to hold up, don’t try to force them apart. A plumber can swap the whole setup in an hour, which gives you confidence that your sink won’t leak again.
Final Thoughts
Remove your sink pipes by taking your time, staying organized, and working slowly. Keep a bucket handy for the residual water, and protect your fixtures as you go. If a connection feels impossible to move, use a little oil and wait rather than forcing the metal. Your patience is the best tool you have for keeping your bathroom dry and your plumbing in good shape.
| Item | Likely Cause | Easy Fix |
|---|---|---|
| Leaking P-trap | Worn rubber gasket | Tighten or replace |
| Stuck slip nut | Mineral buildup | Use penetrating oil |
| Slow drainage | Hair and soap | Clear the trap |
| Corroded pipe | Age and moisture | Replace with plastic |
| Drip at valve | Loose packing nut | Tighten with wrench |
| Loose drain tail | Impact or vibration | Realign and tighten |
Frequently Asked Questions
Can I Reuse the Old Slip Nuts?
It’s usually better to replace them, especially if they show signs of rust. New nuts seal much better, and they won’t strip the threads on your new pipes.
Do I Need Plumber’s Putty?
You’ll need it if you’re replacing the drain flange inside the sink basin itself. If you’re only swapping the pipes underneath, you won’t need any putty at all.
Is It Safe to Use a Pipe Wrench?
Better not, because a heavy pipe wrench can easily crush thin plastic pipes. Use a pair of slip-joint pliers or your hands for a gentle touch.
Will Water Spray Out When I Open the Pipe?
Only a small amount of water will come out, if you’ve already closed the shutoff valves. You’ll be fine, as long as you keep a bucket underneath the trap.
How Do I Know If the Pipes Are the Right Size?
Measure the diameter of your current pipe before buying any parts. Most bathroom sinks use a standard 1.25 inch size, but it’s worth checking.
Should I Use Chemical Drain Cleaners Before Removing Pipes?
No, skip those chemicals because they can splash back and burn your skin when you open the pipes. It’s safer to just remove the trap and clean it.
