
As an Amazon Associate, I earn from qualifying purchases at no extra cost to you.
Clean a Bathroom Mirror Without Streaks: 5 Methods

With every splash of water or spray of hairspray, your mirror catches a little bit of everything. It’s frustrating to wipe it down, only to see streaks appear the second the light hits it. You aren’t doing anything wrong, but your choice of cloth or cleaner usually causes the mess. Let’s fix that for you right now.
You can get a clear reflection in about five minutes, using a simple vinegar solution. Skip the paper towels, which leave behind tiny fibers and lint. Reach for a clean microfiber cloth instead, and wipe the glass in a consistent pattern. You’ll see a streak-free shine every time.
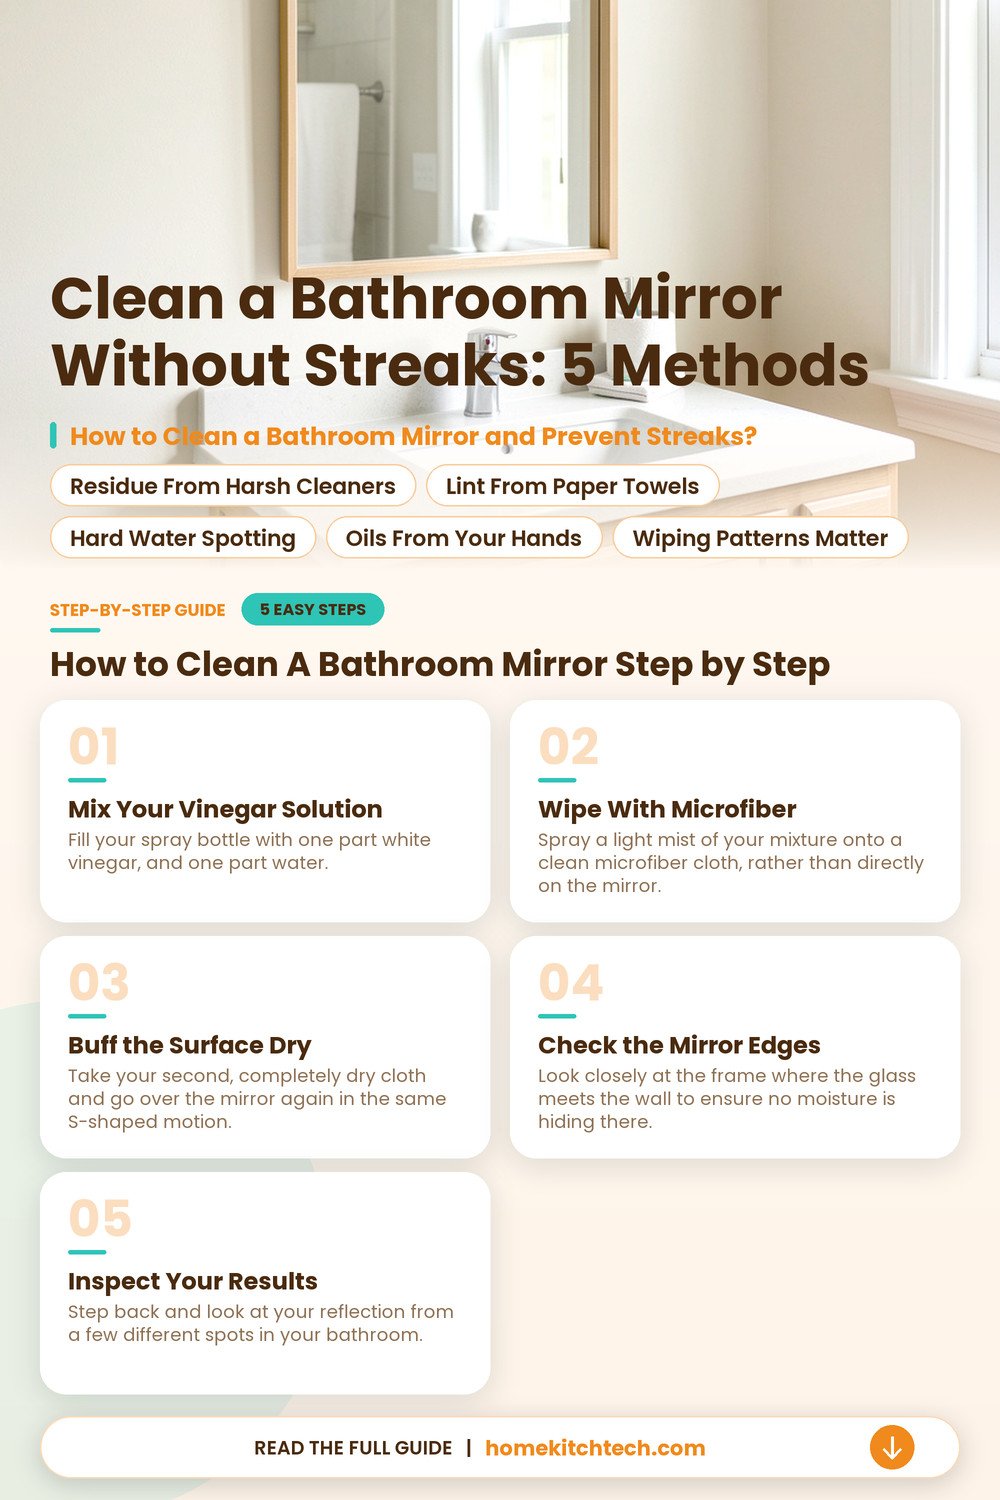
How to Clean a Bathroom Mirror and Prevent Streaks?
Streaks happen because you’re using too much product or the wrong kind of rag. When you leave a heavy layer of cleaner on the glass, it doesn’t evaporate evenly.
Residue From Harsh Cleaners
Many store-bought sprays contain soaps or waxes meant to polish surfaces, but they just create a film on glass. You’ll notice this cloudy mineral film over time as the mirror looks duller. It attracts dust and moisture from your shower, which makes your next cleaning job even harder.
Lint From Paper Towels
Paper towels absorb liquid, but they break down into tiny pieces when they get wet. You’re rubbing fuzzy paper lint into the glass while you try to clean it. These fibers catch the light, making your mirror look messy again within minutes.
Hard Water Spotting
If you splash your mirror while washing your face, the water leaves behind minerals as it dries. You’ll see these as small white dots. They need a mild acid, like vinegar, to break down the hard water deposits before you buff the glass.
Oils From Your Hands
Every time you touch the surface, you leave behind natural skin oils that smear easily. You’ll see these nasty fingerprint smudges clearly when the sun hits the glass. They act like a magnet for dust, which is why your mirror looks dirty again so quickly.
Wiping Patterns Matter
Move your cloth in a steady, S-shaped motion across the whole surface instead of random circles. This method pulls the grime off the glass rather than letting it sit in a swirl. You’ll find it saves you time and effort.
How to Clean a Bathroom Mirror Step by Step
You’ll find that a few simple items from your kitchen turn a messy chore into a quick task. Grab a spray bottle, white vinegar, and a few microfiber cloths before you start. Expect to finish in under ten minutes, provided you keep your supplies within reach.
- Use distilled water to prevent new mineral spots from forming later.
- Keep two separate cloths handy, one for wiping and one for buffing.
- Avoid cleaning your mirror while the sun is hitting it directly.
Mix Your Vinegar Solution
Fill your spray bottle with one part white vinegar, and one part water. Shake it gently to make sure it’s mixed well, but don’t overdo it. This homemade glass cleaner cuts through soap scum and oils without leaving a heavy film behind. If the smell of vinegar bothers you, add a few drops of lemon juice to freshen it up.
You don’t need a fancy bottle, just one that sprays a fine mist. A light coating is all you need, so don’t soak the glass. Too much liquid will run down the mirror and pool behind the frame, which can damage the backing over time.
Wipe with Microfiber
Spray a light mist of your mixture onto a clean microfiber cloth, rather than directly on the mirror. Start at the top corner, and work your way across in a steady S-shaped pattern. This microfiber cleaning cloth lifts dust and grime without shedding lint. You’ll want to cover the entire surface, including the edges, to ensure a uniform shine.
If you spray the glass directly, drips are almost certain to happen. Catch any stray drops immediately with your cloth to prevent them from drying. Keep your strokes even, and don’t press too hard, as you’re just lifting the surface dirt.
Buff the Surface Dry
Take your second, completely dry cloth and go over the mirror again in the same S-shaped motion. This step is the secret to a streak-free shine, because it removes any remaining moisture before it can spot. You’ll see the glass turn perfectly clear as the last of the vinegar solution disappears. Make sure your cloth stays dry, or you’ll just be moving moisture around again.
Check the Mirror Edges
Look closely at the frame where the glass meets the wall to ensure no moisture is hiding there. Run your dry cloth along this seam to soak up any stray droplets, and pay attention to the corners. Water that sits here is the enemy of your mirror, as it can cause black spots to grow over time. Keep this area dry to protect the silvering on the back of the glass.
If you see a stubborn spot, buff it firmly with your dry cloth. You shouldn’t need more cleaner if you were thorough earlier. A quick once-over ensures you didn’t miss a corner or leave a smudge behind.
Inspect Your Results
Step back and look at your reflection from a few different spots in your bathroom. You’ll quickly see if any streaks remain under the bathroom lights. If everything looks clear, you’re done and you can put your supplies away. A clean mirror makes your whole room look brighter and more put together.
You’ll probably find that doing this once a week keeps the buildup from getting out of hand. It’s much faster to maintain a clean mirror than to scrub away months of grime. Enjoy your clear view.
Can Harsh Chemicals Damage Your Bathroom Mirror?
You might think a strong cleaner works best, but it often ruins your silver backing layer. These chemicals seep into the edges and eat away at the reflective surface, which creates those permanent black spots you see. Once the damage starts, it won’t go away, so handle your glass with care.
Skip the ammonia or bleach cleaners when you tackle your bathroom mirror cleaning. These products are far too aggressive for the delicate finish. You should reach for mild soap or plain water instead, so you keep your glass safe from harm and preserve the finish.
- Avoid glass cleaners that contain ammonia or strong acidic ingredients.
- Keep all liquid cleaners away from the bottom edge of glass.
- Use a soft cloth to apply your cleaner instead of spraying.
Why Does Your Bathroom Mirror Develop Black Spots?
Age is the main culprit for those dark edges that appear over time. Moisture from your daily shower works its way behind the glass, which causes the delicate reflective coating to oxidize. Once air and water reach that silver layer, the mirror begins to degrade from the inside out.
Heat from your bathroom also speeds up this process. If your ventilation isn’t great, the steam hangs around and finds every tiny gap in the seal. You’ll notice the spots start at the corners or the bottom edge, where water naturally sits for longer periods.
You should use spacers to create a small air gap between the glass and the wall. This allows for airflow, which prevents trapped moisture from ruining your mirror. It’s a simple step that saves your mirror from early failure.
- Keep your bathroom fan running for 20 minutes after your shower.
- Check the edges of your glass for any peeling or cracks.
- Use a dehumidifier if your space stays damp for many hours.
How Much Does Professional Mirror Cleaning Usually Cost?
Most pros charge about $50 to $150 to clean and inspect your mirrors, depending on the size and mounting. This price covers a deep cleaning and a check of the seals to see if they need any touch-ups. If you have a massive wall-to-wall mirror, you might pay a bit more for the extra time it takes.
You can do this job yourself in about 15 to 20 minutes with the right tools. It’s a simple task that doesn’t need fancy equipment, just a bit of patience and a good light source. You’ll save your money for other home improvement projects by keeping up with the cleaning yourself.
If you don’t have the time or if the mirror is mounted way up high, calling a pro is a safe bet. They have the right ladders and reach tools to get those top corners without you risking a fall. It’s worth the cost if you’re worried about your own safety, or if you have a large decorative mirror that is hard to reach.
Do Different Mirror Materials Need Special Cleaning Care?
Antique mirrors with a silvered finish need much gentler handling than modern glass. These pieces have thin, fragile coatings that scratch if you look at them wrong. Stick to a dry, soft cloth for these, and only use a tiny bit of water when you absolutely must.
Frameless mirrors need extra attention at the edges, where the glass is exposed. Water loves to hide in those spots, so wipe them dry immediately after cleaning. You’ll find that clear edges keep your mirror looking fresh and prevent the delicate silver backing from peeling away. Use a soft microfiber towel for dusting these pieces.
- Use distilled water to prevent mineral buildup on antique glass surfaces.
- Wipe frameless edges with a dry cloth after every single cleaning.
- Keep a soft chamois cloth for dusting delicate or vintage mirrors.
When Should You Replace Your Bathroom Mirror?
If you see major black spots that cover more than a few inches, it’s usually time to look for a new one. No amount of cleaning will bring back the reflection, once the mirror backing layer has flaked away. You’re better off spending your time and energy on a fresh piece that looks sharp.
Sometimes, the problem isn’t the mirror, but the mounting clips or the wall behind it. If the mirror feels loose or the clips are rusted, fix those parts before the glass falls. Take a look at your setup, and decide if a quick repair will keep it sturdy for you.
When you decide to replace it, look for mirrors with sealed edges to prevent future water damage. A good seal keeps the moisture out, and it protects your new mirror investment for a long time. You’ll be glad you made the upgrade when your bathroom looks bright and clear again.
Final Thoughts
Avoid harsh cleaners and dry the edges after every shower to keep your mirror clear. You don’t need expensive products to get a streak-free shine, so skip the store-bought sprays. Use a soft cloth and a light touch to keep your glass in great shape. Check your mirror seals today, because catching issues early prevents larger problems.
| Surface or Item | Tool or Product | Time Needed |
|---|---|---|
| Bathroom mirror | Microfiber cloth | 5 to 10 minutes |
| Antique glass | Dry soft cloth | 10 to 15 minutes |
| Frameless edges | Absorbent towel | 2 to 5 minutes |
| Mounting clips | Screwdriver | 10 to 20 minutes |
| Mirror backing | Sealant tape | 15 to 30 minutes |
| Wall surface | Dehumidifier | 1 to 2 hours |
Frequently Asked Questions
Can I Use Newspaper to Clean My Mirror?
It’s better not to. Modern newsprint ink can transfer onto your mirror surface or the frame, which leaves you with a mess that’s hard to remove. Use a clean microfiber cloth instead.
Should I Use Vinegar for My Mirror?
Yes, you can. Mix equal parts water and white vinegar in a spray bottle to make a safe cleaner that won’t damage your silver backing layer.
Will a Hair Dryer Fix Mirror Spots?
No, it won’t. Once you see black spots, the backing is already gone, so heat won’t bring back the silver finish. You should look for a replacement mirror instead, if the spots are large or ugly.
Does Steam Hurt My Mirror?
It does, if you don’t vent it. Steam that sits on your mirror eventually finds its way behind the glass, and it ruins the seal over time.
Are Glass Cleaners with Ammonia Safe?
No, they aren’t. Ammonia eats through the edges of your mirror, which causes those dark, ugly spots to spread across your glass. It’s much safer to use a simple vinegar solution for regular cleaning.
How Do I Prevent Streaks?
Buff the surface dry with a clean, lint-free cloth after you wipe it. This removes the leftover moisture that causes those annoying streaks to form as the glass dries.
