
As an Amazon Associate, I earn from qualifying purchases at no extra cost to you.
Replace a Bathroom Outlet: 7 Steps for a GFCI Swap

So you’ve noticed your bathroom outlet isn’t powering your hair dryer or your toothbrush charger anymore. It’s frustrating when you need a quick start to your morning, but the power just won’t come on. Most bathrooms have a special safety outlet that shuts off if it detects a problem, and sometimes, they just wear out over time. You can swap one out safely if you follow a few clear steps.
The quickest way to fix this is to install a new ground fault circuit interrupter, which is often called a GFCI. Grab a new outlet, a screwdriver, and a non-contact voltage tester to check that the power is off. Turn off the breaker at your main panel first. This job takes about 30 to 45 minutes to finish properly.
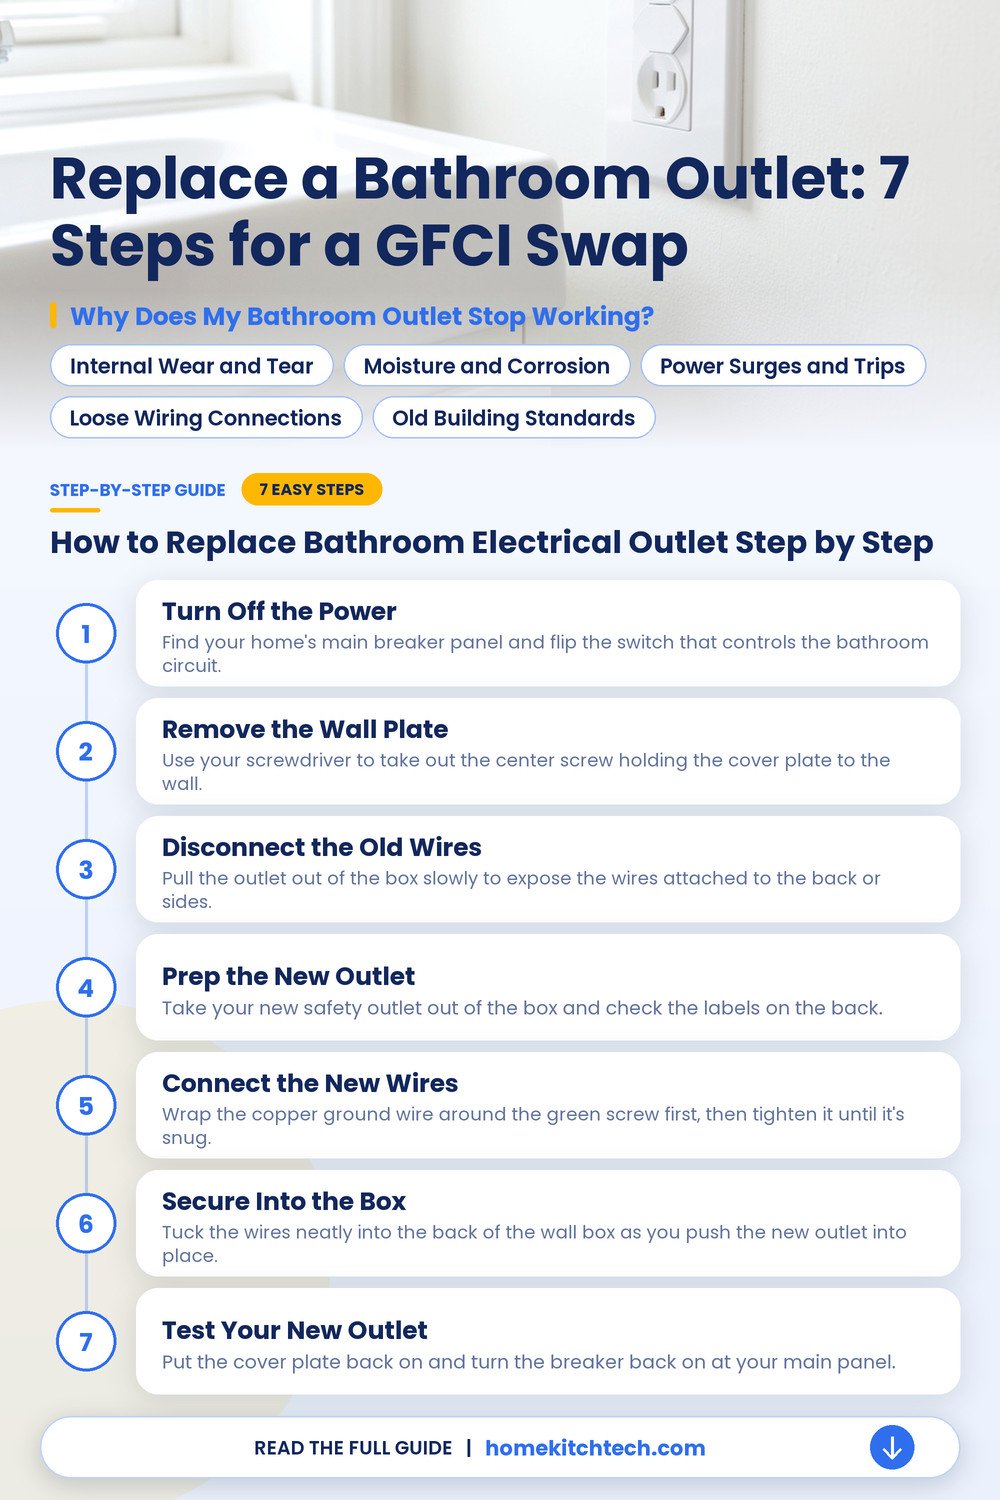
Why Does My Bathroom Outlet Stop Working?
Your bathroom has a special outlet designed to cut power if it senses moisture or a short. These units have internal parts that can fail after many years, leaving you with no electricity at the sink.
Internal Wear and Tear
These devices contain complex sensors that monitor current constantly. Over many years of use, the mechanical parts inside can wear down or jam. You’ll notice the reset button stops clicking, or it refuses to stay in the pushed-in position. That’s a sign your faulty electrical outlet has reached the end of its life.
Moisture and Corrosion
Bathrooms are damp places, and even with good ventilation, tiny amounts of water vapor get into everything. This moisture causes slow corrosion on the metal contacts inside your box. Once the metal corrodes, the electricity can’t flow through the connection point reliably. You’ll see green or white crust if you open the wall plate.
Power Surges and Trips
Electrical surges from your home’s main system can overwhelm the sensitive components in your safety outlet. When a surge hits, the device trips permanently to protect your home. If you’ve tried pushing the reset button and nothing happens, the internal fuse may have blown for good. You’ll need to remove the damaged power receptacle to inspect the wires.
Loose Wiring Connections
Vibration from nearby fans, or just the natural settling of your home, can loosen the screw terminals. If a wire isn’t tight against the contact, the connection won’t stay steady. You’ll notice the power flickers when you plug something in, or move the cord. You must pull the device out to tighten the screws.
Old Building Standards
Homes built before the 1970s, which often used different types of wiring, don’t match modern safety standards. If your house has old, stiff wires, they might not fit the newer, safer outlets you buy at the store today. You’ll find it difficult to get a good connection if the wires are brittle or too short. A pro can help if you’re stuck with fragile electrical wiring.
How to Replace Bathroom Electrical Outlet Step by Step
You’ll find that swapping an outlet is a straightforward project if you take your time and stay organized. Plan for about an hour of work, and keep a bright flashlight nearby to see the back of the wall box. Make sure you have the right tools, including a pair of wire strippers and a standard screwdriver.
Turn Off the Power
Find your home’s main breaker panel and flip the switch that controls the bathroom circuit. You must confirm the power is off by using a non-contact voltage tester on the outlet before you touch anything. Don’t skip this test, as it’s the only way to ensure you’re working on a dead circuit. If the light on the tester stays dark, you’re safe to start.
Remove the Wall Plate
Use your screwdriver to take out the center screw holding the cover plate to the wall. Pull the plate off gently, and put the screw in a small bowl so you don’t lose it. You’ll see the mounting screws for the outlet at the top and bottom of the box. Unscrew these to free the device from the wall.
Disconnect the Old Wires
Pull the outlet out of the box slowly to expose the wires attached to the back or sides. Note which wire connects to each color terminal, as this matters for the new one. Loosen the side screws to release the black, white, and copper wires. If the wires look burnt or brittle, call a licensed electrician, as you don’t want to handle damaged wiring.
Prep the New Outlet
Take your new safety outlet out of the box and check the labels on the back. You’ll see terminals marked for the line and the load, which is where your power comes in and goes out. Strip a tiny bit of insulation off the wires if the ends look frayed or damaged. A clean wire ensures a strong, long-lasting connection.
Connect the New Wires
Wrap the copper ground wire around the green screw first, then tighten it until it’s snug. Connect the white neutral wire to the silver screw and the black hot wire to the brass screw. Make sure you tighten every terminal screw firmly so the wires won’t slip out later. Tug on each wire gently to verify it’s held tight under the screw head.
Secure Into the Box
Tuck the wires neatly into the back of the wall box as you push the new outlet into place. Try to keep the wires from bunching up, which makes it hard to screw the device in straight. Line up the top and bottom holes with the box mounts and drive the screws in until the plate sits flush against the wall.
- New outlets often cost between $15 and $30 at local hardware stores.
- Always check with your local building office about needing a permit for electrical.
- Get three written quotes if you decide to hire a professional for this job.
- Prices for a professional installer change based on your city and local labor rates.
Test Your New Outlet
Put the cover plate back on and turn the breaker back on at your main panel. Push the reset button on the front of the outlet to make sure it clicks into place. Plug in a lamp to confirm you have power, then press the test button to ensure it trips and cuts power as it should.
How Do I Replace 1970s Bathroom Socket Fixtures?
Old homes often have original wall outlets that lack the safety features found in modern versions. You’ll find these older units have only two slots, but modern plugs require three. Pull them out with care, because the wiring behind the wall might be brittle or lack a dedicated ground wire.
Check your local code requirements before you start the job. Some areas force you to upgrade every outlet near a sink to a ground fault circuit interrupter, which prevents shock. Your local building office can tell you if a permit is needed for your specific wiring setup.
Grab a non-contact voltage tester to confirm that the power is truly off before you touch any wires. If you see cloth-covered or damaged insulation, stop and call a pro. Keep your work area dry, and never attempt to modify your electrical system if you feel unsure about the path of wires.
Can I Afford to Replace the Outlet Myself?
Replacing a single outlet usually costs about $10 to $25 for the part itself. You can save money by doing it yourself, but a pro will charge about $100 to $200 per visit if you prefer to hire someone. Get three written quotes, so you can see how the local labor rates compare in your neighborhood.
Set aside about 30 to 60 minutes for this project. The time includes turning off the power, removing the old plate, and securing the new GFCI safety receptacle into the box. You’ll move faster if you have your tools ready, and know exactly which breaker controls your bathroom circuit.
Decide if your skills match the task before you open the wall box. If the wiring looks complex, or you can’t identify the ground wire, it’s better to pay a professional. A mistake here isn’t worth the risk of a fire or a shock, so stay honest about your comfort level with electrical repair jobs.
Why Do These Outlets Fail So Often?
Moisture in your bathroom, which lingers after a shower, slowly eats away at the internal metal parts of your socket. This corrosion stops the connection from working, so the outlet feels loose or stops delivering power. Heat from high-wattage hair dryers also contributes to the wear you see inside the box.
Repeated trips to the breaker indicate that your system is working harder than it should. You might have too many devices plugged in, or the internal safety mechanism has simply reached the end of its life. Check the age of your home, and the condition of the wires if the problem keeps coming back to your bathroom electrical outlet.
- Replace outlets that feel warm to the touch after use.
- Use a tester to check for current at the receptacle.
- Tighten loose wall boxes to prevent future wire damage.
- Keep water splashes away from the open wall face.
What Are the Biggest Safety Risks?
Turn off the main breaker before you start, as this is the most important step. You’ll risk a dangerous shock if you assume the power is off without using a tester on every single wire. Always double-check your work with a tool that glows near live electricity.
Connect the wires to the right terminals, as mixing up line and load is a frequent error. Your new part won’t protect you if you connect it backward, so follow the diagrams in your manual closely. Tag each wire with tape as you remove it, so you know exactly where it goes later.
Tighten every screw, and never force a wire into a terminal if it feels too tight. You might strip the threads, or cause a bad connection that leads to sparking. If you encounter a crowded wall box with too many wires, call a pro to keep everything safe.
When Should I Call an Electrician?
Call for help if you see burnt spots on the plastic, or smell a faint, fishy odor. These signs point to overheating, which your home tools can’t fix. A pro has the right equipment to trace hidden issues inside your wall that might be causing the frequent power trips.
Stop what you’re doing if the wires in your wall look charred or brittle. You’ll need an expert to pull new wire, or fix the damaged sections, before the outlet can be used again. It’s a small price to pay for your safety, and the health of your home electrical system.
Final Thoughts
Swap out an old bathroom outlet as a standard task, but keep your full attention on the project. Prioritize safety by checking that the power is off and using the correct parts for a wet location. If you ever feel doubtful, or see signs of damage beyond a simple swap, reach out to a licensed professional.
| Symptom | Likely Cause | Easy Fix |
|---|---|---|
| Outlet feels loose | Worn internal springs | Replace the unit |
| Power trips often | Moisture or overload | Install GFCI model |
| Warm plastic cover | Loose wire connection | Tighten the screws |
| No power present | Tripped circuit breaker | Reset the switch |
| Cracked face plate | Physical impact | Swap the cover |
| Sparking on plug | Corroded metal contacts | Clean or replace |
Frequently Asked Questions
Can I Use a Standard Outlet Instead of a GFCI?
No, skip that. Your local building code requires a GFCI outlet near any water source because it protects you from shock. You’ll need the version with the test and reset buttons to keep your bathroom safe.
Do I Need to Turn Off the Main Breaker?
Yes, you must turn off the main breaker to stay safe. You’ll want to check the power with a tester to make sure no current flows to the outlet before you touch any wires.
Is It Hard to Match the Wire Colors?
It’s straightforward if you pay attention. You’ll see black, white, and green or bare wires, and you just match them to the corresponding screws on your new outlet.
Will Any Outlet Work in My Bathroom?
Better not, because you need a moisture-resistant model for your bathroom. Look for the specific label on the box to make sure it’s built for your humid space.
Should I Use Tape on the Wire Connections?
You can wrap electrical tape around the sides of the outlet to cover the screws. It’s a good way and a simple trick to prevent accidental contact with the metal box inside your wall.
What If My Wires Don’t Have a Ground?
It depends, so check the instructions on your new GFCI unit. You might need to add a ground wire or use a specific setting to make sure your home stays safe.
