
As an Amazon Associate, I earn from qualifying purchases at no extra cost to you.
Change a Bathroom Pull Switch: 6 Steps With Power Off

All you want is for the light to turn on when you tug the cord. Instead, you’re standing in the dark with a limp string that doesn’t trigger the click. It’s a common nuisance in bathrooms, where moisture works its way into the mechanism over the years. You can swap the unit yourself with a few simple tools, and a little patience goes a long way.
You can finish this job in about 30 to 45 minutes. Grab a new switch, a screwdriver, and a non-contact voltage tester to keep things safe. Turn off the power at your breaker box first, then check that the lines are truly dead. Follow the steps carefully to connect the wires, and seal the housing back up.
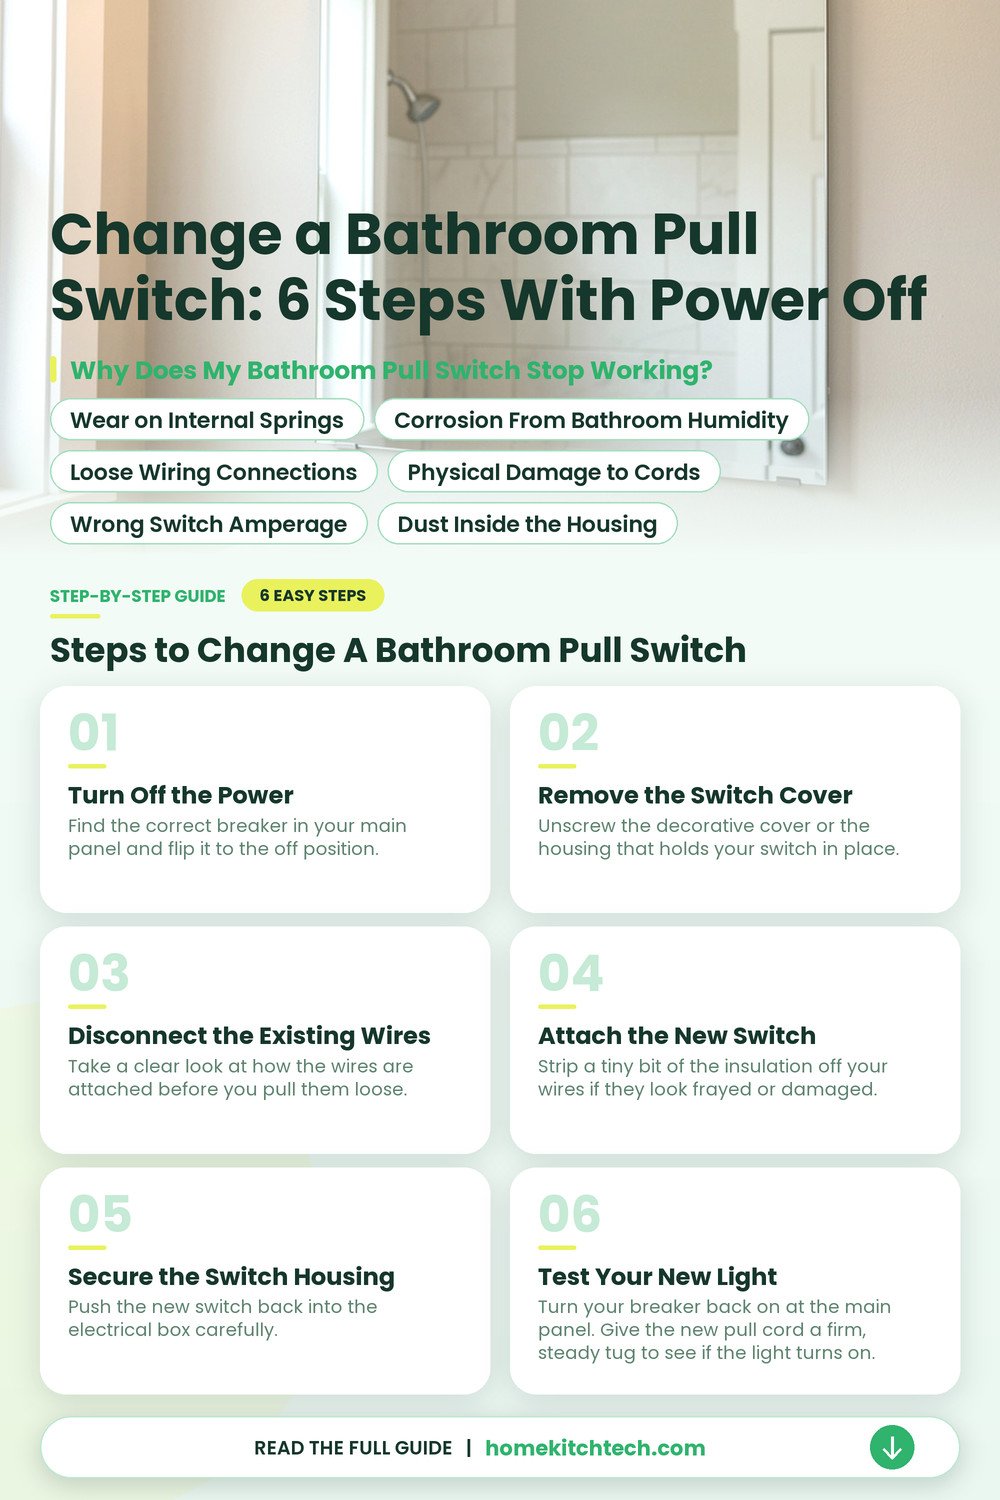
Why Does My Bathroom Pull Switch Stop Working?
Mechanical parts inside the switch housing wear out from constant tension. You’ll notice the small spring loses its snap, or the contact points get corroded from your bathroom’s humid air.
Wear on Internal Springs
The internal mechanism relies on a tiny spring to snap the contacts together. That metal fatigues over time, so it loses the tension needed to complete the circuit. You’ll find the pull cord resistance feels mushy, or it lacks that satisfying click when you tug it. Once the spring fails, the switch stays stuck.
Corrosion From Bathroom Humidity
Steam from your shower creates a wet environment, and it isn’t kind to electrical hardware. Moisture seeps into the housing, which causes the metal contacts to oxidize, rust, and fail. You see a green or white crust forming on the internal wiring connections when you finally open the unit. This stuff blocks the flow of electricity, so the switch becomes unreliable or totally dead.
Loose Wiring Connections
Vibrations from the wall, or constant tugging, can loosen the screws holding your wires in place. When the connection isn’t tight, electricity can’t flow smoothly to the bulb. You’ll hear a faint buzzing, or you see the light flicker before the switch stops working entirely. A loose wire is a fire hazard, so address this quickly if you suspect the connection has wiggled free.
Physical Damage to Cords
The string itself is often the weak point of the whole assembly. It rubs against the plastic housing every time you use it, leading to fraying and eventual snapping. If the cord breaks off flush with the switch, you can’t reach the mechanism to pull it manually. You’ll need to open the unit to replace the cord, but it’s often easier to just install a new switch.
Wrong Switch Amperage
Not every switch is built to handle the same amount of power. If you installed a light fixture that draws more current than the switch is rated for, the contacts will overheat and weld together. You’ll notice the plastic switch casing feels warm, or it looks slightly melted around the edges. Always check that the replacement part matches the power requirements of your light fixture.
Dust Inside the Housing
Fine dust from towels settles inside the switch housing over the years. This debris gets stuck between the contact points. It prevents them from touching properly. You’ll find the switch feels gritty, or it sticks when you try to operate it. Replace the switch instead of cleaning it, as these units are usually sealed.
Steps to Change a Bathroom Pull Switch
You’ll need to clear some space under the light to work comfortably. Expect to spend about 40 minutes on the task, and keep your non-contact voltage tester close by. Start by turning off the power at the breaker, as this is the most important step to keep you safe.
Turn Off the Power
Find the correct breaker in your main panel and flip it to the off position. Check the light to confirm it doesn’t turn on, then use your voltage tester on the switch housing to be certain there’s no power. Don’t skip the testing step, as you need to be sure the wires are safe to touch. It’s a quick move that prevents a nasty shock.
Remove the Switch Cover
Unscrew the decorative cover or the housing that holds your switch in place. You might need a small flathead or Phillips screwdriver to loosen the mounting screws. Set the screws aside in a safe spot so they don’t roll away on the bathroom floor. Gently pull the switch out from the wall or ceiling box to reveal the wires.
Disconnect the Existing Wires
Take a clear look at how the wires are attached before you pull them loose. You’ll usually see two wires connected to the back of the switch. Loosen the terminal screws to release the wires, or pull the push-in connectors if your model uses those. If the wires look burnt or brittle, call an electrician to inspect the circuit before you proceed.
Attach the New Switch
Strip a tiny bit of the insulation off your wires if they look frayed or damaged. Wrap each wire around the new terminal screws in the direction the screw turns, then tighten them down firmly. Ensure no bare copper is touching the metal box or other wires. Give each wire a gentle tug to make sure it’s locked in place.
- Use a wire stripper to expose about half an inch of copper.
- Wrap the wire around the screw clockwise to ensure a tight fit.
- Tighten the terminal screws until they don’t budge under a light pull.
- Tuck the wires back into the box without pinching any of them.
Secure the Switch Housing
Push the new switch back into the electrical box carefully. Make sure you aren’t pinching any wires against the sides of the metal or plastic box. Line up the mounting holes and drive your screws back in until the unit is flush against the wall. Don’t overtighten the screws, as you might crack the new plastic housing.
Test Your New Light
Turn your breaker back on at the main panel. Give the new pull cord a firm, steady tug to see if the light turns on. If it works, you’ve successfully finished the job and restored your bathroom light. If the light doesn’t come on, turn the power off again and recheck your wire connections to ensure they are secure.
Can I Replace Just the Bathroom Pull Cord?
You can swap out the string without touching the electrical switch housing at all. Simply cut the old cord near the knot, and tie your new one to the remaining piece of the mechanism. This works well if the inner spring is still snappy, and the light turns on with a firm tug.
Sometimes, the cord snaps because the old material has dried out, or it frayed near the top. If your switch feels heavy, or it sticks when you pull, the problem likely lives inside the plastic wall box. You’ll need to open the unit to check if the internal parts are still moving freely.
Keep the new cord long enough so you don’t have to reach up too high. A loop at the end helps you find it in the dark, and it saves your fingers from rubbing against the wall. Just make sure the knot is tight, so it doesn’t pull through the small eyelet hole again.
- Use a sturdy nylon cord for the best long-term results.
- Keep the new string at least six inches long for comfort.
- Trim any extra length with sharp scissors after tying the knot.
- Check the plastic eyelet for sharp edges that might cut cord.
What Does a New Bathroom Pull Switch Cost?
Buy the part yourself for between $10 and $25. You’ll find these switches at any local hardware store, and they come in a few standard styles. A pro adds a labor fee, which often lands between $75 and $150 depending on your city.
Take about 30 to 45 minutes to finish the project if you have your basic hand tools ready. Spend most of that time checking the power, and carefully tucking the wires back inside the wall. If you run into old wiring or a crowded box, you might need a little extra time to clear the space.
Handle this job yourself if you have a steady hand and a clear head. You don’t need fancy gear, just a screwdriver and a way to know the power is off. If you feel nervous about the wires, call an electrician to avoid any risk of a nasty electrical shock.
When Should I Call an Electrician for My Switch?
Stop your work immediately if you see burnt plastic, or if you smell something odd near the box. These signs suggest that the internal electrical contacts have melted or shorted out. Call an electrician to check the wall box, and make sure your wiring is still safe to use.
Call for help if the breaker trips again after you finish the job. This usually means there’s a problem with the circuit itself, or a hidden short somewhere in the line. Don’t keep trying to reset the breaker, as that can lead to heat buildup and a fire.
Reach out to a pro if the old switch box is buried too deep in the plaster, or tile, to reach comfortably. A pro has the right tools to extend the box, or fix the mount, without damaging your wall. Pay for an hour of help, because it’s much cheaper than repairing a cracked bathroom wall.
How Does the Switch Age Change the Fix?
Old switches often use different wiring setups than the ones you find on store shelves today, so pay attention. You might see two wires or three, and the colors could be faded or confusing. Always take a photo of the connections before you remove the old unit, so you know exactly where everything goes.
Modern switches are safer, and they fit more snugly into the wall plates you already have. If your current switch is over twenty years old, it’s a good idea to update it even if it still works. The plastic can become brittle, and the internal springs lose their mechanical snap strength over time.
Check the back of the new switch to see if it needs a ground wire. Some newer models require a dedicated green or copper wire for safety, which your old box might lack. If you don’t see a ground wire in your wall, check the manual to see if the model is compatible.
Different brands have slightly different ways of grabbing the wires. Some use push-in connectors, while others have small screws that you tighten down. You’ll want to choose a style that feels familiar, so you can get a solid, lasting connection that won’t wiggle loose and cause a flickering bathroom light.
- Take a clear photo of the wiring before you disconnect anything.
- Check the box for a ground wire before buying a switch.
- Match the amperage rating to your existing light fixture specs.
- Buy a matching wall plate if the old one looks yellowed.
Is It Dangerous to Use a Wet Cloth Near the Switch?
Never use a damp cloth to clean your switch, because your unit is connected to the power. Even a tiny amount of moisture can travel into the box, and it can create a path for electricity. Wipe the surface with a completely dry microfiber cloth, and keep your bathroom safe.
You might make the mistake of using sprays to clean the cord, or the plastic cover. These liquids can seep inside, and they cause the metal parts to rust or stick. If you need to clean the area, turn off the breaker first, and use a dry brush to knock off dust and lint.
Leave the power off if you accidentally get water on your switch, and wait for it to dry for at least twenty-four hours. Use a fan to speed up the process, but don’t force air into the box. If you see any sparks or hear buzzing, keep the power off and call a pro to check your exposed electrical wires.
Final Thoughts
Replace a pull switch by respecting the power, and always take your time. Check that the circuit is dead with a tester before you touch any wires. A little patience during the wiring phase prevents most common headaches, and it helps the light work for a long time.
| Symptom | Likely Cause | Easy Fix |
|---|---|---|
| Light flickers | Loose wire | Tighten screws |
| Cord stuck | Broken spring | Replace switch |
| No power | Tripped breaker | Reset switch |
| Switch stiff | Dust inside | Clean unit |
| Buzzing noise | Arcing contact | Replace unit |
| Cord frayed | Normal wear | Change string |
| Light dim | Bad connection | Re-strip wire |
| Cover loose | Cracked plastic | Tighten plate |
| Switch warm | Overload | Check wattage |
| Box crowded | Too many wires | Use smaller unit |
Frequently Asked Questions
Is It Safe to Use a Metal Screwdriver on the Switch?
Yes, you can use one, but check that the handle has a thick rubber grip. You must turn off the power at the breaker first to keep yourself safe from any accidental contact with live parts.
Can I Install a Dimmer Switch with a Pull Cord?
No, skip that idea, as pull switches aren’t designed for dimming. You’ll need to install a wall-mounted dimmer if you want to change the light intensity in your bathroom.
Does the Amperage of the Switch Matter?
Yes, it does, so check the rating on your old unit before you buy a new one. You need to match the amps to make sure the switch handles your light safely without overheating.
How Do I Know If the Power is Truly Off?
Use a non-contact voltage tester by holding it near the wires inside the wall box. If the device stays silent and doesn’t light up, you’re clear to start your work.
Are All Pull Switches the Same Size?
No, they come in various shapes and mounting styles. You should measure the diameter of your current mounting hole to make sure the new switch fits your existing plate.
Should I Replace the Wiring Along with the Switch?
Only if the insulation looks brittle or cracked. If your wires look solid and flexible, you can keep them, but trim the ends to get fresh metal for your connection.
