
As an Amazon Associate, I earn from qualifying purchases at no extra cost to you.
Fit Bathroom Wall Panels Yourself: 7 Steps for a Clean Finish

One look at your old, stained bathroom tiles is enough to make you want a change. Tearing them out creates a mess, but covering them with smooth panels is a much faster way to get that fresh look. You don’t need a pro to pull this off if you have a few hours and the right tools. Grab your tape measure and let’s get to work.
You can install bathroom wall panels by cleaning your surface, measuring your space, and gluing the sheets directly over the existing wall. This method skips the demolition phase entirely, saving you days of hard work. Just keep your walls dry and level during the process, and you'll have a clean, waterproof finish that lasts for years.
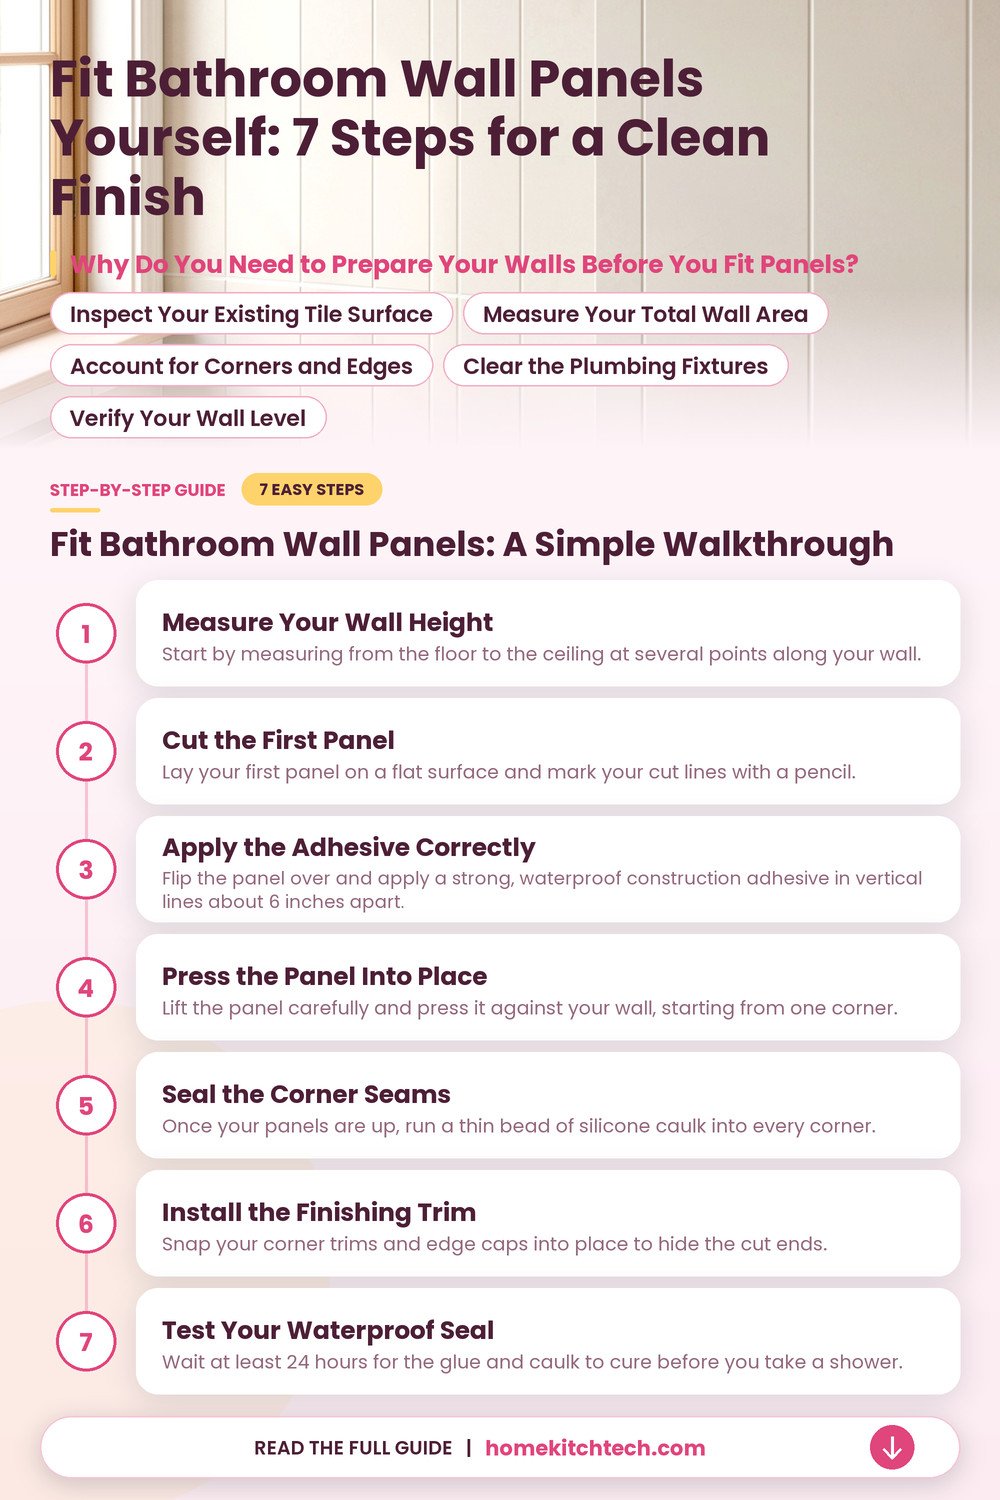
Why Do You Need to Prepare Your Walls Before You Fit Panels?
You must start with a flat, dry surface. Bumps will show through your new panels later, so check for loose tiles or deep cracks. Fill them first to keep the finish smooth.
- Allow about 4 to 8 hours for a standard bathroom wall.
- Expect to spend $200 to $600 depending on the panel material.
- Skip porous surfaces like raw drywall unless you apply a primer.
Inspect Your Existing Tile Surface
Check each tile to make sure it’s firm. If a tile wiggles when you press on it, pull it off and fill the hole with a patching compound so your wall stays flat.
You’ll also need to scrub the whole area to remove soap scum and oils. If you skip this, the adhesive won’t stick well. Your panels might pull away over time.
Measure Your Total Wall Area
Take your tape measure, and mark the height and width of every wall you plan to cover. Double check these numbers, because panels are expensive. You don’t want to buy more than you actually need, so measure twice.
Account for Corners and Edges
Corners are the trickiest part. Plan how your panels will wrap around them before you cut anything. You’ll likely need plastic trim pieces to hide the edges where two panels meet, or where the wall meets the ceiling. This keeps your corners looking neat, but be sure to leave a tiny gap for movement.
Clear the Plumbing Fixtures
Remove your faucet handles and shower heads so you can slide the panels behind them easily. It’s much cleaner to cut a hole in the panel for the pipe, instead of trying to fit the sheet around a fixed object. You’ll avoid awkward gaps this way, and the final look will be much more professional.
Verify Your Wall Level
Use a long level to see if your walls are straight from top to bottom. If they lean, you’ll need to trim your first panel to match the slope. This keeps your final corner from looking crooked.
Fit Bathroom Wall Panels: a Simple Walkthrough
You’ll find that fitting these panels is mostly about careful measuring and steady hands. Set aside a full weekend so you don’t feel rushed, and keep your workspace clear of dust to ensure the glue holds tight.
Measure Your Wall Height
Start by measuring from the floor to the ceiling at several points along your wall. Even if your house seems straight, floors often slope, so you’ll want to adjust your cuts for the lowest point. Take your time with these marks, as a wrong measurement now means a gap later. You should check the distance at both ends of every wall.
Cut the First Panel
Lay your first panel on a flat surface and mark your cut lines with a pencil. Use a fine-tooth saw to slice through the material, which keeps the edge from splintering and leaves a clean line. You want a smooth finish, so go slowly with the saw. Always wear your safety glasses while you work.
Apply the Adhesive Correctly
Flip the panel over and apply a strong, waterproof construction adhesive in vertical lines about 6 inches apart. Don’t put the glue too close to the edge, or it might squish out and ruin your clean finish. You want enough to hold, but not so much that it creates a mess.
Press the Panel Into Place
Lift the panel carefully and press it against your wall, starting from one corner. Hold it firmly for a minute or two to let the glue grab hold. You might need a second pair of hands to keep it steady while you push.
- Use a level to ensure your first panel is perfectly vertical.
- Tap the panel gently with a rubber mallet to secure it.
- Wipe away excess glue immediately before it starts to harden.
Seal the Corner Seams
Once your panels are up, run a thin bead of silicone caulk into every corner. This keeps water from sneaking behind your new wall, which protects your home from hidden rot. You should smooth the caulk with a finger or a small tool for a professional look.
Install the Finishing Trim
Snap your corner trims and edge caps into place to hide the cut ends. These pieces give your room a polished look while acting as an extra barrier against splashes. You’ll find that these small parts make the whole room look finished and clean.
Test Your Waterproof Seal
Wait at least 24 hours for the glue and caulk to cure before you take a shower. Check around the edges for any spots that look loose, and add a tiny bit more caulk if you see a gap. You’ll know you finished right if the water beads up on the surface and stays off your wall.
How Much Does It Cost to Fit Bathroom Wall Panels?
Expect to pay about $500 to $1,500 for a small bathroom, depending on the quality of your chosen materials. You can easily do this task yourself over a long weekend, if you have basic tools and a bit of patience. Grab your reliable measuring tape and a level to keep things straight as you go.
Most of your budget goes toward the panels themselves, which vary widely in price based on thickness and finish. Don’t forget to include the cost of your strong adhesive tubes and the trim pieces that hide the cut edges. You’ll save a lot of money compared to hiring a professional, as labor costs often double the total price.
Think about the cost of renting a truck, if your panels are too large to fit in your car. Some stores offer delivery, but that adds another $50 to $100 to your bill. You should check the return policy for any damaged pieces before you leave the store.
Gather your supplies, and set up a clear workspace in your garage or driveway. You’ll need a circular saw or a jigsaw to make your cuts, plus a caulk gun for the glue. Clean your work area, so your panels don’t get scratched before they reach your bathroom wall surfaces.
- Buy extra panels to cover mistakes during your first few cuts.
- Use a high-quality silicone sealant to keep your bathroom watertight.
- Wear safety glasses when you cut through your new wall material.
What Are the Most Common Mistakes When Fitting Panels?
Avoid the trap of skipping the wall prep. Even a small bump can make your panels sit unevenly. If your walls aren’t flat, your neat corner joints won’t meet correctly, and water might sneak behind them. Scrape off old paint or loose plaster before you start.
Many people forget to leave a small gap for expansion near the floor and ceiling. If you run your panels tight against the edges, they can buckle when the temperature shifts. Use a spacer to keep a 1/8-inch gap, which you’ll cover later with your sturdy trim pieces.
Check your layout twice before you apply any glue to the back of the panel. Once you press it to the wall, that adhesive grabs hard. Don’t try to move the panel, because you’ll ruin the back surface if you pull it off. Use a level wall surface to guide your work.
- Apply your adhesive in vertical lines to allow moisture to escape.
- Keep your panels level during the install to prevent visible gaps.
- Clean off any excess glue immediately before it dries on panels.
Can You Fit Panels Over Old Tiles or Drywall?
Yes, you can fit your new panels right over existing tiles, if they’re solid and clean. Make sure the surface is free of dust or debris, or your glue won’t stick. You’ll need to use a heavy-duty adhesive designed for sticking plastic or laminate to ceramic surfaces.
Skip the panels, if your current wall has loose tiles or crumbling drywall behind it. If the base isn’t stable, your new wall will fail, and you’ll have to tear everything out anyway. Fix your damaged wall structure first to keep your new bathroom look for a long time.
Think about the thickness of your new wall when you fit it over existing tile. You might need to adjust your faucet handles or shower valves to account for the extra depth. Most plumbing extensions are cheap, and simple to add if you have the right tools.
Check if your local building codes allow for a double layer of wall material in your shower area. Some areas prefer you to strip back to the studs to prevent mold growth between the layers. Look for the rules on your city website, or call the local office to ask.
- Sand your glossy tiles to help the new adhesive grab hold.
- Keep the wall surface dry and clean before you start.
- Check that your wall studs can hold the extra panel weight.
Why Do Panels Sometimes Warp or Pull Away?
Heat from your shower, and moisture in the air, can cause your panels to expand and contract. If you didn’t leave that expansion gap, the material has nowhere to go and will push away from the wall. You’ll see the edges start to lift, or the seams separate, after a few hot showers. Use flexible silicone sealant to stop this.
Bad glue choice is another reason your panels might fail over time. If you use a cheap adhesive that doesn’t handle dampness, the bond will weaken as soon as humidity hits it. You need a waterproof construction adhesive that stays flexible enough to move with your walls.
Sometimes, the wall behind the panels is damp, which rots the wood and kills the bond. If you didn’t seal your seams with quality silicone, water will leak into your wall and cause real damage. You’ll notice a soft spot on your wall, or a musty smell, if this happens to your bathroom wall panels.
- Use only waterproof silicone to seal every single corner seam.
- Check for signs of leaks behind your panels every six months.
- Avoid using harsh cleaners that might break down your panel finish.
When Should You Call a Pro for This Job?
Stop and call a pro, if you find signs of rot or mold deep in your wall studs. You’ll need to replace that wood to keep your home safe, and that’s a job for someone with experience. A plumber can also help, if you’re not comfortable moving your pipes to fit the new wall depth.
Hire help if you’re dealing with a large bathroom that requires complex cuts around windows or slanted ceilings. Use a professional for these tricky areas, because getting those angles perfect takes practice and a few specialized tools that you might not want to buy. A professional will finish the job much faster, and keep your bathroom wall surfaces looking sharp.
Keep in mind that some warranties on high-end panels require a certified installer to do the work. If you try to do it yourself and something goes wrong, you might lose your coverage. Read the paperwork that came with your panels, and look at the specific warranty terms before you make your first cut.
Final Thoughts
Update your space by fitting your own bathroom wall panels, instead of spending a fortune on tile. Focus on getting your walls level, and leave enough room for the material to expand as the temperature changes. Take your time with the measurements, keep your tools clean, and you’ll enjoy a fresh look for many years.
| Symptom | Likely Cause | Easy Fix |
|---|---|---|
| Panel bowing out | No expansion gap | Trim the edge |
| Water leaking | Poor silicone seal | Apply fresh caulk |
| Glue not grabbing | Dusty wall surface | Clean with degreaser |
| Uneven seams | Unlevel first panel | Use a level |
| Panel loose | Weak adhesive | Add more glue |
| Visible gaps | Bad measurements | Use trim strips |
Frequently Asked Questions
Can I Fit Bathroom Wall Panels Directly to Studs?
Yes, you can, but you’ll need to check that your studs are perfectly flat and spaced correctly. If your studs are uneven, your panels will look wavy. Use shims to level them out before you attach anything.
Do I Need a Special Saw to Cut the Panels?
You don’t need expensive gear. A fine-tooth blade on a circular saw works best for this. If you use a blade with too many teeth, you’ll chip the surface.
Are Bathroom Wall Panels Waterproof?
Most panels are made of waterproof plastic or laminate, but they’re only as good as your seals. Don’t skip the sealer, or you’ll risk mold growth in your bathroom.
Can I Paint Over Bathroom Wall Panels?
Better not, because the finish on most panels is designed to repel water and grime. Paint won’t stick well to these surfaces. You’re better off picking a different style from the start.
Will My Old Shower Still Work with Panels?
It depends on how much space you have, but you might need to extend your pipe fittings. Since the panels add thickness, your current faucet might sit too deep. You’ll find cheap extension kits at most hardware stores.
How Do I Clean My New Wall Panels?
You only need a soft cloth and a mild soap to keep them looking like new. Don’t use abrasive scrubbers or harsh chemicals, because they can scratch the surface.
Can I Fit Panels in a Rented Home?
It’s usually not a good idea, since the adhesive is hard to remove without damaging the wall. You’ll likely lose your security deposit. Check your lease agreement, but expect to leave the walls as you found them.
Do I Need to Seal the Top of the Panels?
Yes, you should seal the top edge if water can splash there. Even if the area isn’t inside the shower, a bead of silicone prevents moisture from running down behind your panels. It keeps your walls dry.
