
As an Amazon Associate, I earn from qualifying purchases at no extra cost to you.
Moen Bathroom Faucet Slow Water Flow? 5 Fixes to Try

Whether your bathroom sink is barely dripping or just acting sluggish, a weak stream is enough to ruin your morning. You’ll likely see the water pressure drop slowly over time until it’s just a tiny trickle. It’s frustrating, but you can usually fix this yourself without buying expensive new parts. Let's get that water flowing again.
The most common cause is mineral buildup trapped in the aerator, which is the small screen at the tip of your faucet. Check the aerator first because it’s the easiest spot to reach. You’ll need a pair of pliers and a cloth to protect the finish, so grab those tools and try this simple fix.
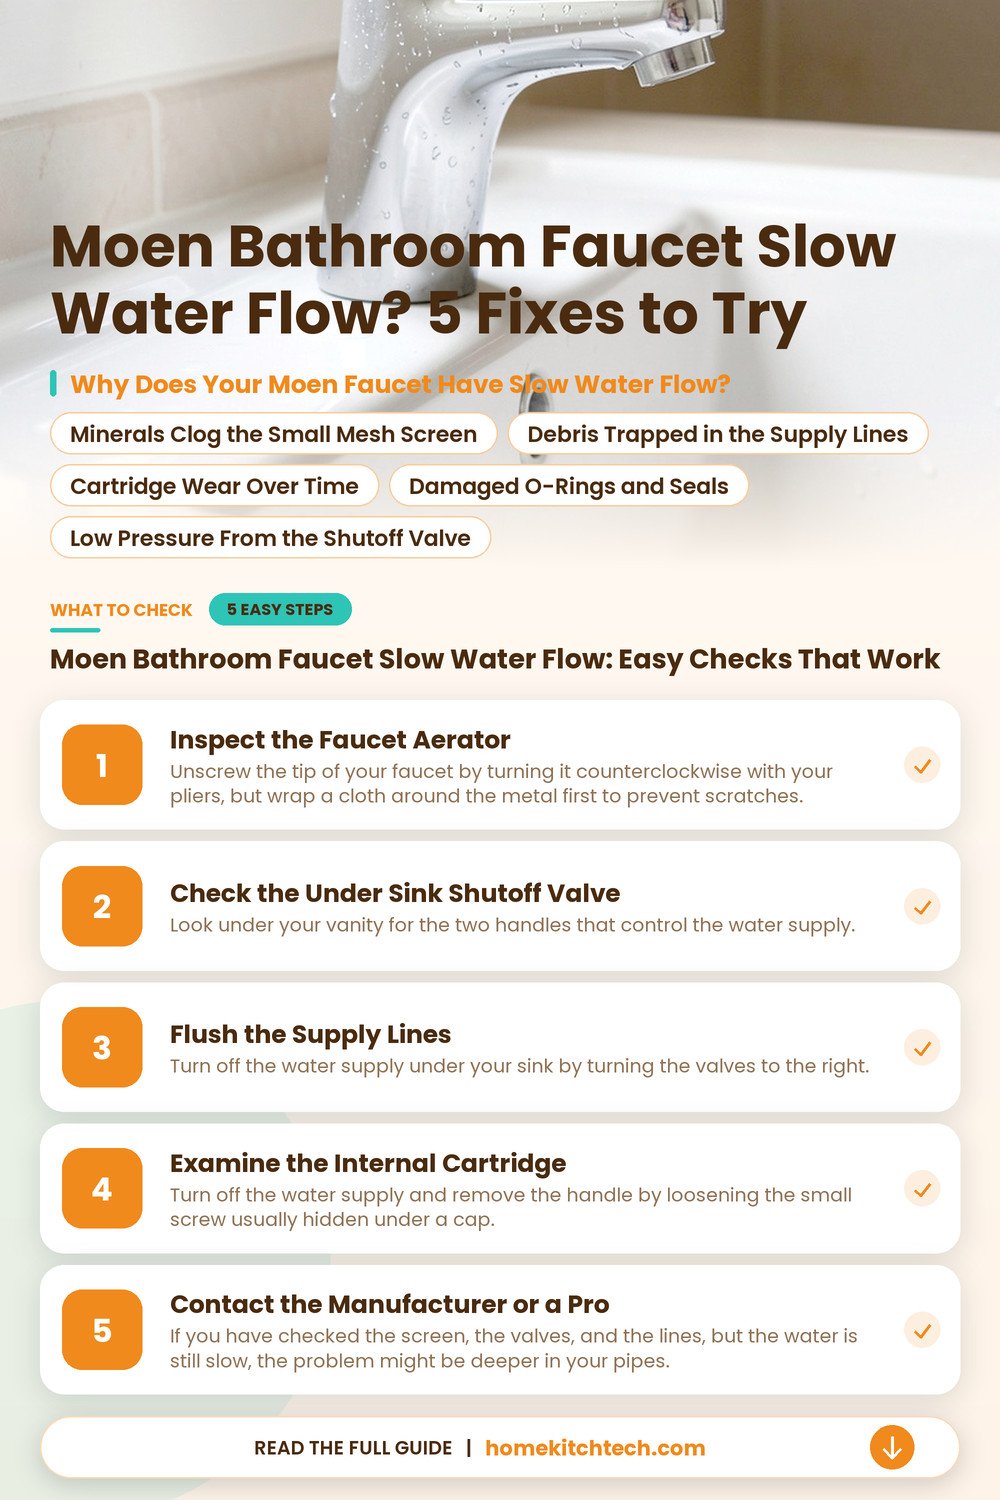
Why Does Your Moen Faucet Have Slow Water Flow?
Your faucet loses pressure when tiny bits of grit or minerals block the path of the water. You’ll notice the spray pattern looks uneven, because these particles physically stop the water from passing through your bathroom faucet aerator.
Minerals Clog the Small Mesh Screen
Hard water leaves behind crusty deposits that build up inside the tiny holes of your screen. You’ll see white or tan flecks when you unscrew the tip. These bits act like a dam, holding back the water and slowing your flow to a crawl.
Debris Trapped in the Supply Lines
Grit from your pipes sometimes travels up and gets stuck right before the water reaches the handle. You will hear a difference in the flow if the blockage is deep inside the valve. This usually happens after a water main repair in your neighborhood knocks loose old sediment.
Cartridge Wear Over Time
The internal part that controls your water flow, known as the faucet cartridge unit, can wear down after many years of use. It has tiny rubber seals that might get stiff, or they get clogged with mineral deposits. You’ll notice the handle feels harder to turn when this part starts to fail.
Damaged O-Rings and Seals
Rubber seals inside the base of your unit keep water from leaking where it shouldn’t be. If one of these breaks or gets twisted, it can restrict the movement of the valve. You’ll see water leaking around the handle, and the flow is often much weaker than normal.
Low Pressure From the Shutoff Valve
The small valve under your sink controls how much water enters the faucet. You might have accidentally bumped it, or it could be stuck halfway after years of sitting in one spot. Check this first, as it’s a quick fix that doesn’t involve taking your handle apart.
Moen Bathroom Faucet Slow Water Flow: Easy Checks That Work
You will need a few basic tools like pliers and a small wrench to get this job done, so grab a bucket and some old towels to catch any water that spills. It is a good idea to keep the drain plugged, but you should also work carefully so you do not lose any tiny screws.
Inspect the Faucet Aerator
Unscrew the tip of your faucet by turning it counterclockwise with your pliers, but wrap a cloth around the metal first to prevent scratches. You will likely find a collection of sand or white crust stuck in the screen. Rinse the faucet aerator under the tap, and use an old toothbrush to scrub away any stubborn bits. If the mesh looks damaged or stays clogged after a good scrub, you can buy a replacement at a hardware store for a few dollars. Screw it back on by hand until it feels snug, but do not overtighten it or you might crack the plastic threads inside.
Check the Under Sink Shutoff Valve
Look under your vanity for the two handles that control the water supply. Make sure both are turned fully to the left, which is the open position. You might find that one was only half-open, which limits the water reaching your sink. Turn the handle back and forth a few times to make sure it is not stuck. If it feels stiff, do not force it, or you could snap the stem. Gently work it until it moves smoothly and stays in the full open position.
Flush the Supply Lines
Turn off the water supply under your sink by turning the valves to the right. Disconnect the supply lines from the faucet, placing your bucket underneath to catch the water that drains out. Ask a second person to hold the lines inside the bucket while you briefly turn the water back on. This quick flush forces out any loose sediment hiding in the lines. If the water comes out with strong pressure into the bucket, your pipes are clear. Reconnect the lines, tighten the nuts, and turn the water back on slowly to check for leaks.
Examine the Internal Cartridge
Turn off the water supply and remove the handle by loosening the small screw usually hidden under a cap. Pull the handle off to reveal the faucet cartridge unit underneath, then use a wrench to carefully unscrew the retaining nut and pull the piece straight out. Inspect the rubber seals for any cracks or debris that might be blocking the water flow. If you find any damage, take the old piece to the store to match it with an exact replacement. Slide the new one in, tighten the nut, and reattach your handle.
- A faulty cartridge often needs a full replacement to fix flow issues.
- Always keep your drain closed so small screws do not fall down.
- Use a cloth on your wrench to protect the shiny metal finish.
Contact the Manufacturer or a Pro
If you have checked the screen, the valves, and the lines, but the water is still slow, the problem might be deeper in your pipes. Call a licensed plumber if you suspect a leak inside the wall or if the water pressure is low in every room. You can also visit the manufacturer’s website for help with your specific model number.
Only a pro should handle issues inside the wall or if the main shutoff valve will not turn. They have the right tools to reach what you cannot and will know if there is a bigger issue with your home plumbing. It is better to call them than to risk a major flood in your bathroom.
Why Does Your Old Faucet Run So Slow?
Flow drops when your faucet internal parts get tired after years of daily service. Hard water leaves mineral deposits that act like a slow-growing dam in your pipes, so you’ll often see this happen in homes where the plumbing hasn’t been touched in years. Constant heat from your hot water line also makes rubber seals brittle, which restricts the path for water to reach your sink.
Sometimes, the problem isn’t the faucet at all, but a kink in the flexible supply lines under your vanity. You might have bumped these during a recent cleaning session, so they could be bent enough to pinch off the flow. Check the area beneath the basin with a bright flashlight to see if anything looks twisted. It’s a common issue that happens when you reach for extra storage space.
Age plays a big part in how well your hardware performs over the years. Metal bits can corrode or flake off, which then travel upward and get stuck in your faucet flow restrictor. You can’t stop the passage of time, but keeping the connections tight helps you avoid these clogs. Regular maintenance prevents the buildup from becoming a permanent headache.
- Minerals form a hard shell inside your pipes over ten years.
- Old rubber seals lose their shape and block the water path.
- Flexible supply lines can easily kink if you store heavy bottles.
Is It Dangerous to Force a Stuck Handle?
You could snap the handle or damage the valve if you pull too hard when it feels stiff. Always remember that your faucet is made of precision parts, and brute force usually leads to a much bigger repair. If the lever won’t budge, back off and use a little bit of penetrating oil to loosen the internal grit. It’s much better to take your time than to deal with a broken stem.
Never mix different types of drain cleaning chemicals if you’re tempted to pour something down the drain to fix a slow flow. These liquids can heat up and damage your pipes, and they might even release harmful fumes if they meet other products. Protect your eyes and skin from these harsh liquids, so wear gloves and goggles if you choose to use them.
Keep a bucket and thick towels ready before you even turn a wrench on your faucet mounting nuts. If you see water dripping down the wall or pooling near the floor, stop immediately and shut the main water line off. A quick call to a pro saves your vanity from rotting, and it’s safer than risking a leak.
- Strong chemicals can melt the plastic parts inside your faucet valve.
- Use a light touch to avoid snapping the stem inside the body.
- Thick towels catch surprise spills before they soak into your floor.
When Should You Call a Pro for Help?
Call a plumber if you find that the shutoff valve handle won’t turn, because you don’t want to break the pipe inside your wall. Pushing a seized valve often leads to a spray of water that you can’t easily stop. If you’ve already tried cleaning the parts and the flow is still just a trickle, a pro can reach what your tools can’t. Sometimes, the issue is deep in the home plumbing system.
Stop and call for backup if you aren’t sure how to take your specific model apart. Many modern faucets have tiny set screws that disappear if you drop them, or hidden clips that break when you pull the wrong way. A local plumber brings the right parts and the experience to get the job done, so you’ll save yourself from a long afternoon of frustration.
- Seized shutoff valves require a pro to replace without pipe damage.
- Pro plumbers carry specialty tools for removing stuck or corroded cartridges.
- Hidden leaks inside a wall need professional detection and repair equipment.
Can You Fix This Yourself on a Budget?
You can handle most minor flow issues with just a few basic tools like a wrench and a toothbrush. Most repairs cost under $20 if you just need a new faucet aerator screen or some vinegar to soak the gunk away. If you find that the internal cartridge is shot, you’ll spend about $30 to $60 for a genuine replacement part. You’ll save a lot of money by doing the work on a Saturday morning.
Expect to spend about 30 to 60 minutes on the job. Turn off the water, drain the lines, and take the handle off before you look for the problem. It’s a fiddly process, especially if you haven’t done it before, so don’t rush the steps. Lay out your parts on a clean towel to keep track of every tiny metal screw.
Follow the steps in your owner’s manual to learn how your fixtures function. You’ll feel much more confident the next time a faucet acts up because you already know where the internal valve parts live. Read the guide before you start pulling things apart, and you’ll avoid guessing. It tells you exactly how your specific model comes together so you can work with confidence.
How Does the Brand Change Your Repair?
Every maker like Moen uses their own design for the faucet internal cartridge, so you must check your specific model number before you buy a replacement. A universal part won’t fit, and you’ll end up with a leak that’s worse than the slow flow you started with. Always look for the model number on your invoice, or the box if you kept it. You can also find it on the manufacturer’s website by looking at pictures.
Older faucets sometimes have parts that aren’t made anymore, which makes a simple repair a bit more complicated. You might need to buy an adapter kit or look for a compatible piece that works with your specific year of manufacture. It’s a common hurdle with vintage fixtures, so be prepared to do a little extra research online. Most companies still support their older lines with kits.
The material of your faucet, like brushed nickel finish, also matters when you’re cleaning the exterior parts. Don’t use a rough sponge, because it can scratch the finish and ruin the look of your sink. Use a soft cloth to keep things looking new while you work on the inside. It’s the little details that keep your bathroom looking sharp for years.
- Model numbers are usually found on the underside of the spout.
- Genuine parts fit better and last longer than cheap store knockoffs.
- Soft cloths protect your finish from scratches during the cleaning process.
Final Thoughts
Clear out the bits that block the water path to restore your faucet flow. Focus on the aerator and the cartridge first, as these are the most common spots for junk to settle. Keep your tools handy, and take your time when you pull the handle off. You will have your water running strong again once you clear that debris out.
| Symptom | Likely Cause | Easy Fix |
|---|---|---|
| Spray goes sideways | Mineral crust | Soak in vinegar |
| Handle feels stiff | Dry rubber seals | Apply plumber grease |
| Water barely drips | Clogged aerator | Rinse out mesh |
| Flow is very weak | Kinked supply line | Straighten the tube |
| Leak at the base | Worn O-ring | Replace the seal |
| Handle won’t turn | Corroded cartridge | Install new part |
Frequently Asked Questions
Can I Use Vinegar to Clean My Faucet?
Yes, you can use white vinegar to break up mineral crust. Just soak a cloth in it and wrap the cloth around the nozzle for an hour. You’ll see the white gunk soften, and then you can scrub it away with an old toothbrush.
Does the Shutoff Valve Need to Be Fully Off?
Yes, you should turn the valve until it stops completely to avoid a mess. If you notice it still drips, you’ll need to shut the water off at the main house line. Don’t start your work until you’re sure the water is off.
Will a New Aerator Fix a Weak Flow?
It depends, but it’s a great place to start your search. If your aerator is packed with sand or grit, a new one will make your water feel like new. You’ll find them for just a few dollars at any hardware store.
Are There Different Types of Faucet Cartridges?
Yes, there are many shapes and sizes for your specific model. You’ll need to remove the old one and take it with you to the store to get a match. Don’t guess, because you’ll want to get the right fit the first time.
Should I Use Plumber Grease on the O-Rings?
Yes, you should use a tiny bit of silicone grease to help the parts slide together. It keeps the rubber from drying out and makes your handle turn much smoother. You’ll only need a pea-sized amount for your repair.
What is the Best Way to Remove Hard Water?
You can use a descaler or just white vinegar to dissolve the crust. If you’re working on a chrome finish, don’t use anything too abrasive or you’ll scratch your metal. Your faucet will shine again once you wipe it dry.
