
As an Amazon Associate, I earn from qualifying purchases at no extra cost to you.
Fit Bathroom Wall Panelling: 6 Beginner Steps

When you look at your bathroom walls, you might see cracked tiles or peeling paint that makes the whole room feel tired. You can cover those old surfaces with new bathroom wall paneling to hide the damage quickly and give your space a fresh, clean look. It's a project that transforms the room in a single weekend. Just grab your tools, and get ready to start.
The quickest way to fit these panels is to use construction adhesive, but you'll need a steady hand. Measure your space, cut the panels to fit, and press them firmly against your walls. This process hides imperfections, so you won't face the massive cleanup that comes with removing old tile. Follow these steps, and you'll have walls that look brand new.
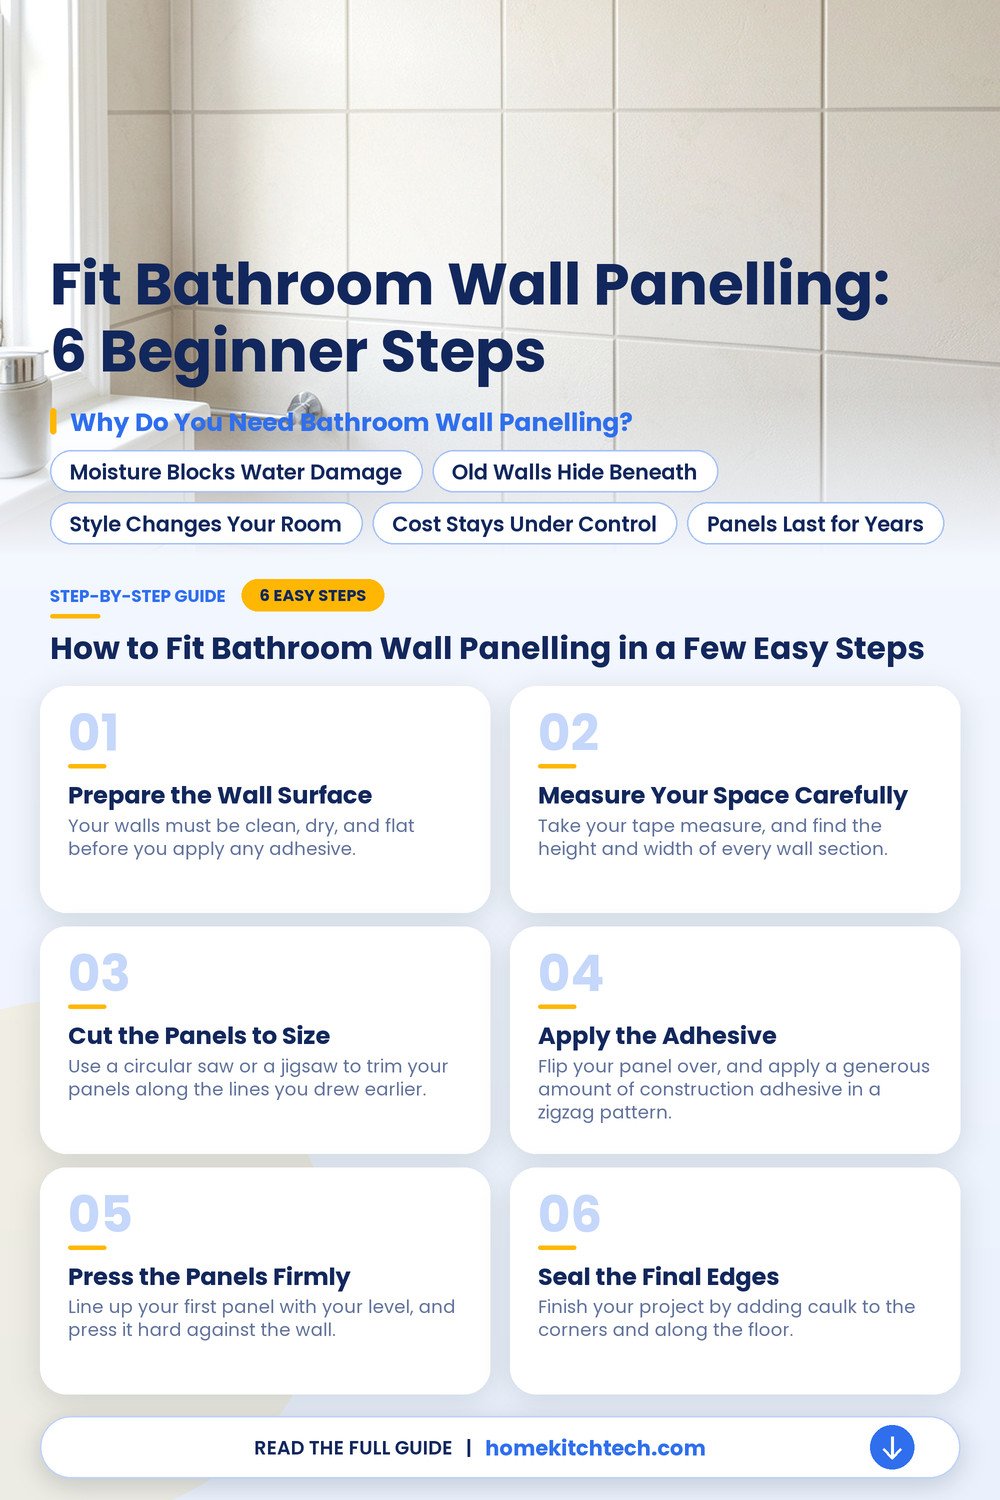
Why Do You Need Bathroom Wall Panelling?
Your bathroom walls face moisture every single day, which leads to peeling paint or crumbling drywall. These panels act as a protective layer, shielding your structure from water damage.
Moisture Blocks Water Damage
The main goal is to keep water away from your studs. If your surface is porous, steam from your shower slowly seeps behind the paint. These panels create a solid, water-resistant barrier that stops that process in its tracks. You'll stop the water damage risk before it starts, so your home stays sound.
Old Walls Hide Beneath
You might have walls that are uneven, or damaged from years of wear. Instead, of tearing out old, heavy tile, you simply cover it up. This avoids the massive dust and cleanup that comes with a full demo, so your wall surface prep is fast. You'll appreciate the time you save.
Style Changes Your Room
A fresh look makes a huge difference in how you feel when you step into your bathroom. You can choose from many textures, colors, and patterns that mimic wood or stone. It's the easiest way to give your bathroom a modern update, but you don’t have to spend a fortune.
Cost Stays Under Control
You'll save a lot of money by skipping a contractor for this job. Because you're doing the work yourself, your costs stay low. You only pay for the materials, the adhesive, and a few basic tools. The total project cost stays manageable, which keeps your bank account happy.
Panels Last for Years
Once you have them installed correctly, these panels stand up to daily use. They don’t crack like tile, and they don’t bubble like cheap wallpaper. You'll enjoy a durable surface that looks great for a long time. It's a smart choice for any busy home.
How to Fit Bathroom Wall Panelling in a Few Easy Steps
You'll spend about a day on this project if you have everything ready to go. Before you begin, clear your bathroom of any items that might get in the way.
- Buy enough panels to cover your total wall area plus ten percent extra.
- Use a high-quality, waterproof construction adhesive for a bond that lasts years.
- Keep a level handy to ensure your first panel sits perfectly straight.
- Wear safety glasses when you cut the panels to protect your eyes.
Prepare the Wall Surface
Your walls must be clean, dry, and flat before you apply any adhesive. Use a damp cloth to wipe away dust and soap scum, which prevents the glue from sticking. If you have any loose paint or wallpaper, scrape it off now. A smooth wall helps your bathroom wall paneling stay put for years without shifting or peeling away.
Check for any moisture problems before you start. If you see damp spots, fix those leaks first, because trapping water behind your new panels leads to bigger trouble later. Dry walls are the key.
Measure Your Space Carefully
Take your tape measure, and find the height and width of every wall section. Mark these dimensions on the back of your panels with a pencil. Double-check your measurements, because cutting a panel too short ruins the piece. Accurate marks are the secret to a professional look that hides your corners well.
Always leave a tiny gap at the floor and ceiling for expansion. This small space stops the panels from buckling if the temperature in your bathroom changes, so your work stays flat.
Cut the Panels to Size
Use a circular saw or a jigsaw to trim your panels along the lines you drew earlier. Keep the blade speed steady, and move slowly to avoid splintering the edges. If your wall has an outlet, trace the shape onto the panel first. Drill a small hole in the corner of the outlet mark to start your cut. You should practice on a scrap piece if you're new to using power tools. This helps you get a feel for how the saw moves through the material.
Apply the Adhesive
Flip your panel over, and apply a generous amount of construction adhesive in a zigzag pattern. Stay about an inch away from the edges, so the glue doesn’t squeeze out when you press it down. You'll need enough to cover the back, but don’t overdo it. The waterproof construction adhesive works best when you use a consistent amount across the whole surface.
Wait a few minutes for the glue to get tacky if the tube directions suggest it. This simple trick makes the panels grab the wall much faster, so you don’t have to hold them in place for long.
Press the Panels Firmly
Line up your first panel with your level, and press it hard against the wall. Start from one corner, and move toward the other side of the room. Use a rubber mallet or a heavy roller to apply even pressure across the surface. This ensures the glue makes full contact with the wall behind it. Wipe away any excess glue that squeezes out before it dries. A damp sponge works great for this, but don’t get the wall too wet.
Seal the Final Edges
Finish your project by adding caulk to the corners and along the floor. This step is vital because it stops water from getting behind your new wall panels during your showers. Use a bead of silicone caulk to seal every seam, then smooth it with your finger. Your bathroom will look finished and stay protected from moisture.
Check your seals once a year to make sure they haven’t cracked. Adding a fresh bead of caulk takes minutes and keeps your walls in great shape.
Can You Use Standard Glue on Wet Walls?
Avoid standard construction adhesive if your walls show signs of dampness, or peeling paint. These adhesives won’t bond well to a surface that isn’t clean and dry. You'll end up with loose panels that trap water behind them, which leads to hidden wall rot. It's a mess you want to avoid.
Check the back of your waterproof paneling material for manufacturer instructions before you start. Some brands require a specific type of sealant to hold tight in humid air. If you ignore this, you'll be pulling the whole project down in a few months. Use the right construction adhesive type, and your work will last.
- Use a moisture barrier if your bathroom wall feels cold or damp.
- Clean your wall with a degreaser so the adhesive sticks tight.
- Skip wood-based panels in areas where water hits the wall directly.
- Test a small spot for adhesion before you cover the entire wall.
When Should You Hire a Pro for Installation?
Call a professional if you find structural damage or major plumbing leaks while prepping the area. A pro can fix these issues properly, so you don’t trap a problem inside your walls. Don’t try to hide a leak behind new panels, because that just makes things worse later.
Sometimes, you'll run into walls that are severely bowed or uneven. A pro has the tools to frame out the wall, and they make sure your new bathroom wall panels sit flush. If you try to force them onto a crooked wall, the seams will gap and look bad.
Think about the time you have available for the job. A full room renovation takes a lot of patience, and a pro will finish it much faster. If the project feels overwhelming, don’t hesitate to reach out for help. You deserve a high quality finish that lasts for years.
- Check behind your old tile for signs of deep wall rot.
- Move your electrical outlets safely before you start paneling.
- Hire a pro if you need to cut around complex shower pipes.
- Ask for a quote if you feel unsure about your measuring skills.
Why Do Panels Sometimes Warp Over Time?
Extreme temperature swings in your bathroom cause materials to expand and contract. If you don’t leave a small gap at the edges, the panels have nowhere to move. This pressure makes them buckle or pop off the wall after a few seasons. It's a common material issue.
Heat from your shower and cold air from an open window create a cycle that stresses the material. You'll notice this most with thin plastic sheets, which aren’t meant for big temperature changes. Always follow the guidelines for spacing, so your wall paneling system stays flat.
Poor ventilation also plays a big role in how your walls hold up. If the room stays steamy for hours, moisture eventually finds its way into the smallest cracks. You'll see the edges lift and get grimy, as the adhesive loses its grip. Proper bathroom air flow prevents this.
- Leave a quarter inch gap at the top and bottom edges.
- Keep your bathroom fan running during and after every warm shower.
- Use a trim piece to cover the gaps at the room corners.
- Choose thicker materials if your bathroom gets very hot and humid.
Does the Material Change Your Installation Method?
Plastic panels often snap together with a tongue and groove design. Be careful not to crack the thin edges, when you tap them into place. These materials are light, and easy for you to handle alone. You'll enjoy this simple wall install.
Wood-based or composite boards feel much heavier, and usually require screws or nails. Find the studs in your wall, to make sure they stay secure. Don’t skip the extra bracing if you’re hanging heavy items like shelves on these panels. This creates a secure wall mount.
High-end stone or glass panels need a very specific adhesive, and expert handling. If you choose these, check the manual closely because the weight is significant. You might find that these require more than one pair of hands to install safely for a professional stone look.
- Use a fine tooth saw for clean cuts on plastic panels.
- Drill pilot holes for screws to avoid splitting your wooden boards.
- Keep your heavy panels supported until the glue dries completely.
- Wipe away excess adhesive immediately to prevent stains on the surface.
Is This Project Worth the Time and Money?
You can expect to spend between $500 and $2,000, depending on the material. Save a lot on labor costs by doing it yourself. You can finish a standard bathroom in about two or three weekends. It's a smart home project.
Think about how much time you’ll save on future cleaning. Smooth, non-porous panels wipe clean in seconds, unlike scrub-heavy tile grout. You'll get back your Saturday mornings once you finish this upgrade. That's the real time saver.
Enjoy the process if you like working with your hands. Take it slow, measure twice, and you'll have a fresh look that lasts for years. If you feel tired, walk away and come back when you’re ready to focus again. You'll love your new bathroom look.
- Budget for extra panels in case you make a bad cut.
- Buy a high quality caulk gun to make the sealing easier.
- Schedule the work when you don’t need the bathroom for days.
- Check local sales for materials to keep your total costs low.
Final Thoughts
The secret to a great result is how you treat the wall before you start. If you make sure the surface is flat, dry, and clean, your panels will stay put for a long time. Take your time with the corners and edges, and you will get a look that feels finished. It's a big change that makes your bathroom feel brand new without a total remodel.
| Symptom | Likely Cause | Easy Fix |
|---|---|---|
| Loose panel edge | Weak adhesive | Apply silicone sealant |
| Gaping seam | Uneven wall | Use wall shims |
| Moldy smell | Trapped moisture | Check for leaks |
| Cracking plastic | Tight fit | Trim the edge |
| Peeling paint | Poor prep | Sand the wall |
| Buckling board | No expansion gap | Recut the panel |
Frequently Asked Questions
Is It Safe to Install Panels Over Old Tile?
Yes, you can do this if your old tile is solid and flat. Clean it well with a degreaser, so the adhesive can grip the surface. If you see loose tiles, remove them first to make your new wall stable.
Can I Use a Utility Knife to Cut Panels?
You can easily score and snap thin plastic panels with a sharp blade. For thicker wood or composite boards, you'll need a power saw to get a clean edge.
Do I Need to Remove the Faucet Before Starting?
Yes, take off your faucet and handles to get a clean look. It's much easier to cut the panels to fit around the pipes when the fixtures are out of your way.
Are These Panels Resistant to Mold?
Most modern bathroom panels are designed to resist mold, because they don't have porous grout lines. Keep your room dry by using a fan after you shower. Don't let water pool in the corners, as that's where mold likes to hide.
How Do I Hide the Seams Between Panels?
Use matching trim pieces, or a thin bead of silicone to hide the joints. These parts come in the same finish as your panels, so they make the wall look like one solid piece. You'll find that these covers also stop water from getting behind the panels.
Will These Panels Work in a Shower Stall?
Yes, you can use them there if they are rated for direct water contact. Check your product label to see if it is waterproof, and not just water resistant. You'll need to seal every joint with silicone to keep your wall dry.
