
As an Amazon Associate, I earn from qualifying purchases at no extra cost to you.
Take Down a Bathroom Light Fixture: 5 Steps With Power Off

As we spend time in our bathrooms, the lighting often loses its charm or stops working altogether. You might see the finish peeling away, or notice the glass covers are yellowing with age. Sometimes, the style just feels wrong for your space, and that’s when you decide it’s time for a change. Start your project by taking down the old unit to create a brighter look.
Turn off the power at the breaker, and unscrew the mounting hardware to remove your light. You’ll need a ladder, a screwdriver, and a voltage tester to confirm the power is dead. Once those wires are safely disconnected, the old unit comes right off the wall or ceiling.
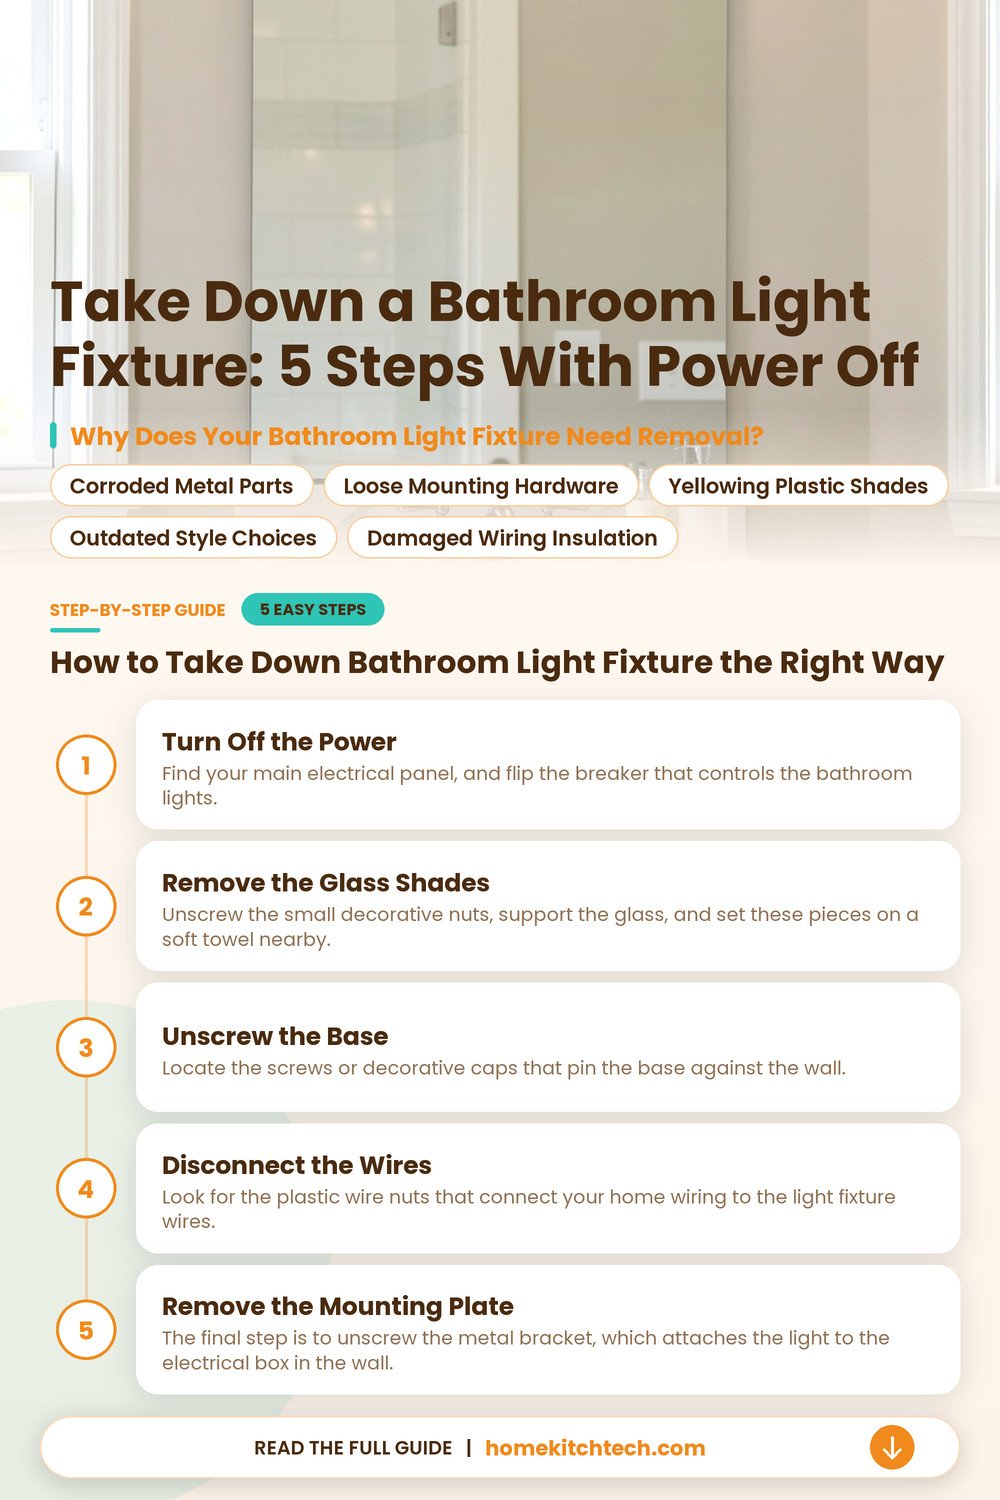
Why Does Your Bathroom Light Fixture Need Removal?
Your light sits in a damp room, and that moisture often leads to rust or loose parts over time. You might find the mounting bracket screws have corroded, which makes the whole unit feel shaky. Check the seal carefully, because water stains inside the base are a common surprise.
Corroded Metal Parts
The base of your light sits against a wall that catches steam from every shower. You’ll notice the metal finish bubbling, or turning orange as rust eats through the surface. Moisture gets into your electrical box because the seal around the light isn’t tight, so rust starts forming.
Loose Mounting Hardware
Vibrations from slamming doors, or just daily wear, can wiggle the screws that hold the light to your wall. You’ll feel the fixture move when you reach up to clean the glass shades. If those screws aren’t tight, the base might pull away from the wall and leave a gap.
Yellowing Plastic Shades
Older glass or plastic shades often discolor because the bulbs get too hot for the material. You’ll see a distinct tan or yellow tint, but you can’t wash it off. This change is permanent, and it makes your vanity area look dim even with fresh bulbs.
Outdated Style Choices
Design trends shift, and your light might look like it belongs in another decade. You’ll see bulky shapes or brass finishes that don’t match the rest of your bathroom hardware set today. Replacing the fixture gives your room a quick, modern update without a total remodel, so skip the paint and go for a new look.
Damaged Wiring Insulation
Heat from old bulbs can make the plastic coating on your wires brittle, and it’s prone to cracking. You’ll see small flakes of plastic inside the wall box when you look closely. If the insulation is crumbling, you shouldn’t reuse those wires for a new light.
How to Take Down Bathroom Light Fixture the Right Way
You’ll need about 30 minutes to finish this task, so clear your vanity and grab a sturdy ladder. Make sure you have a non-contact voltage tester to confirm the power is off before you touch any wires. Don’t rush, because keeping your hands steady helps you avoid dropping any heavy glass pieces.
Turn Off the Power
Find your main electrical panel, and flip the breaker that controls the bathroom lights. You should double-check that the lights won’t turn on before you start. Use your tester to touch the wires inside the light base once you remove the cover. If the tester beeps or lights up, the power is still active, so go back to the panel.
Always keep your work area dry, and never touch wires with wet hands. If you aren’t sure which breaker controls the room, turn off the main power to the house. It’s safer to have no lights at all while you work than to risk a shock.
Remove the Glass Shades
Unscrew the small decorative nuts, support the glass, and set these pieces on a soft towel nearby. You’ll want to be careful, as these covers can be slippery. Work slowly so they don’t roll off the counter. Take your time with each one.
Gently wiggle the shade, to break the seal of any dust or paint that has built up over the years. Watch for loose screws or clips that might fall, as you pull the shade away. If the glass feels stuck, don’t force it, because the material can crack.
Unscrew the Base
Locate the screws or decorative caps that pin the base against the wall. You’ll find these on the front, or the sides, of the metal plate. Use your screwdriver to turn them counter-clockwise, while you hold the base firmly against the wall. Once the screws are out, the fixture will move away from the wall box. Be ready to catch the weight, as it comes free. If it feels heavy, ask a friend to hold it steady.
Disconnect the Wires
Look for the plastic wire nuts that connect your home wiring to the light fixture wires. Twist these nuts counter-clockwise to remove them, then separate the wires. You should see a black wire, a white wire, and a bare copper ground wire. If the wires are stiff, don’t pull on them with force. Gently straighten the ends so they slide out, without bending too much. This keeps the copper intact for your new installation later.
- Keep the wire nuts in a small bowl so they don’t get lost.
- Wrap the ends of the wall wires with electrical tape for safety.
- Check the wall box for any signs of heat damage or charring.
- Call a pro if you see burnt wires or melted plastic insulation.
Remove the Mounting Plate
The final step is to unscrew the metal bracket, which attaches the light to the electrical box in the wall. You’ll find two or more screws holding this piece in place. Use your screwdriver to back them out completely, until the plate falls away. Place the old mounting plate screws back into the bracket, or tape them to the plate, so you don’t lose the hardware.
If your new light comes with a different bracket, you won’t need the old one anymore. Check that the electrical box is clean and clear of debris, before you finish. This makes it easier to mount your new fixture later.
Why Do Old Bathroom Light Fixtures Fail Over Time?
Heat from your bulbs often cooks the internal wiring insulation until it gets brittle, and then it cracks. You’ll notice the plastic coating crumbling when you finally pull the fixture away from the wall. This happens faster if you use bulbs that draw too much power.
Constant humidity in your bathroom also invites rust to settle on the metal connections, but you can prevent it with good ventilation. You might see orange or brown streaks creeping across the back of the base. These spots trap moisture, and they make the metal parts stick together.
Sometimes, the problem is just simple wear from age and vibration. Your walls shift with the seasons, and the tiny screws holding the base in place eventually lose their grip. You’ll hear a rattle, or see a gap between the wall and your fixture when that hardware finally gives up.
- High heat turns wire covers into dust over many years.
- Moisture from your shower speeds up metal decay on brackets.
- Loose screws allow the base to pull away from drywall.
- Old sockets often lose their grip on modern light bulbs.
Can You Afford a Professional for This Job?
Most pros charge about $100 to $250 to swap a light, depending on your local rates. You can save that cash by doing the work yourself if you feel steady on a ladder, but don’t rush. The job usually takes about 45 to 90 minutes from start to finish.
Grab your adjustable crescent wrench and a screwdriver before you begin. You’ll also want a sturdy step stool to keep your balance, while you reach above your vanity. Don’t drop the heavy glass shades onto your counter, because they are hard to replace.
- Basic tools for this job cost less than $30 total.
- Expect to pay more if you find damaged wall wiring.
- A helper makes holding the new fixture much easier today.
- Always keep a flashlight handy since you’ll kill the power.
Should You Call an Electrician Instead?
Stop and call a pro if you see charred or melted wire ends near the wall. You don’t want to touch those, as they show a deeper issue with your home wiring system. An electrician can check if your circuit is overloaded, or if you have a hidden ground fault issue.
Another sign to quit is when your breaker keeps tripping, after you install the new unit. You might have accidentally pinched a wire behind the metal mounting plate during the process. That creates a short, which is a fire hazard you shouldn’t ignore.
Take a break if you just can’t get the screws to line up with the holes in your wall. Sometimes, the old box is set too deep, or it’s tilted at an odd angle. A pro has the right extensions and brackets to make your new light sit perfectly flat.
- Burnt wires mean you should stop and call for help.
- Tripping breakers indicate a short circuit behind your wall box.
- Crooked wall boxes require special hardware to mount a light.
- Professionals carry parts to fix messy or broken wall holes.
How Do Different Fixture Styles Change the Removal?
Heavy metal fixtures with many glass shades require a different approach than simple strip lights. You’ll need to remove every piece of glass first, or you’ll risk breaking them while you unscrew the base. Some modern units use hidden metal clips instead of visible screws, so look for small tabs along the bottom edge.
Older brands often hide the mounting hardware behind a decorative cap, or a large nut. You might need to turn that cap counterclockwise to release the entire unit from the wall. If it won’t budge, try a light tap with a sturdy rubber mallet to break the seal, because years of paint often act like glue.
What Are the Biggest Risks During This Task?
Test every wire with a non-contact voltage tester to be sure the power is off. Working with electricity is never a game, so check your work twice. It’s a common mistake to assume the switch controls the right breaker, but that isn’t always the truth.
Don’t let the fixture hang by its wires while you try to reach the screws. The weight can damage the wall electrical box, or pull the wires loose from the wire nuts. Have a friend hold the base steady until you’ve disconnected every last wire.
Keep water far away from your work area during this entire project. You’re dealing with open circuits, and even a damp cloth can cause a dangerous spark. Clear your vanity of all bottles and soaps, and keep your workspace clean and dry.
Final Thoughts
Take your time when you remove a bathroom light, and follow all safety rules to avoid trouble. Double-check your power supply before you start pulling parts off the wall, because it’s better to be safe. You’ll find that having the right tools makes the task much smoother. Keep your area clear of loose items, and enjoy your updated space once the new light is in place.
| Symptom | Likely Cause | Easy Fix |
|---|---|---|
| Flickering light | Loose bulb socket | Tighten the contact |
| Stuck base | Paint or rust | Use a utility knife |
| Buzzing noise | Old transformer | Replace the unit |
| Loose mounting | Worn drywall anchor | Use toggle bolts |
| Dim light | Corroded wire ends | Clip and strip |
| Sparking sound | Faulty wiring | Call an electrician |
Frequently Asked Questions
Is It Safe to Use a Drill for This Task?
It’s better not to. You can easily strip the screw heads or crack your drywall if the drill slips, so stick to a hand screwdriver for better control.
Can I Reuse the Old Mounting Plate?
No, skip that. Your new fixture usually comes with a matched plate that fits its specific weight and screw pattern, so use the new parts instead.
Do I Need to Turn Off the Main Breaker?
It’s the safest way to work. You’ll know for sure that no power reaches your vanity, which prevents any nasty surprises while you touch the wires.
Are Old Glass Shades Fragile to Handle?
They are very delicate, so be careful. You’ll want to lay them on a thick towel, and keep them from rolling off your counter to prevent shattering.
Does the Wall Box Need to Be Metal?
It depends on your local code. Most modern homes use plastic boxes, but either type works fine as long as it’s securely attached to a stud.
Will a Painted Fixture Be Hard to Remove?
It can be quite stuck, so go slow. You’ll need to gently score the paint line with a sharp knife, and break the seal before you try to pull it off.
