
As an Amazon Associate, I earn from qualifying purchases at no extra cost to you.
Remove Bathroom Tile Without Damaging the Wall: 6 Steps

Unless you’re planning a full gut job, the idea of pulling tiles off your walls feels like a massive headache. You’re likely looking at cracked grout, or a dated color that just doesn’t fit your style anymore. Pulling those pieces away without wrecking the drywall behind them takes a steady hand, and some patience. Grab a few simple tools, and let’s get that wall ready for your next project.
The quickest way to remove tiles involves using a hammer and a stiff chisel to pry them away from the adhesive. Start at an open edge or a corner to get some movement. After you’ve popped the first tile loose, the rest usually follow with less effort. Work slowly so you keep the wall smooth.
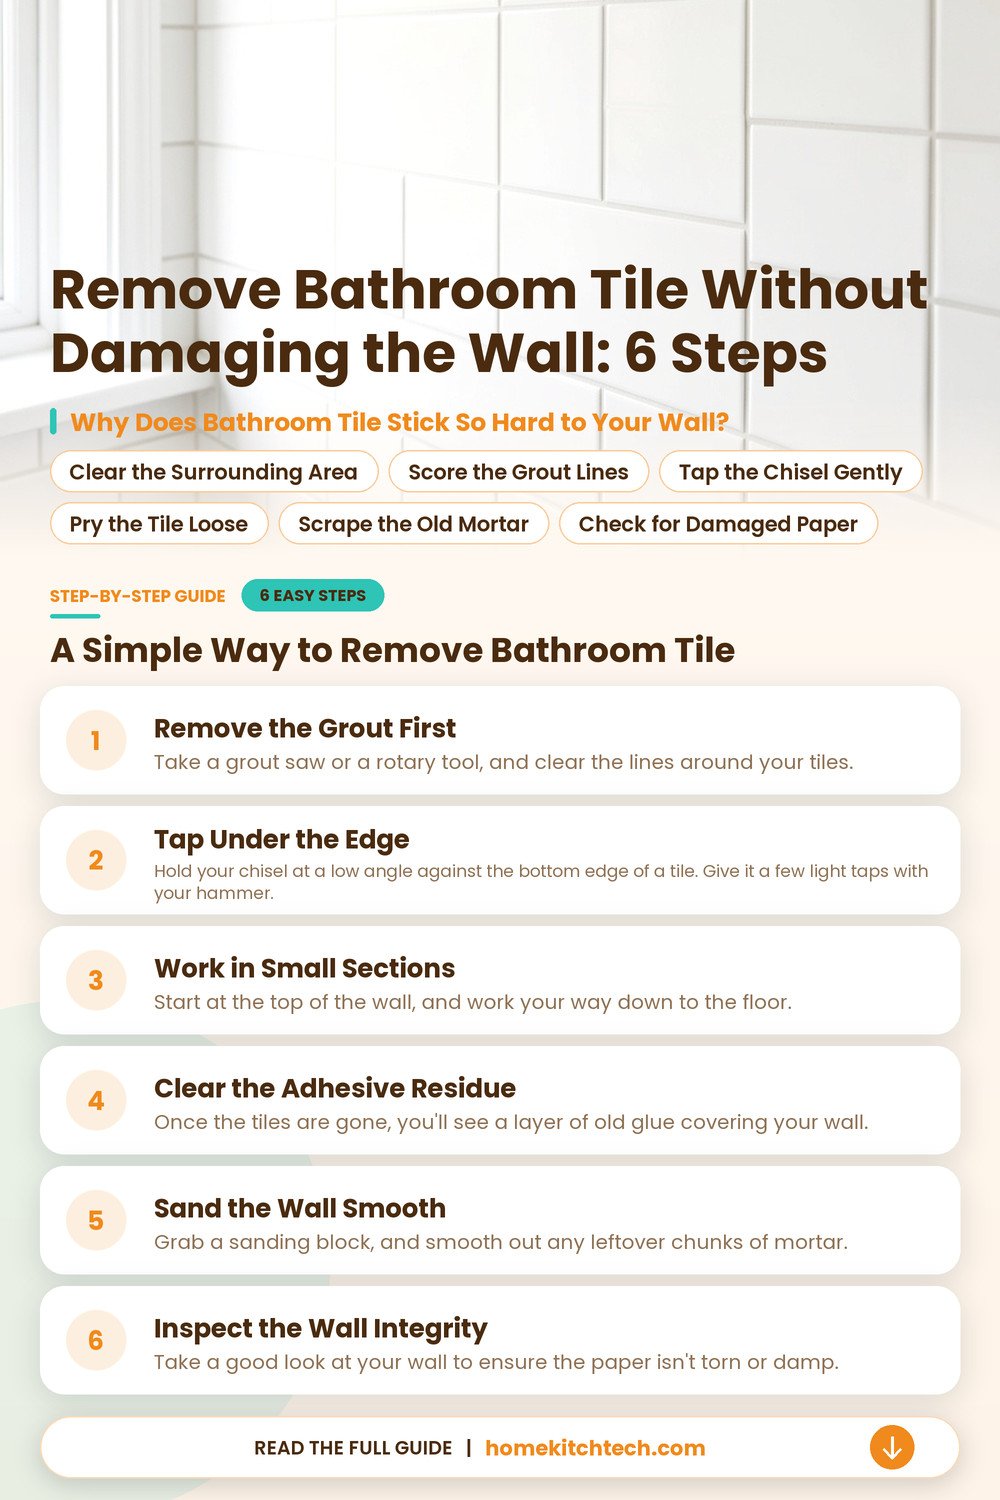
Why Does Bathroom Tile Stick So Hard to Your Wall?
You’re dealing with thin-set mortar or mastic, which are designed to hold those tiles in place for decades. The bond is meant to be permanent, so it doesn’t want to let go easily when you decide it’s time for a change. Sometimes, the bathroom wall surface is so well-prepped that the tile and the wall act like one single piece.
- Expect to spend about 30 minutes for every 5 square feet.
- Wear safety glasses because small shards of ceramic fly everywhere.
- A long-handled pry bar helps if the tiles are stuck tight.
Clear the Surrounding Area
Remove all the fixtures, like towel bars and faucet handles, first. This gives you room to swing your tools. It also prevents you from hitting anything important. Make sure you clear your workspace, so you have enough room to move around comfortably while you work.
Score the Grout Lines
Use a utility knife to cut through the grout around your first tile. This step stops the surrounding pieces from chipping. It saves your wall from damage. Take your time with this, as a steady hand prevents the blade from slipping. You’ll find that a deep score makes the tile pop off much cleaner.
You’ll need a sharp blade for this work. Dull blades catch on the grout lines and jump. If you find the knife struggling, change the blade.
Tap the Chisel Gently
Angle your chisel against the edge of the tile, and tap it with the hammer. You’ll feel the tile pop off the drywall patch as the bond breaks. Start with light taps to test the hold. Increase your force if the tile doesn’t budge. Listen for the sound of the bond snapping, which tells you that you’re making good progress.
Hold the chisel at a low angle. If you tilt it too high, you risk gouging the wall behind the tile. Keep your grip firm, and focus on the seam.
Pry the Tile Loose
Work the chisel under the tile, and lift it away from the mortar bed. Keep your pressure even, so you don’t dig into the wall. Pushing too hard is a common mistake, so take it slow. You’ll find that a gentle lift works better than a sudden jerk when you’re clearing the old tile adhesive.
Scrape the Old Mortar
Use a flat scraper to remove any bits of glue left on the wall. This leaves a clean surface, which is perfect for whatever you’re planning to install next.
Check for Damaged Paper
Look closely at the wall to see if any paper peeled off with the tiles. If it’s just a few small spots, you can easily sand them flat.
A Simple Way to Remove Bathroom Tile
You’ll find that taking off tile is about technique rather than brute force. If you rush, you’ll end up with deep gouges in your wall.
- Protect your floor with a heavy drop cloth to catch debris.
- Always wear thick gloves to protect your hands from sharp edges.
- Rent a power scraper if you have a massive wall space.
Remove the Grout First
Take a grout saw or a rotary tool, and clear the lines around your tiles. This action isolates each piece, so you can remove them one by one. You’ll avoid pulling on the neighbors, which causes accidental cracks. Clear away all the dust as you go, so you can see exactly where the tile meets the wall. A vacuum works great here, and it keeps your workspace tidy. Take your time, because a clean start makes the whole job much smoother.
Removing the grout creates a lot of fine dust. Keep your mask on tight, and clear the area often. It stops the mess from building up under your feet.
Tap Under the Edge
Hold your chisel at a low angle against the bottom edge of a tile. Give it a few light taps with your hammer. Wait until you hear the sound change. That’s the signal that the thin set mortar has let go of the backing. Don’t force the chisel deep into the wall. You risk ripping right through the paper. Just slide it under the tile edge. Once you have a gap, the tile should lift away with a gentle nudge.
Start at the edge, and work across. If the piece doesn’t pop, move to another side. A little patience prevents broken ceramic.
Work in Small Sections
Start at the top of the wall, and work your way down to the floor. This prevents loose tiles from falling on your feet while you’re busy working. You’ll stay safer, and it keeps the mess contained to a smaller area.
Handle each piece carefully as you pull it away from the wall. If a tile feels stubborn, stop and re-score the grout lines again. Pushing harder usually just leads to broken ceramic, and frustrated afternoons.
Clear the Adhesive Residue
Once the tiles are gone, you’ll see a layer of old glue covering your wall. Use a wide putty knife to scrape this off while it’s still relatively soft. You might need a little heat from a hair dryer if it’s really stuck.
Hold the scraper flat against the wall, so you avoid digging into the surface. It’s tedious work, but it’s essential for a smooth finish later. Do this in small patches, until the wall feels mostly level to your touch.
Sand the Wall Smooth
Grab a sanding block, and smooth out any leftover chunks of mortar. You don’t need to get it down to the bare wall, just flat enough for paint or new tile. Check your progress by running your hand over the surface.
If you find any deep gouges, fill them with a bit of spackle. Let that dry completely before you do any final sanding. A smooth wall is the best foundation for whatever you choose to do next.
Inspect the Wall Integrity
Take a good look at your wall to ensure the paper isn’t torn or damp. If you see any soft spots, you’ll need to replace that section of drywall before moving on. It’s better to find these issues now, than after you’ve finished your new project.
If the wall feels solid and dry, you’ve successfully completed the job without major damage. You’re now ready to prime or tile over the surface. Take a moment to enjoy the clear space you’ve created.
Why Does Old Tile Become So Hard to Remove?
Time turns your hardened thinset mortar into a rock that grips the subfloor like a vice. Over many years, the heat from your home, and the weight of people walking on the floor, compress the bond. You’ll find it’s not just the tile itself, but the chemical bond that has hardened into a permanent connection.
Moisture also plays a part, if your bathroom has ever had a small leak. Water seeps into the edges, and causes the underlying wood subfloor to swell and then shrink. This movement creates a messy, uneven surface, which makes your job much slower than you expected. You’re fighting the aged construction materials that have essentially become part of the house frame.
Can I Use a Power Tool to Remove Bathroom Floor Tiles Easily?
Electric tools, like a rotary hammer with a wide blade, can help your back during a big project. You’ll need to hold it at a low angle. Slide under the tile without digging into your subfloor. It’s loud, so wear your safety gear and keep your workspace clear.
Hand tools are often a better choice for your sanity. If you’re working in a tight spot near your tub, a heavy-duty scraper gives you more control. You won’t accidentally gouge your floor, which prevents the need to patch wood later.
Stop if you see wires or pipes poking through your floor while you work. A pro needs to handle those areas, because a quick slip of your tool can lead to a very expensive leak. They have the right gear, and they can reach what your tools can’t.
Always test a small, hidden corner before you commit to a power tool for the whole room. You might find your ceramic floor tiles come up cleanly with just a manual bar. It’s safe. It’s quiet. If the tile shatters into dust, switch methods before you make a bigger mess.
What Does the Cost and Time Look Like for This Job?
You can expect to spend about one full weekend on a standard bathroom floor. Much of that time goes toward clearing out the room, and hauling away the heavy bucket loads of broken pieces. If you’re renting a heavy-duty floor scraper, count on paying about $40 to $80 per day for the equipment.
Finish the job by keeping your workspace clear, so you don’t trip on debris. You’ll save a lot of money on labor, which usually runs into the hundreds of dollars for a pro. It’s a slow, physical chore, and it’ll leave you sore by the end of the day. You’ll appreciate the clean floor surface once the messy demolition work is finally behind you.
- Wear thick gloves to protect your hands from sharp ceramic shards.
- Rent a heavy-duty floor scraper to save your back and knees.
- Buy a high-quality dust mask to keep your lungs clear today.
Is There a Safety Hazard I Should Know About?
Old bathrooms, especially those built before the 1980s, often hide asbestos floor tiles in the adhesive or the tiles themselves. You’ll want to test a small sample before you start swinging a hammer. If you find it, stop immediately and call a pro to handle the removal, because the dust is dangerous to breathe.
Another common mistake involves your plumbing lines, which run under the floor. You might think you’re just prying up a stubborn piece of tile, but you could actually be pushing a chisel into a pipe. Keep your eyes on where your drain pipe lines sit, so you don’t turn a simple floor project into a plumbing nightmare.
Does the Material Change How I Remove Bathroom Tile?
Stone tiles, like marble, are often heavier and more brittle than basic ceramic. You’ll need to be extra careful with your prying, because these materials crack in unpredictable ways. Use a wider blade to spread the pressure, which helps keep the pieces large and easier to haul out. These natural stone tiles require a gentle touch during the entire process.
Vinyl or peel-and-stick tiles are a different story, as they often come up with a heat gun. You soften the glue until it gets gooey, then peel the vinyl floor strips right off your floor. It’s much faster than dealing with mortar. Watch your fingers, though, since the surface gets quite hot. You’ll avoid the stubborn adhesive residue that ceramic tiling leaves behind.
- Use a heat gun on a low setting for vinyl tiles.
- Work slowly with natural stone to prevent jagged, sharp edges.
- Keep a bucket of water nearby to dampen dust as you go.
Final Thoughts
Patience is your best friend when you’re clearing out old tile. You’ll find that your progress starts slow, but it picks up once you get a rhythm going. Take plenty of breaks to drink water, and check your work area for any hidden damage. It’s a big project, but your new floor will look great once the dust settles.
| Symptom | Likely Cause | Easy Fix |
|---|---|---|
| Cracking tile | Settling floor | Replace piece |
| Loose grout | Old age | Scrape and refill |
| Stubborn adhesive | Strong bond | Heat gun |
| Floor bounce | Loose subfloor | Screw down |
| Dusty air | Dry debris | Use spray bottle |
| Sharp edges | Broken tile | Wear thick gloves |
Frequently Asked Questions
It’s rarely possible to save them, since they usually break during removal. You’ll find that the mortar sticks so tight, that the back of the tile often snaps off. If you need to keep them, it’s safer to hire a pro who has the right tools.
Do I Need to Turn Off the Water Before Starting?
Yes, you should turn off the water to your toilet and vanity, if you’re working near them. You’ll want to avoid any accidents, if you bump a pipe while prying up the floor. It’s a simple step, and it keeps your home dry while you work.
Are There Chemicals That Help Break the Bond?
There are mortar softeners, but you’ll find they often don’t work well through the tile itself. They’re meant for cleaning the residue after the tile is already gone. Don’t waste your money on these before you’ve cleared the floor, as they won’t save you much time.
Is It Safe to Leave the Old Subfloor?
It depends on the condition of the wood, after you remove the tile. You’ll want to check for any soft spots or rot, before you put down new material. If it’s firm and level, you can usually leave it, but don’t ignore any damage you see.
Will a Hammer Work for This Job?
It’s possible, but you’ll find a pry bar or a floor scraper is much more effective. A hammer is great for small spots, but you’ll tire yourself out quickly if you use it for the whole room. Grab a long-handled tool, and keep your back straight.
How Do I Keep the Dust Down?
Tape plastic over your doorways, and use a fan to blow air out a window. It’s also helpful to mist the area with water as you work, so you keep the dust from floating. Don’t forget to wear a mask, so you don’t breathe any of it in.
Does the Type of Mortar Matter?
It does matter, because some thinset is much harder to break than others. You’ll notice that modern mortars grip very tightly, while older ones might be brittle and crumbly. Test a small section first, so you know how much force you’ll need to use.
Can I Use a Chisel on Everything?
You should be careful with a chisel, because it can easily gouge your subfloor. It’s a precision tool for edges, but it’s not the best for clearing a large floor. Use a wide-blade scraper for the main area, to keep your work consistent and flat.
