
As an Amazon Associate, I earn from qualifying purchases at no extra cost to you.
Fit a Bathroom Mixer Tap Yourself: 6 Steps Start to Finish

Who hasn’t stared at a dripping faucet while wishing for a quick upgrade? If your current tap looks dated or just won’t stop leaking, you’re looking at a project that feels more intimidating than it really is. Refresh your vanity by swapping out that old hardware, which takes just a few hours. Let’s get you set up to finish this job yourself.
You can install a new faucet in about two hours with just a few basic tools. Grab an adjustable wrench, some plumber’s putty, and a bucket to catch the inevitable drips. Turn off the water supply under the vanity, clear out your cabinet, and follow these steps. You’ll have a shiny new piece in no time.
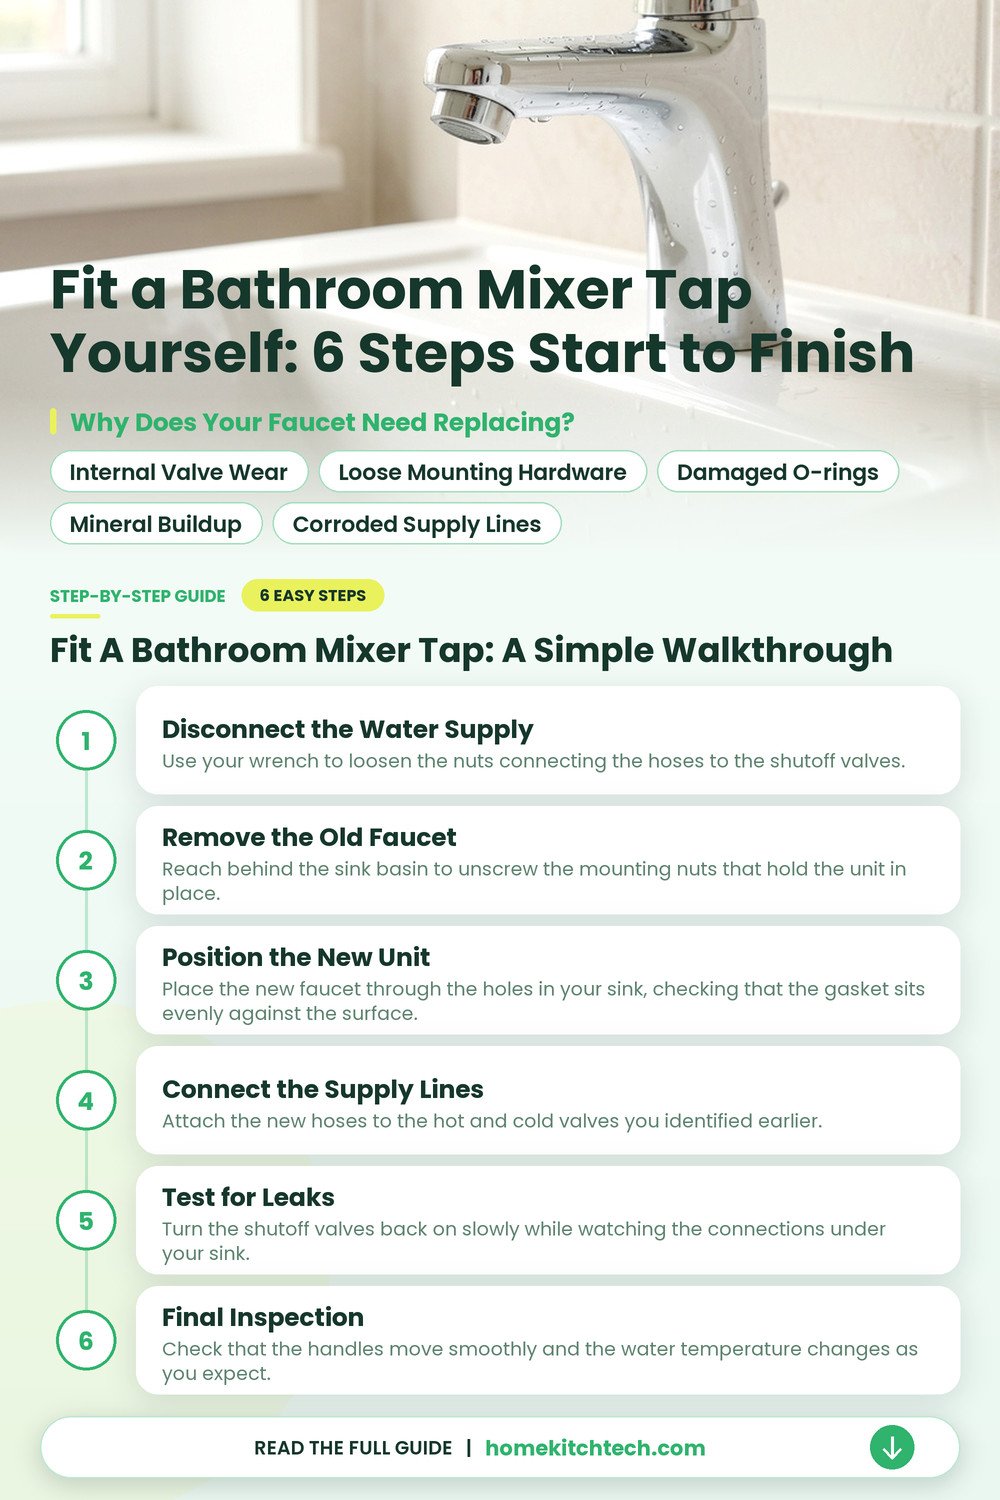
Why Does Your Faucet Need Replacing?
Old hardware wears out from the inside. You’ll see leaks that a simple washer can’t stop. A new model saves water and updates your space.
- Expect to spend about $50 to $200 for a solid unit.
- Keep a bucket and old towels handy to catch messy water.
- Check that your new faucet matches the holes in your vanity.
- Ask a second person to hold the heavy unit while you tighten.
Internal Valve Wear
The faucet valve seat often pits or corrodes after years of constant water flow. It’s a slow drip. This gets worse every day. Small mineral deposits from your local water supply speed up this damage significantly.
Loose Mounting Hardware
The nuts holding your unit to the sink loosen over time. It wobbles. Tighten the nuts from underneath. This usually solves your problem for a few more months.
Damaged O-Rings
Tiny rubber seals, known as O-rings, keep water from spraying out where the spout meets the body. When these seals dry out or crack, you’ll see water pooling around the base. A leaky bathroom faucet is often just a sign that these small rings need a change.
Mineral Buildup
Hard water leaves a crusty, white layer inside your lines. This buildup blocks the flow. It makes your handles feel stiff. You’ll notice the water pressure dropping, or the spout may start spraying in odd directions.
Scrubbing the outside won’t touch the real problem inside the pipes. Check the aerator to see if it’s clogged. If that’s clean but the flow is weak, the blockage sits deep in your plumbing.
Corroded Supply Lines
Flexible metal hoses under your sink rust or kink after many years of use. You’ll know they’re failing if you see damp spots on the floor of your cabinet. Never ignore these signs, as a full burst supply line causes significant water damage to your floor and vanity.
Replace these lines whenever you swap out the main unit. This ensures everything stays dry. Old hoses lose their flexibility, which makes getting a tight seal nearly impossible during a new install.
Fit a Bathroom Mixer Tap: a Simple Walkthrough
You’ll start by clearing out your cabinet so you have plenty of room to reach the mounting hardware. Keep a flashlight nearby, but make sure you’ve closed the shutoff valves under the sink.
Disconnect the Water Supply
Use your wrench to loosen the nuts connecting the hoses to the shutoff valves. Place your bucket underneath to catch the water that spills out, but move slowly to avoid stripping the threads. Check that the water is truly off by turning the handles on your old faucet. If no water comes out, you’re ready to move on. Tighten the shutoff valves further if you hear a hiss.
Check the shutoff valves for signs of damage or leaks. These small parts keep the rest of your home dry, so don’t rush this step. If they look worn, call a pro to replace them before you continue.
Remove the Old Faucet
Reach behind the sink basin to unscrew the mounting nuts that hold the unit in place. These can be tight or corroded, so use a basin wrench to get a good grip. Once the nuts are off, pull the unit straight up from the top. Clean the surface of your sink thoroughly to remove any old putty or grime. A clean surface ensures your new unit sits flat.
Use a plastic scraper to avoid scratching the finish of your sink. This tool removes stubborn residue, but it won’t damage the porcelain or metal. Clear away all loose bits to help the new unit create a proper seal.
Position the New Unit
Place the new faucet through the holes in your sink, checking that the gasket sits evenly against the surface. If your model doesn’t have a built-in gasket, apply a thin bead of plumber putty around the base. Push down gently. Ensure it stays in place while you work underneath. You should also check the manual for specific alignment tips.
Ask your helper to hold the unit steady from above while you start the mounting nuts. Tighten them by hand first to avoid cross-threading the bolts. Once they’re snug, use your wrench to give them a final half-turn.
Connect the Supply Lines
Attach the new hoses to the hot and cold valves you identified earlier. Hand-tighten these connections before using your wrench to finish the job. Avoid over-tightening, which can crack the plastic or damage the rubber seals inside the nuts. Check the alignment of your hoses to make sure they aren’t kinked or twisted. Proper flow depends on these lines staying clear and open.
Double-check that all connections feel firm and show no signs of movement. These lines handle constant pressure, so take your time. A steady hand prevents future leaks.
Test for Leaks
Turn the shutoff valves back on slowly while watching the connections under your sink. If you see a bead of water, give the nut a tiny turn with your wrench. Wipe everything dry with a towel, so you can see if any new moisture appears.
Open the faucet handles to let air escape from the lines. You’ll hear a sputtering sound for a few seconds before the water runs smooth. Keep an eye on the base for a few minutes, and you’ll confirm the seal is perfect.
- Keep the area dry to spot any tiny leaks early.
- Tighten nuts only until they feel firm and secure.
- Check the manual for specific torque settings if provided.
- Run the water for two minutes to clear the lines.
Final Inspection
Check that the handles move smoothly and the water temperature changes as you expect. Ensure the drain stopper, if your new unit included one, opens and closes without catching. Wipe away any excess putty from the base with a soft, damp cloth.
Can You Replace Just the Bathroom Faucet Valve?
Sometimes, you don’t need a whole new unit because the problem is just a tiny internal part. If your handle drips or feels gritty when you turn it, you’re likely looking at a worn-out cartridge assembly unit inside the handle. Pull the decorative cap off the handle, loosen the screw, and lift the lever to expose the inner workings.
Check your model number before you head to the store, as these parts vary between every brand. A replacement valve kit usually slides right into the existing housing, once you remove the old one. You’ll save yourself a lot of money and effort by swapping just this small component.
Keep your sink drain covered with a rag while you work, but be careful not to drop anything down there. That prevents tiny screws from vanishing into the abyss of your pipes. If the new part doesn’t stop the leak, your faucet housing itself might have a crack.
Call a plumber if the valve seems fused to the body of the faucet. Use gentle pressure, but don’t force a stuck part because you might snap the metal. You don’t want to risk snapping a pipe inside your wall.
- Shut off the water supply under your sink first.
- Use a screwdriver to pry off the handle cap.
- Keep the old cartridge to match the new one.
- Apply a little plumber grease to the new seals.
How Do You Replace a Bathroom Faucet Drain?
Your faucet and drain often get replaced as a pair because they share the same finish. If your current drain has lost its shine, or the pop-up mechanism sticks, you’ll need to unscrew the nut underneath the basin. Have your bucket ready for the water that spills out.
Scrape away the old putty from the hole in the sink, once you remove the flange. You’ll want a clean surface for the new gasket to sit on. It shouldn’t leak later. Roll a fresh rope of sealing putty material and press it firmly into place around the new drain opening.
Tighten the nut from below, until the drain feels snug against the bottom of the sink. Don’t crank it too hard. You might crack the porcelain. Check that the pop-up rod connects properly to the new stopper before you turn the water back on.
- Clear out your vanity cabinet for extra room.
- Place a bucket under the pipe to catch spills.
- Use a wrench for the nut on the drain.
- Test the stopper by filling the basin halfway.
Is Installing a New Bathroom Vanity Faucet Hard?
You’ll find that replacing your existing vanity faucet is a straightforward job that usually takes about an hour. Disconnect the supply lines from the wall valves, and unbolt the old unit from the underside of the vanity. Clear your workspace, so you have enough room to reach behind the basin.
Clean the top of the vanity thoroughly once the old hardware is out. This gives your new fixture base a smooth surface to seal against, which stops water from seeping into your cabinet. Thread the new lines through the holes, tighten the mounting nut hardware, and attach your water supply lines to finish the job.
- Use a basin wrench for tight, cramped spaces.
- Hand-tighten the supply lines before using a tool.
- Check that the faucet sits straight and level.
- Run the water to flush out any debris.
What Common Mistakes Lead to Leaks?
One of the biggest issues is failing to clean the old gasket material off your vanity surface, so scrub it well. If you leave bits of old rubber or dried putty, your new faucet won’t sit perfectly flat. That tiny gap is all it takes for water to sneak under the unit and rot your vanity cabinet wood over time.
Another frequent error is overtightening the supply lines until the plastic or metal connectors crack, so stop when they feel firm. You only need to make them snug with a wrench, not as tight as your strength allows. Remember to check the rubber washer seals for debris before you attach the lines.
Don’t ignore a small drip, just because it seems minor right now. Even a slow leak can damage the floor or the vanity underneath your sink. If you notice water pooling around the base of the faucet, tighten the nuts or reseal the connection immediately.
- Clean the countertop before installing the new unit.
- Avoid using too much force on plastic nuts.
- Check every connection for moisture after turning water.
- Use thread seal tape on the threaded pipes.
Why Do Faucets Fail Over Time?
Faucets rarely last forever. Hard water leaves mineral crust on every part. Over time, that buildup can eat away at the metal and warp the internal rubber seals inside your fixture. You’ll notice the handle getting stiff, or the spray pattern turning sideways, when the internal parts begin to fail.
Heat also plays a role. The constant expansion and contraction of the metal weakens the seals. If your home has high water pressure, it puts extra strain on every joint and connection under your sink. You’ll eventually reach a point where fixing the parts costs more than buying a brand-new faucet.
Sometimes, the finish just wears off from years of scrubbing and harsh cleaners. Once the protective layer is gone, the metal underneath starts to pit and corrode. You’ll see dark spots that won’t wipe away, which is a clear sign that the faucet metal finish is breaking down.
Avoid hanging wet towels on a faucet handle, because that weight can bend the mounting hardware base. That extra weight pulls the base away from the sink, and it ruins the seal. Keep your hardware clear of anything that adds stress, so it lasts longer.
- Hard water creates scale that ruins internal seals.
- Metal loses its protective coating and corrodes.
- High pressure causes stress on the supply lines.
- Heavy objects on handles warp the mounting hardware.
Final Thoughts
Refresh your bathroom without a full remodel by replacing your faucet. Take your time with the connections under the sink, as that is where you might run into trouble. Keep a bucket handy and work slowly, so you can handle this project on a Saturday morning. Double-check your work for leaks before you put all your supplies back in the vanity.
| Symptom | Likely Cause | Easy Fix |
|---|---|---|
| Faucet drips | Worn cartridge | Replace cartridge |
| Low flow | Mineral buildup | Clean aerator |
| Leaky base | Failed gasket | Reseal connection |
| Loose handle | Loose screw | Tighten set screw |
| Noisy pipes | High pressure | Install regulator |
| Stuck drain | Hair clog | Clear the trap |
| Cold water only | Blocked line | Flush supply line |
| Rust spots | Corroded finish | Replace faucet |
Frequently Asked Questions
Can I Replace a Faucet Without Turning Off the Main Water?
No, shut off the valves under your sink before you start. If you don’t, you’ll have water spraying all over your bathroom floor while you work.
Do I Need Plumber Putty for Every Installation?
It depends on your model, but use it if your faucet has a drain flange that needs sealing. Check your manual to see if your unit uses a rubber gasket instead.
Are Bathroom Faucet Valves Universal?
No, they aren’t, so match your specific brand and model. Take the old part to the store with you so you can compare them side by side.
Will a New Faucet Fit My Old Sink Holes?
Most standard faucets fit the holes in your sink, but measure the distance between them first. Check the spread of your holes to see if the new base covers the footprint.
How Do I Know If My Supply Lines Need Replacing?
If they look frayed or have any signs of rust, replace them while the faucet is off. It’s a cheap part that prevents a major flood later.
Should I Use Thread Seal Tape on My Connections?
Yes, use it on the threaded parts of the supply lines to stop leaks. Wrap it around the threads a few times before you screw the lines on.
Can I Install a Faucet If I Have Never Done Plumbing?
Yes, you can, as long as you follow the steps and take your time. If you get stuck, find help in your owner’s manual.
