
As an Amazon Associate, I earn from qualifying purchases at no extra cost to you.
Replace a Bathroom Light Fixture: 7 Steps Done Safely

Since your current bathroom light fixture is likely outdated or simply flickers too much, you're probably itching for a change. A new light can brighten up your space, improve your vanity area, and make the whole room feel brand new. You don't need to be an expert to pull it off, but you do need to stay focused on the details. Let's get that new light installed.
You can replace your light in about one hour. Turn off the power, remove the old unit, and wire the new one carefully. Grab your screwdriver, a non-contact voltage tester, and wire nuts before you start. It's a great way to save money, as you'll avoid a pro's labor fee.
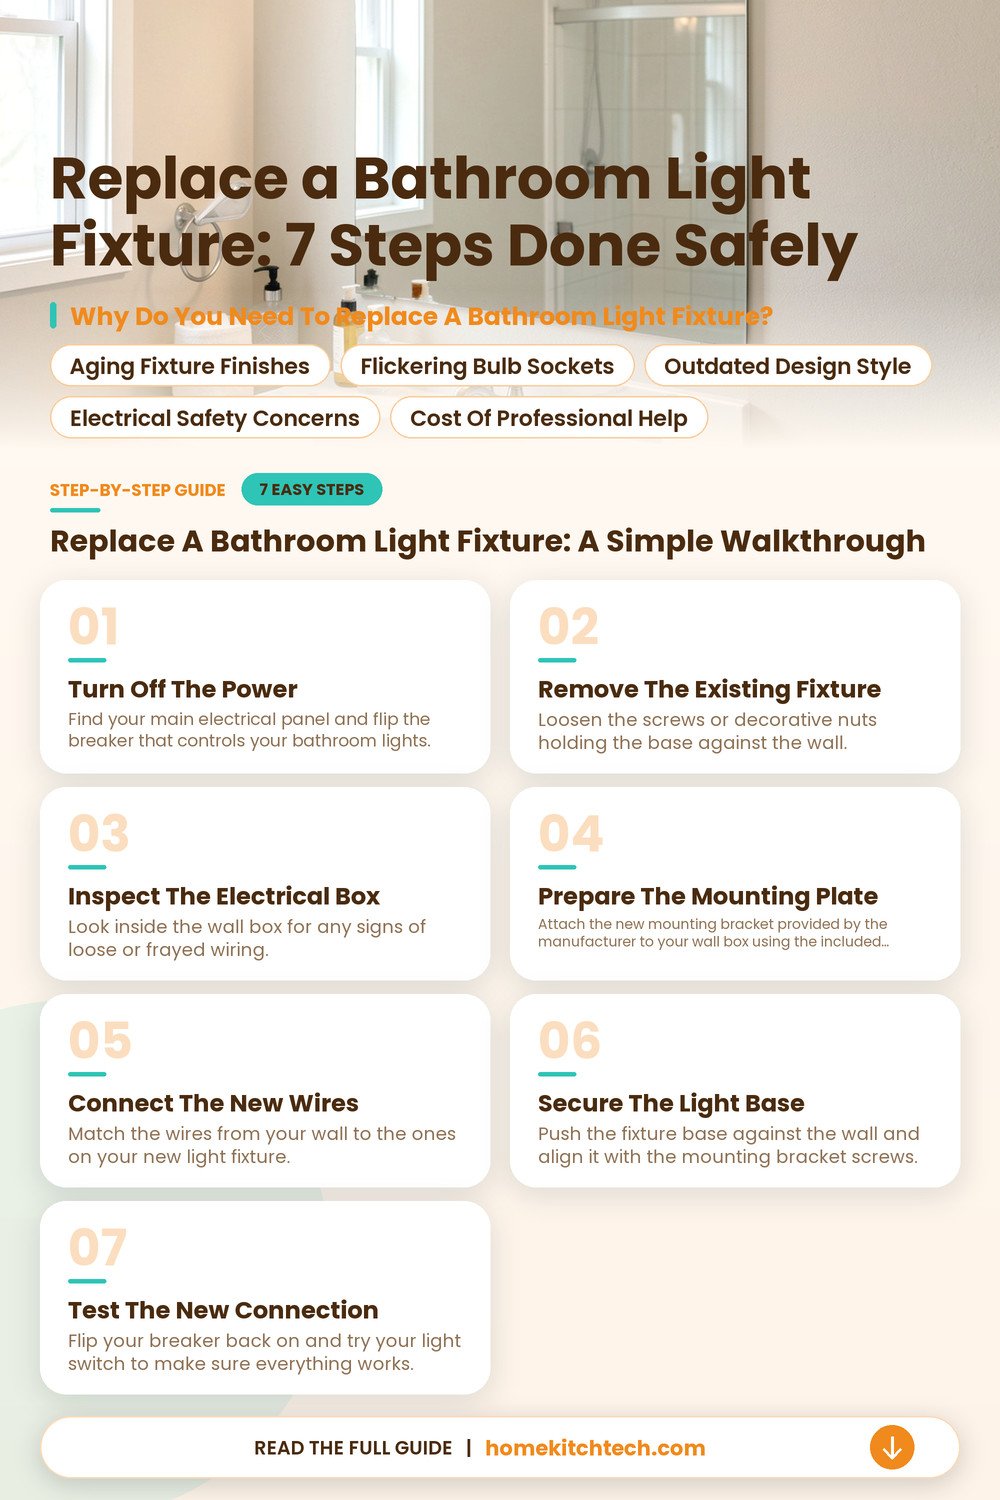
Why Do You Need to Replace a Bathroom Light Fixture?
Your light fixture doesn’t last forever, and you’ll eventually notice the finish peeling or the base rusting from all that bathroom steam. Sometimes, the internal sockets just stop working, leaving you with a dark vanity even after you swap out the bulbs.
Aging Fixture Finishes
Bathrooms are naturally damp, which takes a toll on your hardware over time. You'll notice the metal finish bubbling or turning dull, especially near the base where water splashes. This decay isn’t just about looks, as it often means the metal itself is weakening.
Flickering Bulb Sockets
If your lights strobe or cut out, the internal wiring inside the fixture may be loose. You can try tightening the bulbs first, but the connections inside the socket usually wear out after a few years. That's a clear sign your bathroom light fixture is ready for the trash.
Outdated Design Style
Sometimes, you just want a change because the old piece feels stuck in a different decade. You'll find that swapping the light is one of the fastest ways to modernize your room without a total remodel. It's a simple upgrade that makes a big impact.
Electrical Safety Concerns
Old fixtures often lack the modern safety features found in new ones. If you see charred wires or burnt plastic around the base, you have a real fire hazard on your hands. Don’t wait to replace a unit that shows signs of heat damage around the mounting plate.
Cost of Professional Help
You might wonder if you can save money by doing this job yourself. While you'll save on labor, keep in mind that a pro charge usually runs $100 to $250 for this task. If you aren’t sure about your wiring, call a licensed electrician to avoid any electrical shock hazards.
Replace a Bathroom Light Fixture: a Simple Walkthrough
You'll need about 60 minutes for this project, along with a sturdy ladder and a non-contact voltage tester. Make sure you clear your vanity space so you have room to move, and keep your new fixture parts organized on a clean towel.
Turn Off the Power
Find your main electrical panel and flip the breaker that controls your bathroom lights. You must verify the power is off by using your voltage tester on the wires before you touch anything. If your tester doesn’t light up or beep, you're safe to proceed.
Remove the Existing Fixture
Loosen the screws or decorative nuts holding the base against the wall. Carefully pull the unit away from the wall to expose the wires, but don’t let it hang by the connections. Support the weight while you untwist the wire nuts to disconnect the supply lines.
- Wrap each wire nut with electrical tape for extra security.
- Tuck the wires neatly back into the wall box before mounting.
- Make sure no bare copper is visible outside the wire nuts.
- Check with your local building office regarding any permit requirements.
Inspect the Electrical Box
Look inside the wall box for any signs of loose or frayed wiring. If the wires look brittle, burnt, or damaged, stop your work and call a licensed electrician immediately. You want a clean, solid connection point for your new light to function safely.
Prepare the Mounting Plate
Attach the new mounting bracket provided by the manufacturer to your wall box using the included screws. Ensure the bracket sits flush against the wall so your light won’t wobble later. If your box isn’t level, you’ll see it every time you walk into the room.
Connect the New Wires
Match the wires from your wall to the ones on your new light fixture. Usually, you connect black to black, white to white, and the bare copper or green wire to the ground screw. Twist the wire nuts on tightly and give each one a gentle tug to ensure it's secure.
Secure the Light Base
Push the fixture base against the wall and align it with the mounting bracket screws. Tighten the decorative nuts by hand until the base sits firmly against the wall surface. Avoid overtightening, which can crack the glass or damage the fixture finish.
Test the New Connection
Flip your breaker back on and try your light switch to make sure everything works. If the light comes on, you've done it right. If it doesn’t, turn the breaker off again and double-check your connections to ensure they are tight and properly matched.
When Should You Call a Pro for Your Bathroom Lighting?
Sometimes, your wires look brittle or burnt, which means the old insulation is failing. If you see charred plastic or exposed copper inside your electrical junction box, stop what you’re doing and put the wire nuts back on for now. A licensed pro brings the right tools to trace those lines or fix the underlying wiring damage before you install anything new.
Call someone if your breaker keeps tripping after you’ve checked all your connections twice. It usually points to a hidden short that you can’t reach without pulling drywall, so don’t force it. Professionals have the gear to test your circuit path safety and check the load, which keeps your home safe and avoids a fire risk.
- Expect to pay about $150 to $300 for a simple swap.
- Ask for a permit check if your city rules require inspections.
- Get three written quotes to compare local labor rates for work.
- Keep your old fixture parts until the new one works perfectly.
Is a Loose Wire a Major Safety Risk?
A loose wire creates heat where it touches the connector, which can melt your plastic wire nuts or scorch the wall. You’ll often notice a faint buzzing sound or even a smell like hot plastic when current arcs across a bad gap. Don’t ignore these signs, as they aren’t just annoying, they’re a real danger to your home.
Tighten every connection firmly to make sure your wire nut grip is solid and secure. Wiggle each wire inside the nut to check that it won’t pull free before you push it back into the box. If you ever feel unsure about your work, take a break and call an electrician to check your electrical circuit path.
Does the Age of Your Vanity Change the Installation?
Older homes often have smaller electrical boxes. These boxes are shallower than the ones in new homes, so they won’t hold the bulky base of a modern light. Check the depth of your box against the new base plate before you start, so you avoid a frustrating surprise.
Newer vanity designs sometimes use different mounting patterns that don’t match your existing wall studs. You’ll need to drill new holes or use toggle bolt anchors to hold the fixture if the holes don’t line up. Take your time to measure twice, as drilling into your bathroom tile or vanity mirror backing is a mistake you don’t want to make.
Can You Replace Your Bathroom Light Fixture in a Weekend?
Plan to spend about 60 to 90 minutes on this job. It’s a manageable task for most, but you shouldn’t rush it if you aren’t familiar with your home electrical system. Grab a screwdriver, your voltage tester, and a steady hand to hold the base while you twist the wires together.
Budget about $50 to $200 for the new light fixture itself. You also need a few dollars for extra wire nuts or electrical tape. Prices vary by city, so look for sales at your local hardware store to keep your costs down.
Remember that the power is off, so you’re in total control of the situation. Take your time with the connections, and you’ll finish the job without any trouble. Always test the fixture mounting hardware to be sure it is tight.
- Buy a non-contact voltage tester to check the power is off.
- Use a sturdy step ladder to reach your vanity light safely.
- Have a helper hold the heavy fixture while you connect wires.
- Wear safety glasses to keep dust out of your eyes today.
Why Does Your Bathroom Light Start Flickering Over Time?
Bulbs lose their connection when the metal tab inside the socket gets flattened. It also happens when it gets oxidized from heat. You’ll often see the light dim or strobe, as the contact point fails to touch the bottom of your bulb properly. Install a new fixture to fix this, as internal socket parts are rarely sold as separate pieces.
Heat from high-wattage bulbs can also warp the plastic light base over the years. This damage isn’t always visible from the outside, but it makes the internal connections loose and unreliable. Once the base starts to melt or crack, your only real option is to install a new unit that handles modern heat levels.
Moisture in a steamy bathroom speeds up the corrosion on your metal contacts and wire ends. You’ll notice rust or a dull grey film on the parts that should be shiny and clean. This layer blocks the flow of electricity, and it creates a corroded contact point that leads to the flickering you see every time you flip your light switch.
Final Thoughts
Swap your vanity light to bring a fresh look to your space in under two hours. You should always prioritize your safety by testing every wire after you turn off the breaker. Take your time with the mounting plate, as a level light makes the whole room look better. Call a pro if you run into a mess of old wires, as that keeps your home safe.
| Symptom | Likely Cause | Easy Fix |
|---|---|---|
| Light won’t turn on | Blown bulb | Try a new bulb |
| Buzzing noise | Loose wire nut | Tighten all connections |
| Fixture is loose | Wall anchor failed | Add toggle bolts |
| Flickering light | Corroded socket | Replace the fixture |
| Breaker trips | Shorted wire | Call an electrician |
| Dim light output | Dirty shade | Clean with soap |
Frequently Asked Questions
Is It Safe to Use a Dimmer Switch with Any Light?
No, you need a fixture and a bulb that both say they’re dimmable. If you don’t check, you’ll hear a hum or see your lights pulse, which can damage the new unit.
Can I Install a Light Without a Ground Wire?
It depends on your home wiring, but you really should have one for safety. If your house doesn’t have a ground, talk to an electrician about your options.
Are Bathroom Lights Different From Other Room Lights?
Yes, they need a damp or wet rating because of the steam from your shower. You’ll find this rating on the box, so don’t skip checking it.
Do I Need a Permit to Change a Light Fixture?
It depends on your local city rules, so check your municipal building website. Most places don’t require one for a simple swap, but you should check with the office first.
Should I Replace My Light Switch at the Same Time?
It’s a good idea if your switch is old or feels loose. You’ll have the power off anyway, so it’s a perfect time to upgrade your controls.
Will a Heavier Fixture Require New Wall Anchors?
Yes, you’ll need sturdy anchors to keep it from pulling away from your drywall. Don’t rely on simple screws if your light base has significant weight.
How Do I Know If My Voltage Tester Works?
You can test it on a lamp that you know is plugged in and turned on. If it beeps or lights up, it’s ready to use.
What Should I Do with My Old Light Fixture?
You can check if your local recycling center accepts metal and glass, but don’t throw it in your regular trash if your city has specific disposal rules. It’s better to find a proper bin, so your old light doesn’t just sit in a landfill.
