
As an Amazon Associate, I earn from qualifying purchases at no extra cost to you.
Grohe Bathroom Faucet Problems: 6 Fixes for Leaks and Low Flow

As we use our bathrooms every day, even the most reliable faucets can start to drip or lose their steady flow. You might notice a puddle on your vanity, or a stream that looks more like a weak sprinkle. These issues happen for a few simple reasons, and you don’t need a professional to handle most of them. Let’s look at how you can get your water flowing correctly again.
You can fix your Grohe faucet by checking the aerator for debris or replacing a worn cartridge. Grab a wrench and a screwdriver to get inside the handle. Turn off the water supply under your sink, then take apart the handle to see what’s causing the trouble.
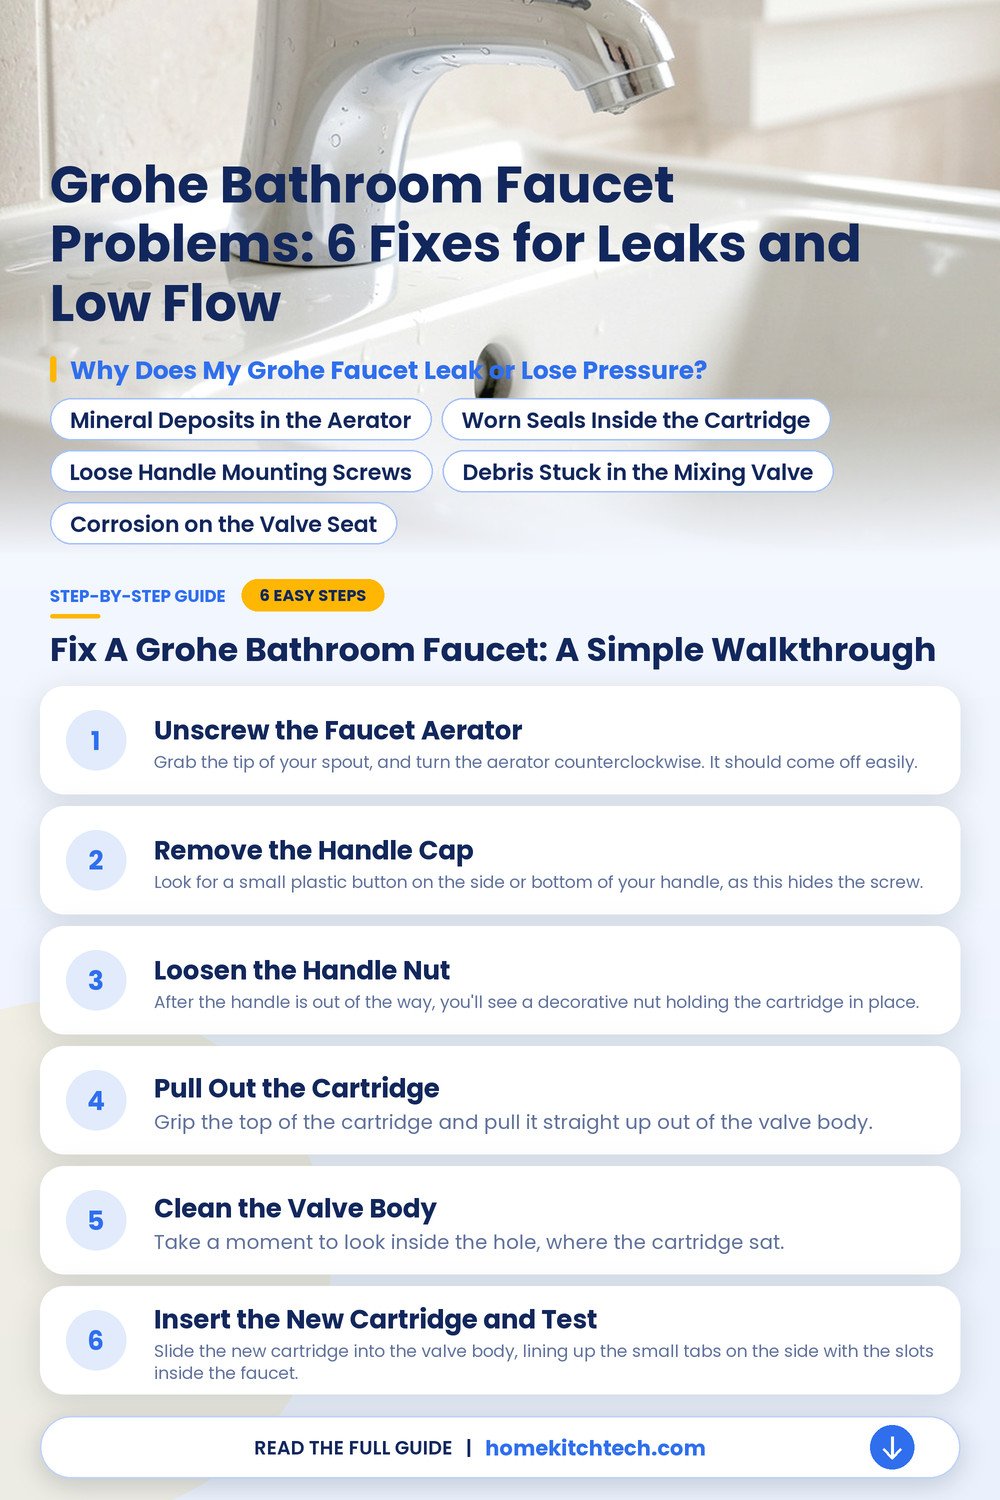
Why Does My Grohe Faucet Leak or Lose Pressure?
Your faucet works by moving water through a set of precision parts, but these components wear down or collect small bits of grit over time. Most of the time, the trouble comes from simple buildup that blocks the water path, or a rubber seal that isn’t holding tight anymore. You’ll see these problems pop up after a few years of regular use.
- A standard repair takes about 30 to 60 minutes.
- Keep a bucket nearby to catch any leftover water.
- Expect to pay under $30 for most replacement parts.
- Check that the sink drain is plugged before starting.
Mineral Deposits in the Aerator
Hard water often leaves a crusty white buildup inside the small screen at the end of your spout. This screen, which is called an aerator, mixes air into the water to keep the flow smooth. When it gets full of grit, your water pressure drops significantly. Try unscrewing this part by hand, or use a pair of pliers wrapped in a soft cloth to protect the finish.
Worn Seals Inside the Cartridge
The internal faucet cartridge manages the flow and temperature of every drop that comes out of your spout. Over time, the tiny rubber rings inside this part lose their shape, and they cause small leaks. You’ll notice water dripping from the handle area when the seals start to fail. This is a common issue that shows up after years of daily use.
Loose Handle Mounting Screws
Sometimes, the problem isn’t a broken part, but a handle that has wiggled loose over time. If your handle feels shaky when you turn the water on, the mounting screw might just need a quick tighten. Use a small hex key to reach the hidden screw, which usually sits under a tiny plastic cap on the handle. A firm turn fixes the wobble immediately.
Debris Stuck in the Mixing Valve
Small bits of sediment from your pipes can travel up, and they get stuck inside the mixing valve. This prevents the water from flowing at full speed, and it might even cause the temperature to stay stuck in one place. Remove the handle and the cartridge to clear out any grit that has settled inside. This simple cleaning step often restores the full flow.
Corrosion on the Valve Seat
The faucet valve seat is the smooth base where the cartridge rests to create a watertight seal. If the metal surface gets scratched or corroded, water will find a way past the seal even with a brand new cartridge. You’ll see tiny pits or rough spots if you shine a bright light into the valve body. Replace this part or smooth the surface to stop the leak.
Fix a Grohe Bathroom Faucet: a Simple Walkthrough
Fixing your faucet is manageable, provided you follow the right steps in order. Have a clean towel and a bowl to hold tiny screws, as this will keep your space organized while you work.
- Always turn off the water valves under your vanity.
- Use a soft cloth to protect the metal finish.
- Keep a light handy to see inside the narrow valve.
- Test the water flow before putting the handle back.
Unscrew the Faucet Aerator
Grab the tip of your spout, and turn the aerator counterclockwise. It should come off easily. If it feels stuck, wrap a towel around it and use pliers to get a better grip. Look inside the mesh for any sand or white gunk that might block your water. Rinse the small screen filter under a different faucet, then blow out any trapped debris.
If the mesh looks damaged or the crust won’t wash away, just buy a replacement piece from the hardware store. Screw it back on by hand until it feels snug against the spout. Don’t over-tighten it, or you’ll have a hard time getting it off the next time you need to clean it.
Remove the Handle Cap
Look for a small plastic button on the side or bottom of your handle, as this hides the screw. Pry it off carefully with a thin flathead screwdriver to reveal the hidden mounting screw underneath. Take care, because you don’t want to scratch the metal while you pop this cover off. It usually comes out with just a little bit of pressure.
Once the screw is visible, use the right size hex key to loosen it until the handle lifts off. Set the handle and the screw aside in a bowl, so they don’t roll away. Keep them in a safe spot near your sink, as you’ll need them later.
Loosen the Handle Nut
After the handle is out of the way, you’ll see a decorative nut holding the cartridge in place. Use an adjustable wrench to turn this nut counterclockwise until it releases from the valve body. Be gentle with this part, because the metal can be thin. If it doesn’t want to move, try a short spray of cleaner meant for loosening stuck parts.
Hold the faucet body steady with one hand while you turn the wrench with the other. This prevents any strain on the pipes hidden under your vanity. Once the nut is loose, you can unscrew it the rest of the way by hand.
Use your fingers to lift the nut clear of the valve. If it feels gritty, wipe the threads with a dry cloth to clear away any old mineral dust. Keep the area tidy so you don’t drop any bits back into the valve.
Pull Out the Cartridge
Grip the top of the cartridge and pull it straight up out of the valve body. It might feel a little stuck because of the rubber seals, so wiggle it gently from side to side as you pull. Keep your bucket ready in case a little water spills out when the seal breaks. If it doesn’t budge, check your manual to see if there is a specific locking clip you need to release first.
Look at the bottom of the old cartridge to see if any rubber rings are torn or missing. Compare it to the new part to make sure they match perfectly, because a mismatch here will cause leaks. Check the numbers on the side of the old unit, and you’ll be ready for the next step.
Clean the Valve Body
Take a moment to look inside the hole, where the cartridge sat. Use a dry rag to wipe away any grit or mineral buildup that might stop the new seals from sitting flat. You want a perfectly clean surface, so the new part creates a tight fit. Don’t use anything sharp like a screwdriver to scrape the inside, as this could scratch the metal and cause a permanent leak.
If you see a lot of crust, a soft brush works well to loosen it up without causing damage. Rinse the area with a small splash of water, then let it dry completely before you put the new cartridge in. A clean valve helps your repair last for a long time.
Insert the New Cartridge and Test
Slide the new cartridge into the valve body, lining up the small tabs on the side with the slots inside the faucet. It should drop into place easily, if it is the right model. Screw the nut back on by hand, then finish tightening it with your wrench until it feels firm. Put the handle back on, tighten the screw, and replace the plastic cap.
Turn your water supply valves back on slowly, and watch for any drips around the handle. If everything looks dry, turn the faucet on to check the flow. You should see a steady stream, with no leaking from the base of the handle.
Can I Overtighten the Faucet Parts?
You should avoid using a wrench to force your faucet handle nut past its stopping point. Excessive pressure often cracks the internal plastic threads or bends the metal housing, which makes your repair much harder. Tighten until you feel firm resistance, then stop turning your tool.
If you twist too hard, you’ll strip the threads on the valve body. That damage is usually permanent, and it requires a full replacement of your fixture. Take your time to align the parts properly, because it’s better to be safe.
Keep a gentle touch during your assembly to make sure the internal faucet parts seat correctly. If the handle feels stiff or drags when you move it, back the nut off slightly. You want smooth motion, so avoid leaving any play in your handle.
Does the Age of My Faucet Change the Repair?
Older models often have parts that seize up over time, and that’s due to mineral buildup. You might find that your cartridge removal tool struggles to budge a part that hasn’t been out in years. Spray a little penetrating oil on the threads, and let it soak for a few minutes before you try again.
Modern fixtures usually feature standardized parts, so they’re easier to slide out of the valve. Check your model number on the maker’s website, or see if a specific puller helps your model. Older units sometimes require more patience, and a firm, steady pull is needed to release the seal.
Wait for the oil to work its way into the crevices, if you feel stuck. A little extra time spent waiting helps you avoid breaking your faucet, so stay patient. You’ll find that patience is your best tool when working with older plumbing.
When Should I Call a Plumber for My Faucet?
Call a pro if you discover water leaking from a pipe inside your wall or floor. You don’t want to risk a major flood, if your shutoff valve handle won’t stop the flow of water to your basin. A plumber has the right equipment to reach behind your vanity and secure the connection without damaging your home.
Skip the DIY route, if you notice your main water lines are corroded or look brittle. Use a professional, because turning the valves can cause a weak pipe to snap. It’s smart to admit when a job is beyond your reach before you start.
Check your local listings for a licensed plumber who knows your brand. They can usually swap out a tricky valve, or fix a hidden leak, in under an hour. You’ll save yourself a lot of stress by letting a pro handle the high-stakes work.
- A plumber saves your floors from water damage during a pipe break.
- Stop your work if you see water spraying from inside the wall.
- Call for help if your shutoff valve won’t fully stop the flow.
- Professionals carry specialized tools for removing stuck or broken valve seats.
How Much Will Fixing My Faucet Cost Me?
Most repairs range from $20 to $60 for a new cartridge and a few basic supplies. Spend about an hour on the job, if you have your tools ready and clear space under your sink. You’ll save the service fee that a professional plumber would charge for a house call.
Plan to buy a new cartridge and some silicone faucet grease before you start your project. Find these parts at most hardware stores, if you bring your old one along for a match. Keep a bucket handy for any water that spills, when you pull the old part out.
Check your manufacturer’s warranty to see if they cover the replacement parts for your specific model. Some companies ship parts for free, if you can show a receipt or a photo of your unit. Spend nothing at all, if your faucet is still under its original warranty.
- Keep a bucket ready to catch water when the valve opens.
- A new cartridge usually costs between $15 and $40 at stores.
- Budget about 60 minutes for your first time replacing a cartridge.
- Check the maker’s website for free parts under your original warranty.
Why Does My Faucet Drip or Lose Pressure?
Drips happen when the rubber seals inside your valve wear down from constant heat and friction. Over time, these parts lose their shape, and they fail to create a tight seal against the water pressure. You’ll notice a slow leak that gets worse, the longer you ignore it.
Pressure loss often stems from debris trapped in your aerator or the mixing chamber. Minerals found in your water supply collect in the tiny mesh screens, and they block the flow. This buildup acts like a filter that clogs your system, so clean it out to restore your flow.
High temperatures in your hot water line can accelerate the decay of rubber gaskets and replacement O-rings. If you live in an area with very hard water, your parts will likely wear out faster. Expect to perform this upkeep every few years, to keep your water running smoothly.
Bad habits like slamming your handle shut or forcing it past its limit also damage your internal faucet parts. Always move your handle gently to protect the delicate seals inside. You’ll extend the life of your fixture, by treating it with a little extra care.
- Hard water creates mineral buildup that blocks your water flow.
- Rubber gaskets wear out naturally after years of constant heat exposure.
- Debris from your pipes gets stuck in the mesh aerator screen.
- Gentle handling protects the internal seals from unnecessary wear and tear.
Final Thoughts
Turn off the water supply before you touch any tools, as that prevents a wet floor. Buy the right parts before you start, because that saves you multiple trips to the hardware store. Clean the valve body thoroughly, so your new cartridge will seat perfectly. You can keep your faucet running like new with just a little bit of patience.
| Symptom | Likely Cause | Easy Fix |
|---|---|---|
| Drip at spout | Worn rubber seal | Replace cartridge |
| Low water flow | Clogged aerator | Rinse with vinegar |
| Handle is stiff | Dry internal parts | Apply silicone grease |
| Water spray leaks | Loose handle nut | Tighten with wrench |
| Squeaky handle | Mineral buildup | Clean with brush |
| Faucet won’t shut | Broken valve seat | Install new part |
| Loose handle | Loose set screw | Tighten with hex key |
| Handle wobbles | Worn mounting clip | Secure the base |
Frequently Asked Questions
Can I Use Vinegar to Clean My Faucet?
Yes, you can use white vinegar to dissolve mineral crust on your aerator. Soak it in a small bowl for an hour, and scrub it with an old toothbrush. You’ll see the flow improve once the holes are clear again.
Are All Faucet Cartridges the Same?
No, every brand and model uses a unique size and shape. Bring your old cartridge to the store, and you’ll be sure to buy the correct replacement for your sink. Don’t guess, because the wrong part won’t seal properly.
Do I Need to Shut Off the Main Water?
You only need to close the valves under your sink, so there’s no need to touch the main. Check that your hot and cold shutoff knobs turn fully to the right, and you’ll stay dry. You don’t need to shut off the whole house, as long as the valves hold.
Should I Use Plumber’s Tape on the Threads?
Better not, because modern cartridges rely on rubber O-rings to create a watertight seal. Tape can prevent the nut from threading on correctly, and it might cause a leak. Skip the tape, and focus on getting the seals clean.
Will I Need to Replace the Cartridge Often?
The timing depends on your water quality, and how often you use the faucet. You’ll likely need a new one every 5 to 10 years, when you notice a persistent drip. Replace it whenever the handle feels difficult to move.
Can I Use a Hex Key to Remove the Handle?
Yes, you usually need a small hex key to loosen the hidden set screw. Check under your handle cap for a tiny hole where the screw hides, and use the tool to turn it left. It pops right off once you loosen that screw.
