
As an Amazon Associate, I earn from qualifying purchases at no extra cost to you.
Remove a Bathroom Mirror Without Breaking It: 5 Steps

With a loose or cracked mirror, you probably just want it gone before it causes trouble. Removing one can feel like a high-stakes puzzle, especially when the glass is glued tight to your wall. You don’t need to be a pro to get it done, but you should take your time. Let’s get that glass off your wall without any breakage.
You can remove a mirror safely by cutting through the adhesive behind the glass. Use a long, thin wire or a specialized blade to slowly slice the glue, but keep the mirror steady as you work. Always wear thick gloves and eye protection, so you stay safe. This job takes about 30 to 60 minutes.
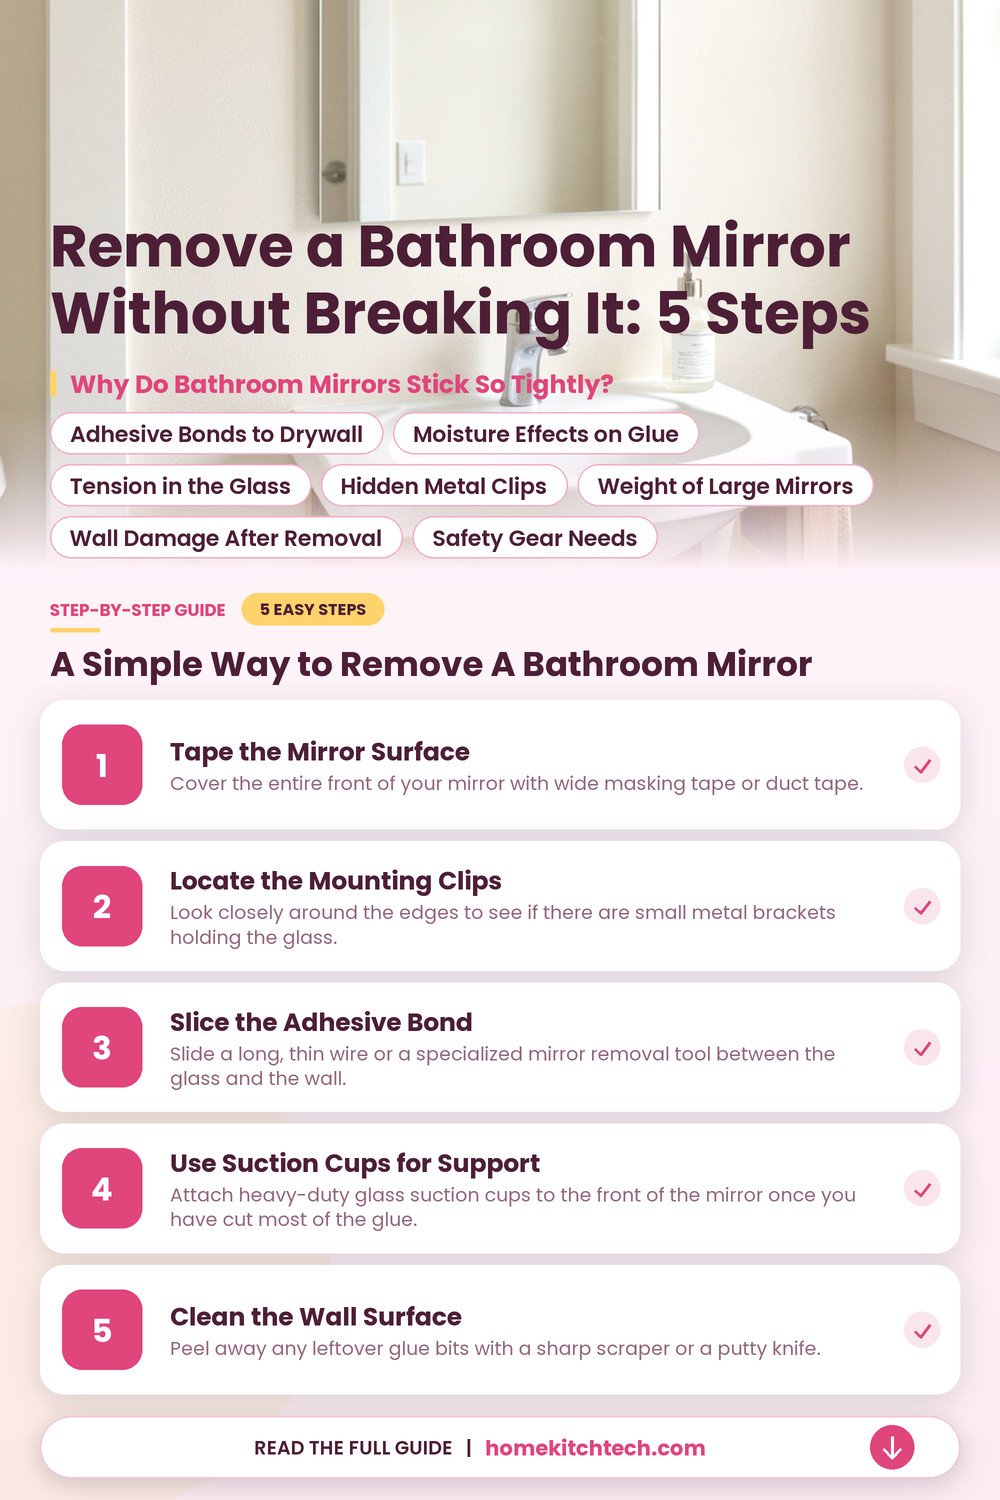
Why Do Bathroom Mirrors Stick So Tightly?
Most mirrors stay up because of a strong construction adhesive that keeps a flexible bond for years. It connects the back of your glass directly to the drywall, so pulling it straight off usually rips the paper right off your wall. Heat or moisture from your shower can make this bond even tougher, so it feels like it is glued for good.
- A helper makes this job much safer for you.
- Heavy-duty glass suction cups cost about $20 to $40.
- Expect to patch your drywall after the mirror comes down.
- Wear safety glasses to protect yourself from any stray shards.
Adhesive Bonds to Drywall
Most mirrors use a thick, gummy glue that grabs the drywall surface with a lot of force. You will notice the resistance immediately as you pull. This bond is meant to last for decades, so it won’t let go easily. The glue holds firm, and it stays stuck to your drywall surface with surprising strength.
Moisture Effects on Glue
Warm steam from your shower softens the edges of the adhesive over time. You might see the glue turning dark, so it feels gummy behind the glass. This doesn’t make the mirror fall, but the bond feels unpredictable. It’s best to check for these soft spots, because they can change how you cut.
Tension in the Glass
Large mirrors hold a lot of internal pressure from their own weight. You will hear a sharp pop if you try to pry too hard, so stop if you do. That sound means the glass is under stress, and it could snap. This internal glass stress means you must move slowly, so you don’t break the piece.
Hidden Metal Clips
Some mirrors hide small metal clips behind the frame or glass edges. You will need to check the perimeter carefully, so you don’t miss them. These clips act as extra anchors, and they will hold the mirror even after the glue is cut. Look for them near the corners, because that is where they usually hide.
Weight of Large Mirrors
A big mirror is heavy, and you shouldn’t try to hold it alone. You will find that even a medium mirror is awkward to balance, so grab a friend to hold the weight. They can help you keep the glass level, so you don’t crack the edges.
They can help you keep the glass level, and you can focus on the edges. This keeps the pressure even, so you don’t crack the glass while you work. Having a helper keeps the mirror steady, which makes the whole process much safer for you.
Wall Damage After Removal
Removing a mirror almost always pulls off the top layer of your drywall surface. You will see patches of brown paper or even chunks of gypsum left behind. Plan to sand and paint your wall once the glass is gone.
You can fix this easily with a bit of spackle, but you must let it dry before you paint. This makes your wall look new again, and you won’t see any of the old damage. A smooth wall makes the room look finished, so don’t worry about the mess.
Safety Gear Needs
Your hands and eyes are at risk if the glass cracks unexpectedly. Always wear thick leather gloves and wrap the mirror in tape if you see a crack. This keeps everything together, so you don’t get hurt while you work.
A Simple Way to Remove a Bathroom Mirror
You will start by clearing the area and taping the entire surface of the glass. This keeps the pieces together if a crack happens while you pull, so you don’t have to worry about shards. Use a sturdy ladder, and make sure your helper is ready to hold the weight.
Tape the Mirror Surface
Cover the entire front of your mirror with wide masking tape or duct tape. You will want to create a grid pattern, which holds the glass together if it breaks. This simple step prevents shards from flying everywhere, but it also makes the whole piece much easier to handle if it does snap.
Keep the tape tight and smooth as you press it onto the glass. You will find that a single layer is enough for most jobs, but you can double up if you see a crack. If you notice any damage, add extra strength to that area.
Locate the Mounting Clips
Look closely around the edges to see if there are small metal brackets holding the glass. You will need a screwdriver to remove these, but don’t force them if they seem stuck. Some clips hide under plastic caps that pop off with a flat blade, so take your time.
Check the top and bottom edges for any sign of these hidden fasteners. You will usually find them near the corners, because that is where they provide the most support. Once you remove them, the mirror will be held only by the adhesive.
Slice the Adhesive Bond
Slide a long, thin wire or a specialized mirror removal tool between the glass and the wall. You will move the wire in a sawing motion, but keep it flat against the wall so you don’t scratch the back. It takes patience to work your way across the entire surface.
Go slowly across the middle of the mirror where the glue is thickest. You will feel the tension release as you slice through each section, so don’t rush. The mirror will start to lean as you cut, so keep a firm grip.
Use Suction Cups for Support
Attach heavy-duty glass suction cups to the front of the mirror once you have cut most of the glue. You will need your helper to pull gently on these handles to create space, which gives you room to reach behind. This keeps your fingers away from the sharp edges of the glass.
Make sure the suction is tight before you apply any pull. You will hear a solid click or see an indicator on the handle when it is ready. Never rely on these to hold the full weight of the mirror alone, because they are only for positioning.
- Use a slow, steady rhythm to cut the glue.
- Keep the wire flush against the wall surface.
- Stop if you feel a hard bump or resistance.
- Take breaks to let your arms rest during cutting.
Clean the Wall Surface
Peel away any leftover glue bits with a sharp scraper or a putty knife. You will likely see a mess of torn paper and old adhesive on your wall. Sand the area flat, so the wall is ready for paint or a new mirror.
Wait for the compound to dry fully before you try to paint. You will see the color change when it is ready for sanding. A smooth wall makes the whole room look finished once your project is complete.
Does Removing a Bathroom Mirror Cost Much Money?
You can usually take down your own mirror for under $50. Purchase basic supplies like thin metal wire, heavy duty tape, and a few fresh blades. If you already have these items in your garage, you might spend nothing at all to get the job done.
Set aside about 60 to 90 minutes for the whole project. You will need extra time if the glass is glued on thick, or if you are working alone. Don’t rush the process, because going too fast often leads to broken glass or gouged walls.
Grab a helper if the piece is large, as that makes the work much safer for your back and your floor. You don’t need fancy tools, just a steady hand and a bit of patience. This approach helps you avoid injury, and it keeps your home in good shape.
Hire a pro if you want to avoid the mess, but expect to pay more. A local handyman might charge $100 to $200 for the labor. They bring their own specialized hand tools and handle all the cleanup, which saves your afternoon for other things.
Will the Age or Type of Mirror Change My Plan?
Older mirrors often have metal backings that can corrode, making the glass brittle over time. If yours has black edges or dark spots, it’s likely starting to break down. You’ll need to be extra careful with these brittle glass edges, as they can shatter much easier than a newer mirror when you apply pressure.
Brand names don’t matter as much as how the piece is attached. Some newer models have a simple metal mounting bracket that pops right off. Others use industrial adhesives that hold tight for decades. You’ll find out which one you have once you inspect the edges for clips or thick glue lines, so look closely.
- Older glass is often thinner and cracks under light pressure.
- Check for a manufacturer stamp to see if clips are hidden.
- Adhesive strength increases when the wall was never properly primed.
- Always wear thick gloves to protect your hands from sharp shards.
Why Does the Mirror Stick So Tightly to the Wall?
Adhesive bonds to drywall are surprisingly strong, and they don’t weaken much over the years. You will often find that the glue has actually pulled the paint or paper off the entire drywall surface itself. This happens because the bond between the glue and the wall is stronger than the bond between your paint and the plaster, so it pulls the layers apart.
Heat from your shower and high humidity also play a part. Moisture gets trapped behind the glass, which can soften the soft drywall backing but make the adhesive even more stubborn. You will notice this most near the bottom edge, where water collects and dries out repeatedly over many years, so check there first for softened adhesive spots.
Can I Use a Better Trick to Remove It?
Skip the pry bar, if you want to keep your walls in good shape. A long piece of flexible steel wire or sturdy fishing line works much better for slicing through the glue. You will need to work the wire behind the glass using a slow, sawing motion to cut the adhesive bond, so keep it flat against the wall.
Call a pro, if you hear the glass start to crack, or if the wall begins to crumble. They have heavy duty tools to reach what your hands can’t safely access. It is better to pay for a quick visit than to deal with a wall full of holes, or a pile of shattered glass.
What Common Mistake Makes Removing It Worse?
Slice the adhesive first, and don’t try to pry the glass away from the wall before you cut the glue. You will likely snap the glass or rip large chunks of drywall away with it. Always wear thick leather gloves, and keep them on until the glass is safely resting on the floor.
Clear the vanity top before starting the work, because people often forget this step. A stray shard can scratch your sink or damage your bathroom vanity top in a heartbeat. Lay down a thick moving blanket or several layers of cardboard, so you catch anything that falls during the process.
Ignore the weight of the piece at your own peril, because it is a common problem. You will find that even a medium mirror feels much heavier once you lose your grip. Use suction cups to keep a firm hold, and never try to balance the glass on your knee while you work, because that puts your knees at risk of injury.
- Clear all items off your vanity before you start moving.
- Use a thick blanket to cushion the floor near the wall.
- Never force the glass if it feels stuck after cutting glue.
- Keep your face away from the glass while you are pulling.
Final Thoughts
Use patience and the right gear to get the job done. Take your time with the wire saw to keep your walls intact, and always enlist a partner for the final lift. Once the glass is off, you’ll have a clean slate for your next bathroom project. Watch your step and keep the area clear of debris until you are finished.
| Symptom | Likely Cause | Easy Fix |
|---|---|---|
| Mirror wont budge | Thick adhesive | Use piano wire |
| Wall paper rips | Strong glue bond | Patch with spackle |
| Glass cracks | Uneven pressure | Use suction cups |
| Sharp edges | Old age | Wear thick gloves |
| Hidden fasteners | Hidden clips | Locate with flashlight |
| Heavy glass | Large size | Ask for help |
| Sticky residue | Leftover glue | Use adhesive remover |
| Loose bracket | Worn screws | Tighten or replace |
Frequently Asked Questions
Can I Reuse the Mirror After I Take It Down?
Yes, you can, provided it doesn’t crack during the removal. You’ll need to scrape all the old glue off the back before you put it on a new wall. Check the glass for any small chips along the edges first, as those are weak spots that might grow later.
Should I Use a Heat Gun to Loosen the Glue?
Better not, because the heat can easily crack your mirror or damage your wall paint. It’s much safer to use a thin wire to slice through the adhesive. You’ll save your glass and your walls by sticking to a slow, steady, and cool approach.
Is It Safe to Leave the Glue on the Wall?
No, you shouldn’t leave the old glue behind. It will create a bumpy surface that makes your new mirror or paint look uneven. You’ll need a putty knife to scrape the bumps away and some sandpaper to smooth the area before you start your next task.
Will My Mirror Break If I Use a Pry Bar?
It’s very likely, so avoid using a pry bar entirely. You’ll put too much pressure on one spot, which usually causes the glass to shatter. Always use a flat wire to cut the bond instead of forcing the mirror away from your wall.
Do I Need to Turn Off the Water?
No, you don’t need to touch your plumbing for this job. Just clear your sink and cover your faucet so you don’t scratch them with falling debris. You’ll be working entirely on the wall, so the water lines can stay right where they are.
How Do I Clean the Wall After the Mirror is Gone?
You’ll need a sharp scraper to remove the leftover adhesive bits. Once the big chunks are gone, use a bit of sandpaper to smooth out any rough patches. Your wall will be ready for paint or a new mirror once you wipe away the dust with a damp cloth.
Are There Clips Hidden Behind the Glass?
Sometimes, you’ll find them at the top or bottom edges. You’ll need to look closely with a flashlight to spot them before you start cutting. If you find clips, unscrew them carefully so you don’t put extra stress on the glass while you work.
